
We have supplied everything as a black and white version, with bespoke treatment to each version to make them work to their optimum on their respective backgrounds.
The LED lights can be either supplied on or off. We have arranged these as we think they look best, regardless of the reality of whether they would be on or not. We could supply on and off LED options if you wanted but we would need to charge a little more time for this as it's quite a lot of extra files to prepare.
We have also supplied a few bonus images in there for your use and enjoyment! These are:
- Image 6: Receiver Close Up (White - Bonus Image)
- Image 6: Receiver Close Up (Black - Bonus Image)
- Image 3: Laydown 3Q (White - Bonus Image)
- Image 3: Laydown 3Q (Black - Bonus Image)
- Image 10: Random Bonus image 1
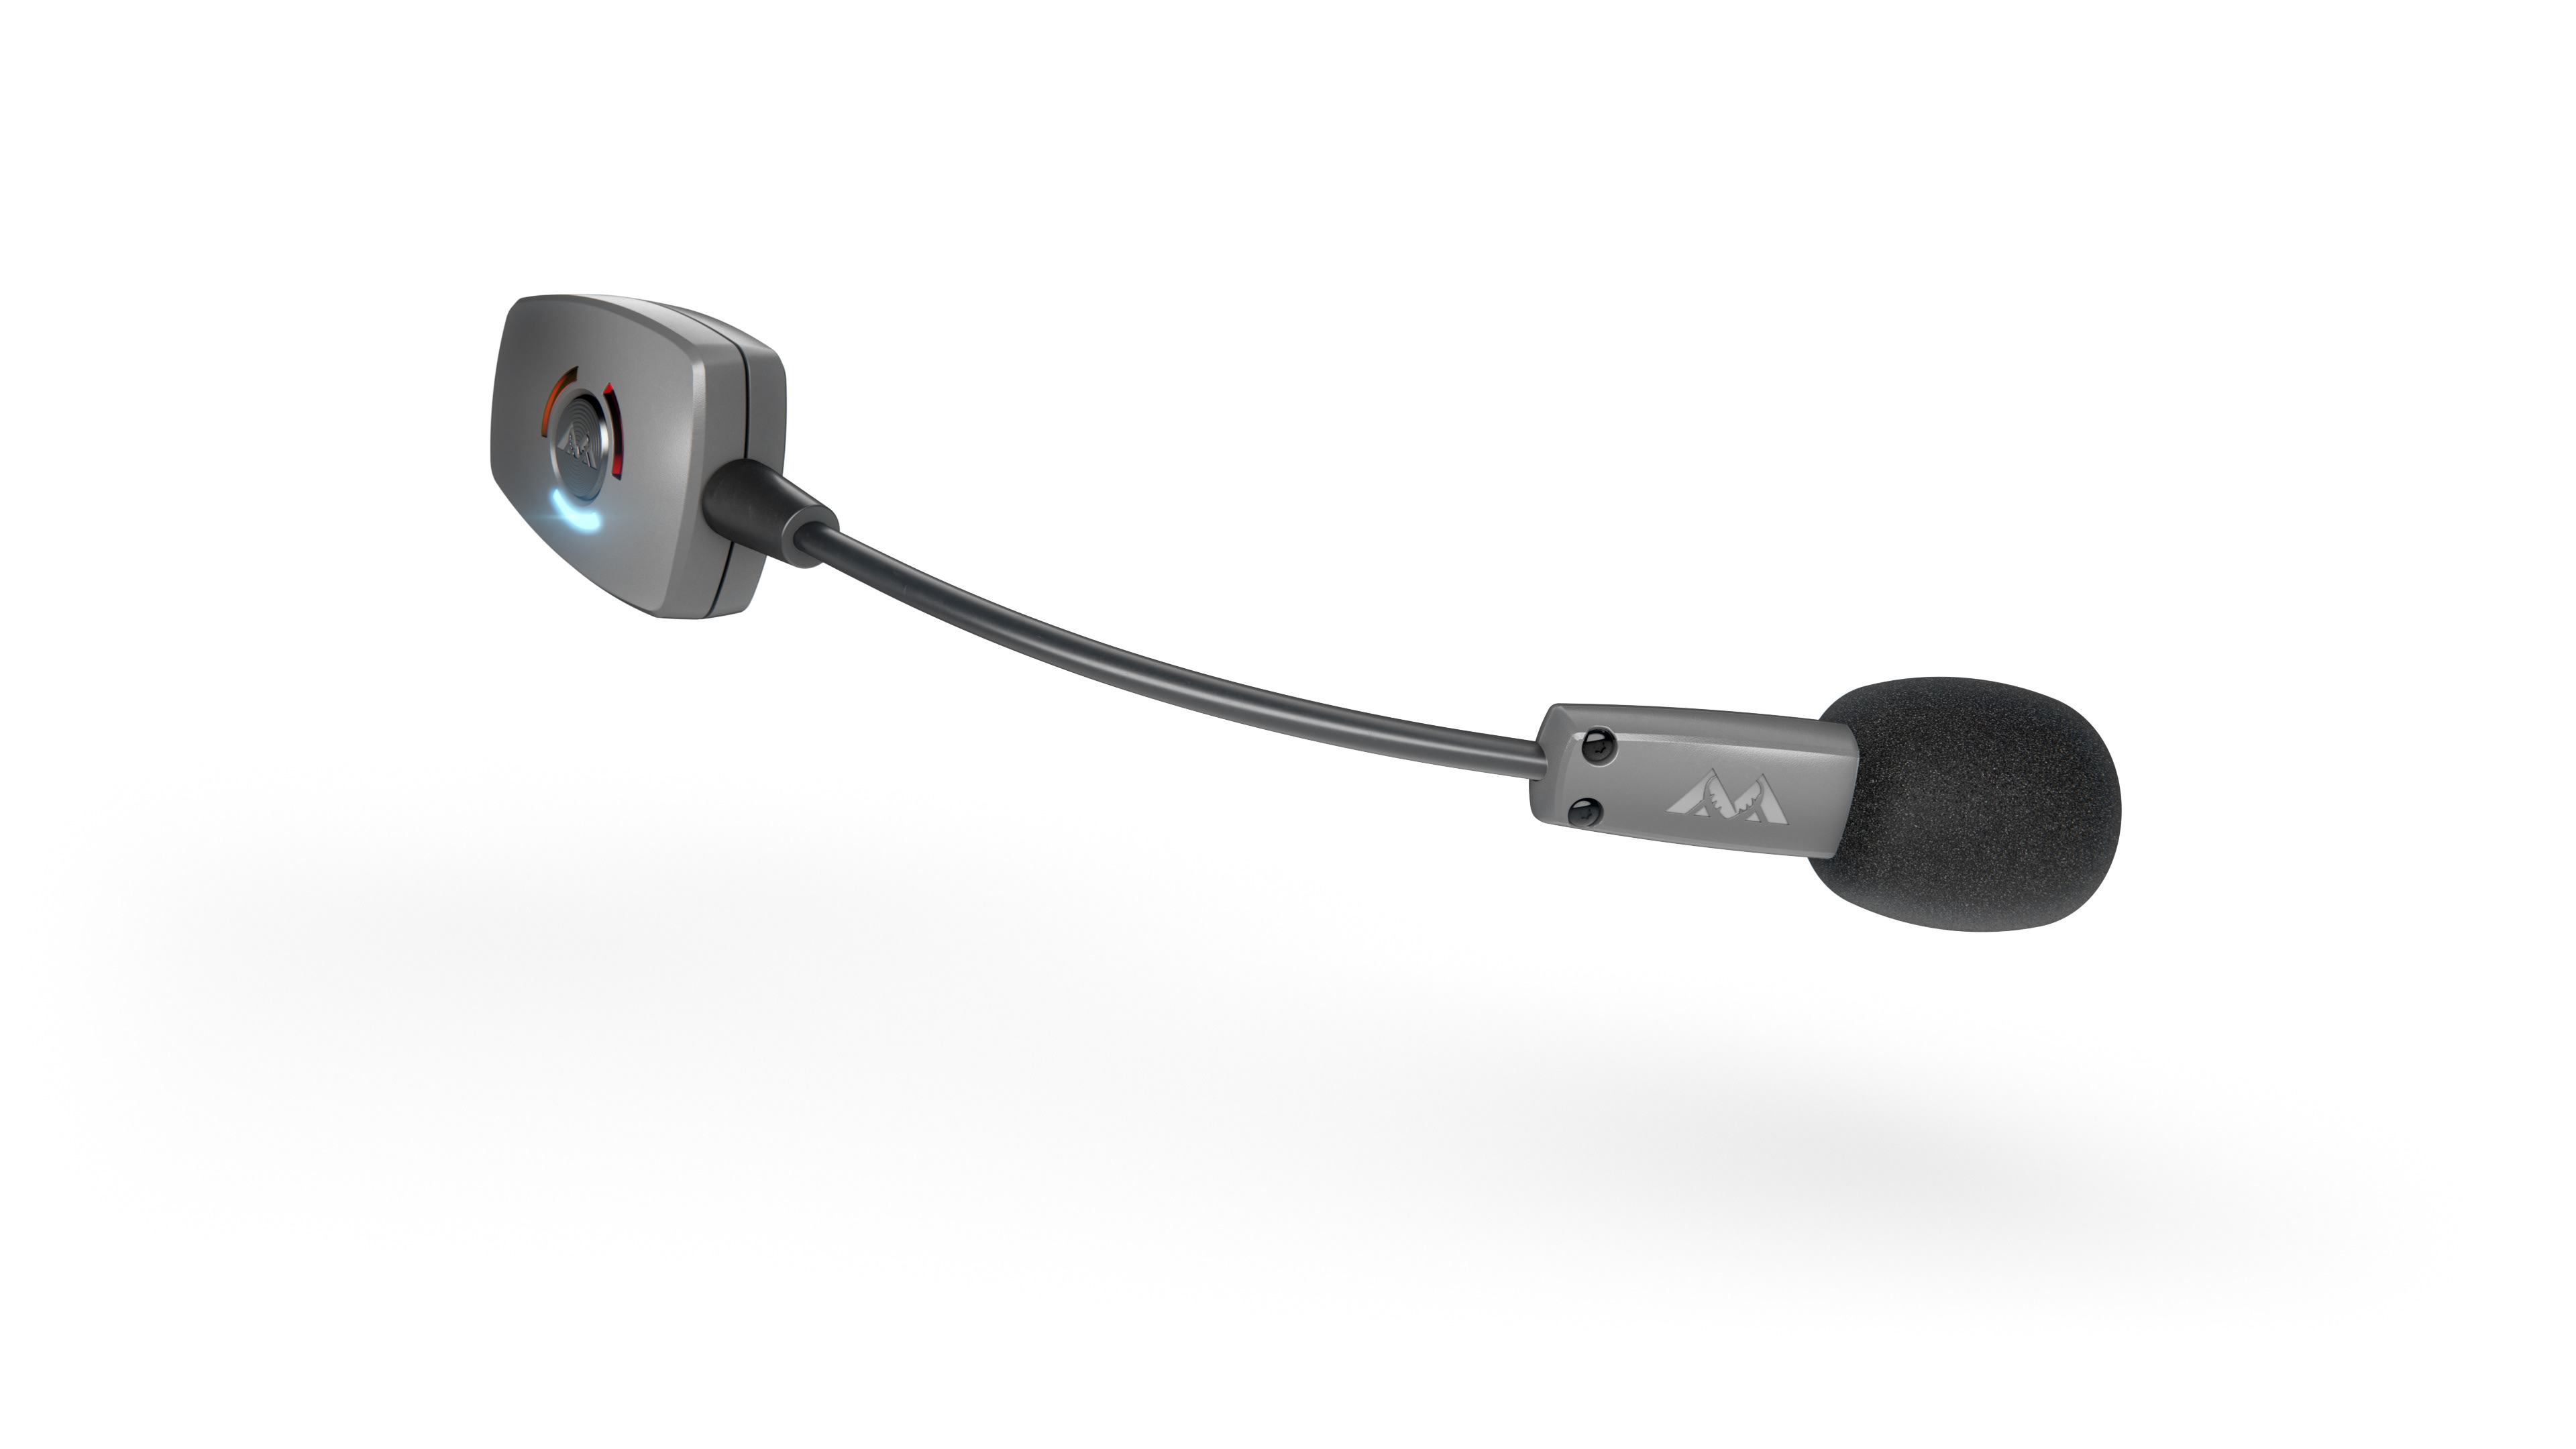
Image1: Wireless Feature No Headphones (Cut Out)
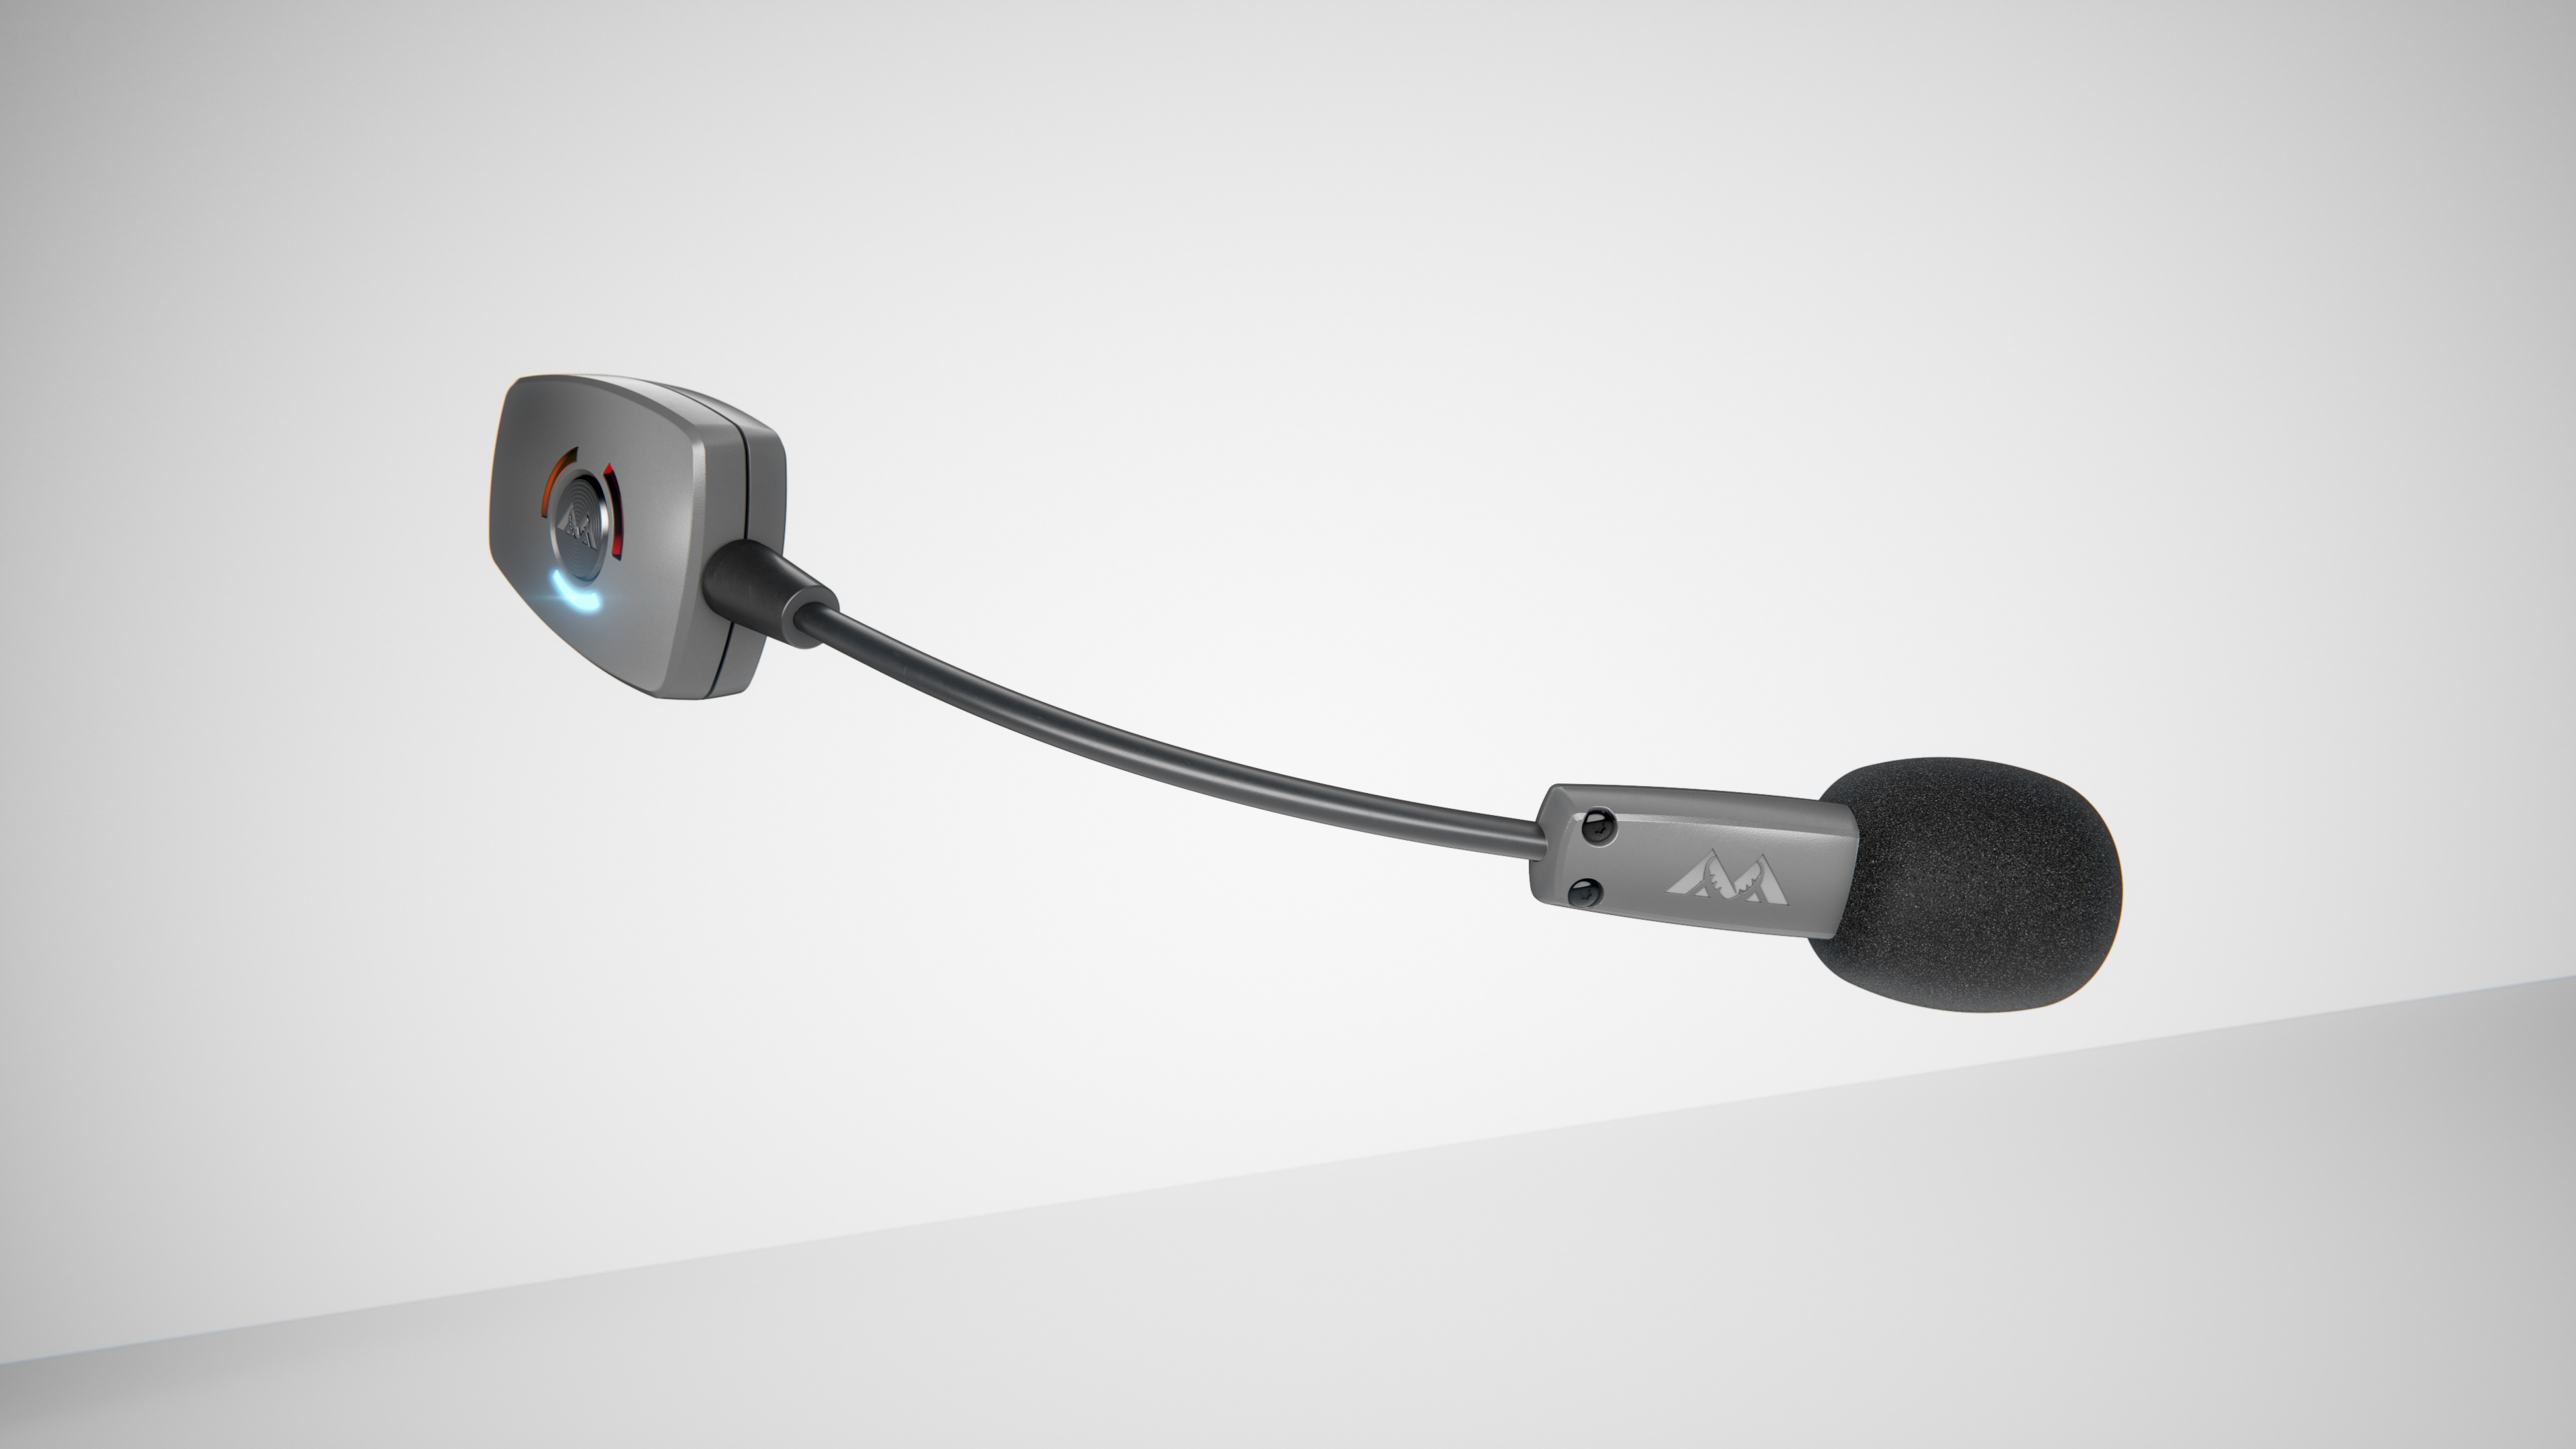
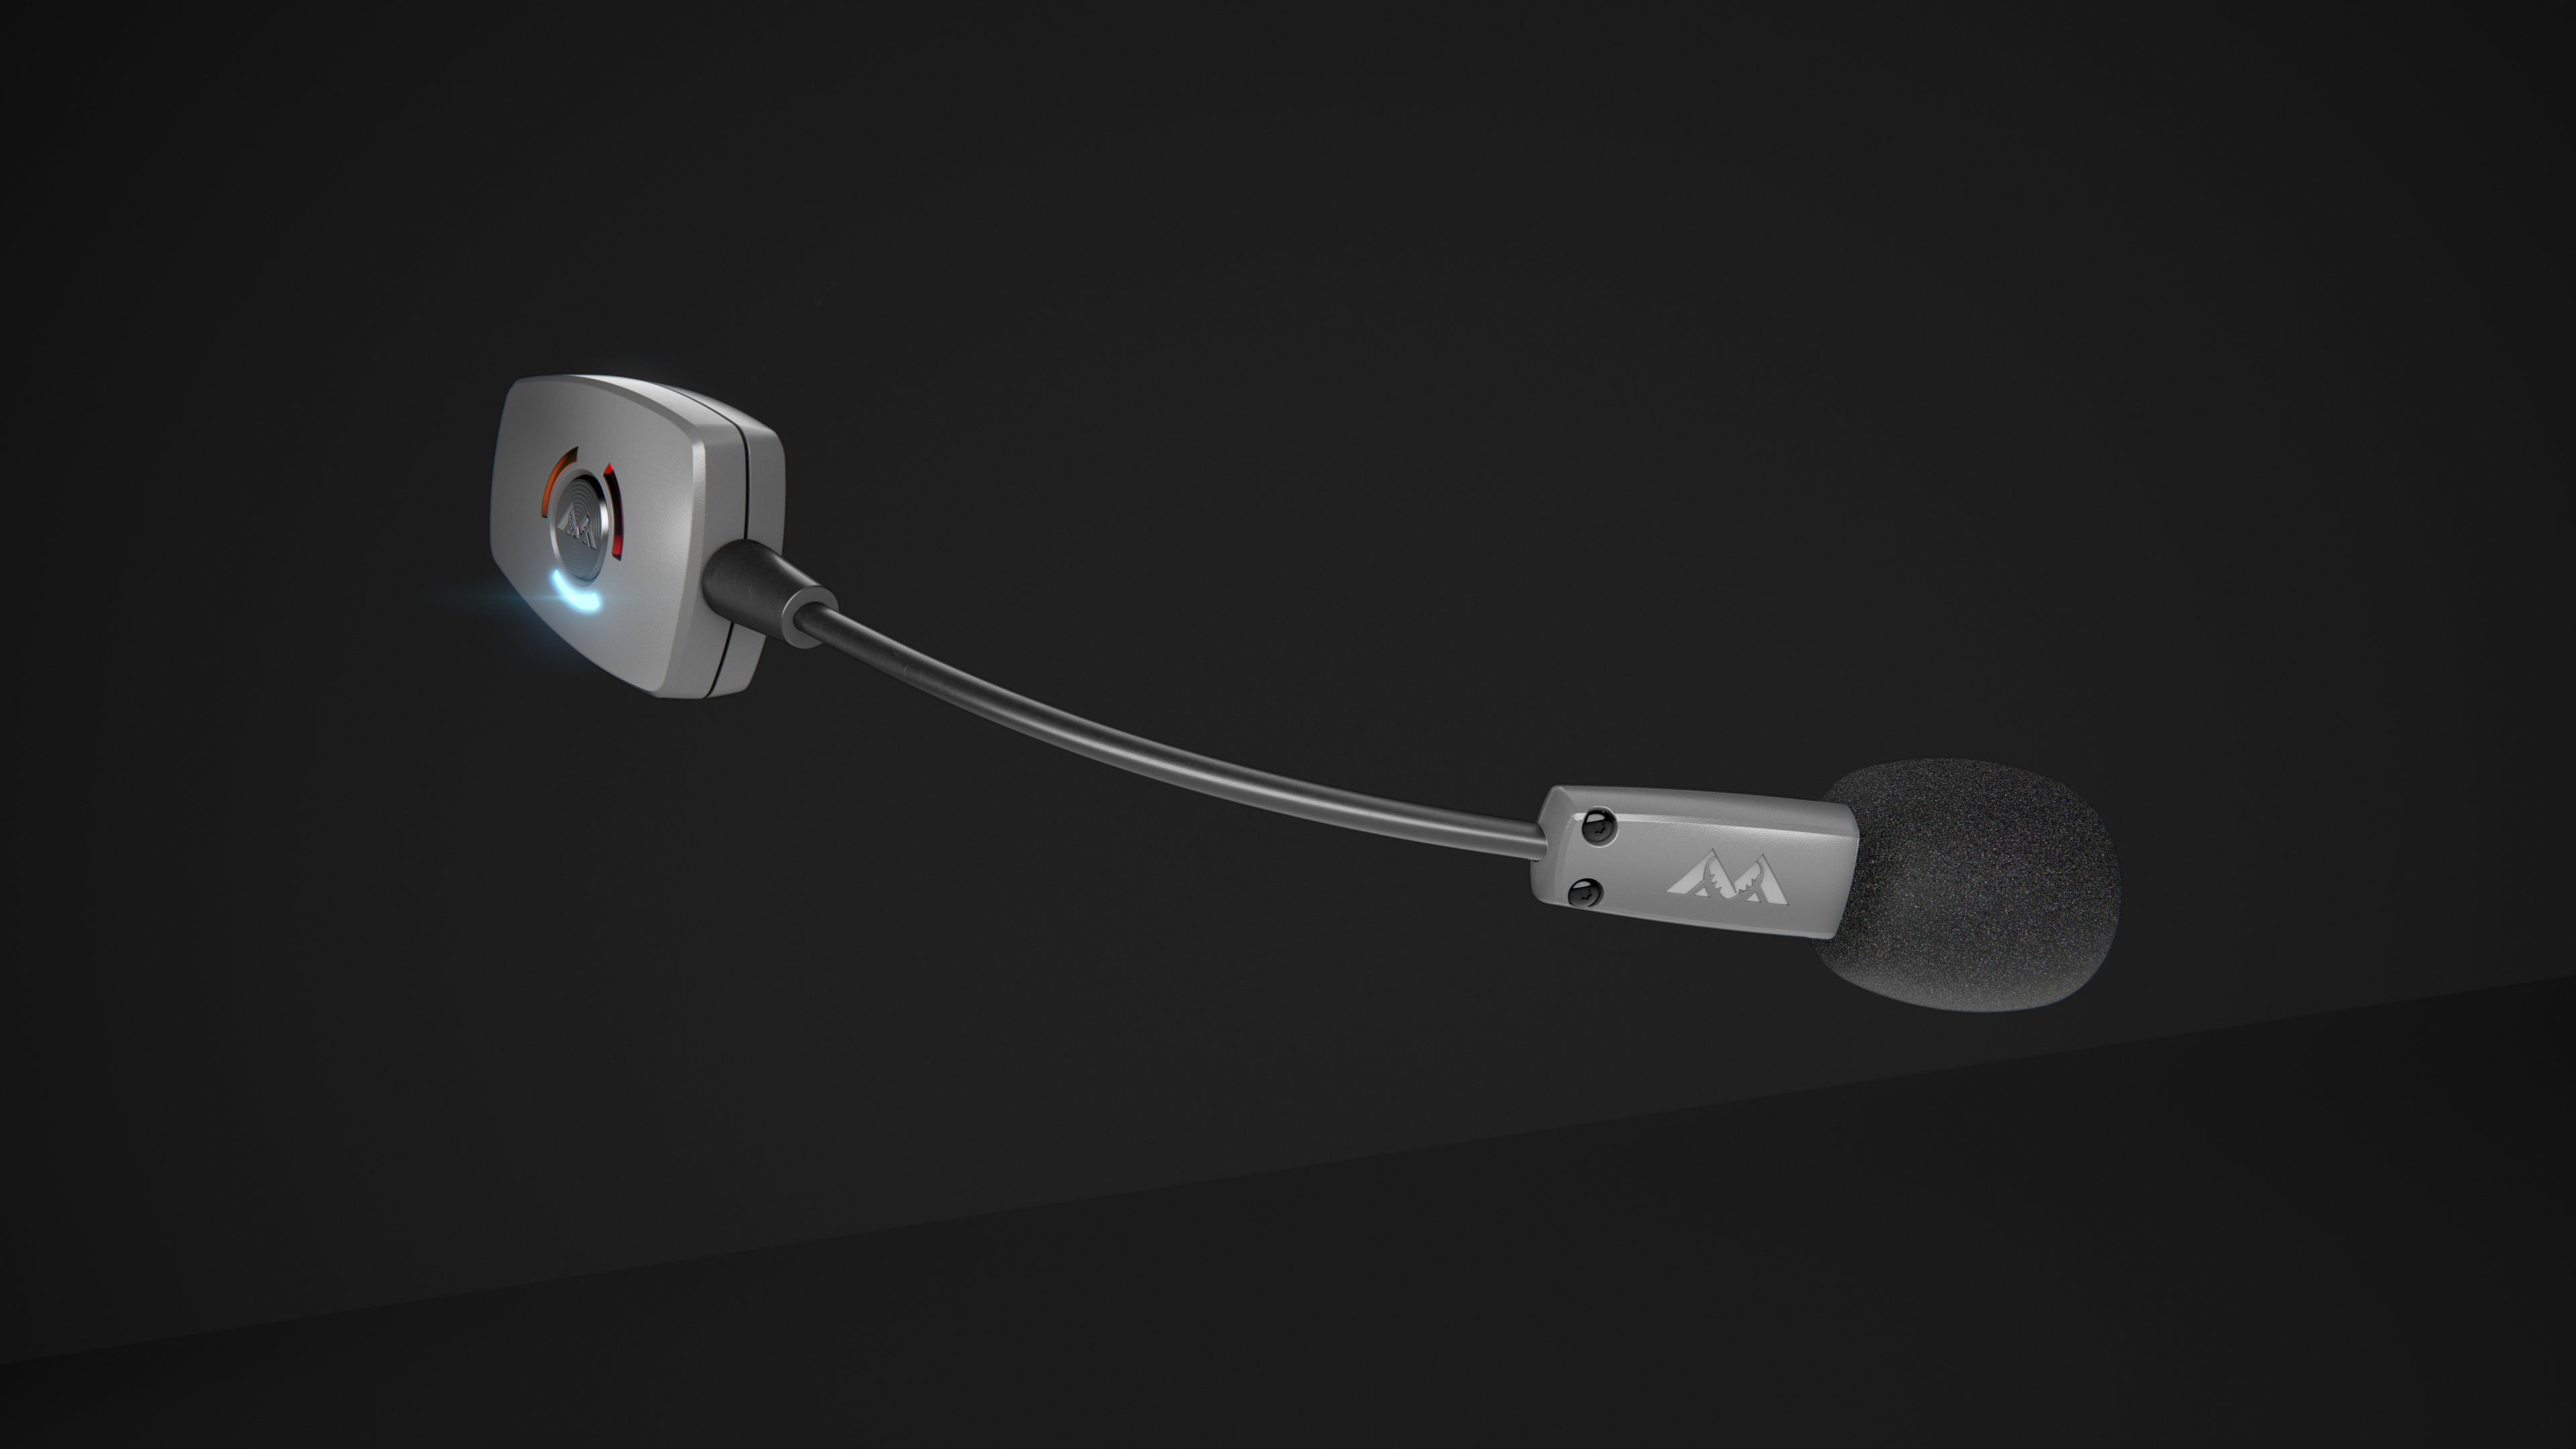
Image1: Wireless Feature No Headphones (Black)
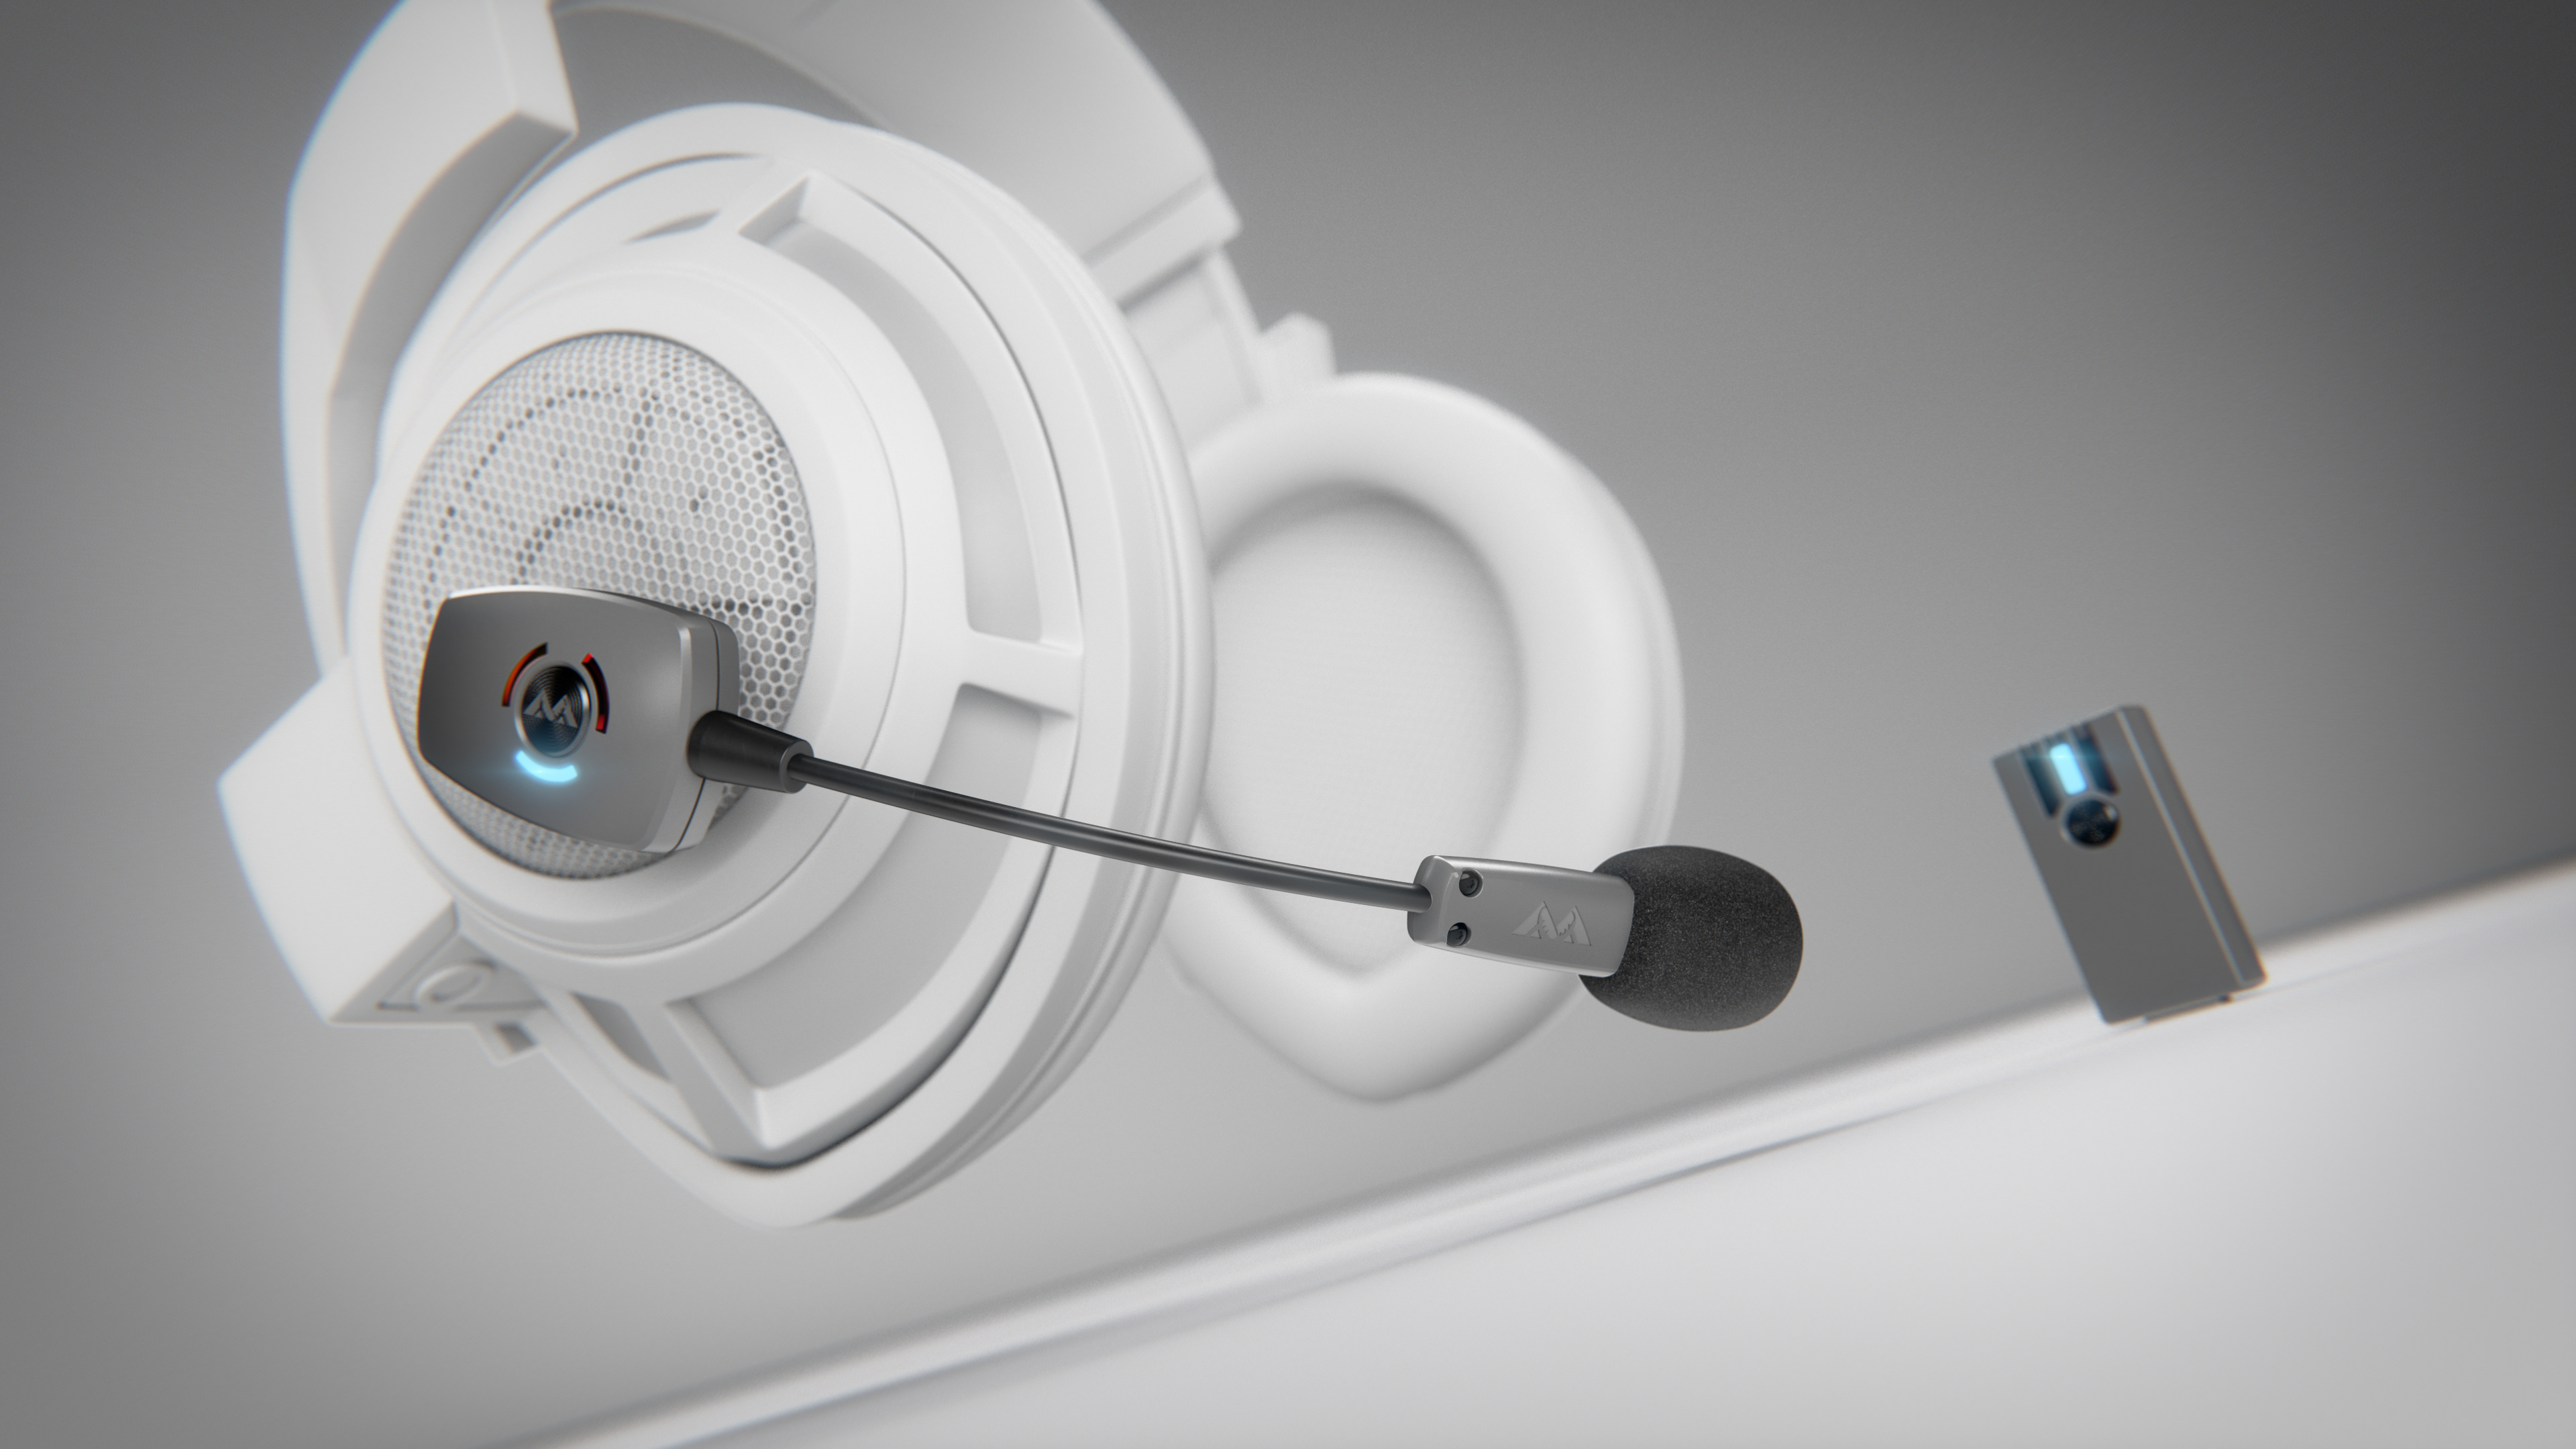
Image 2: Mic On Headphones (White)
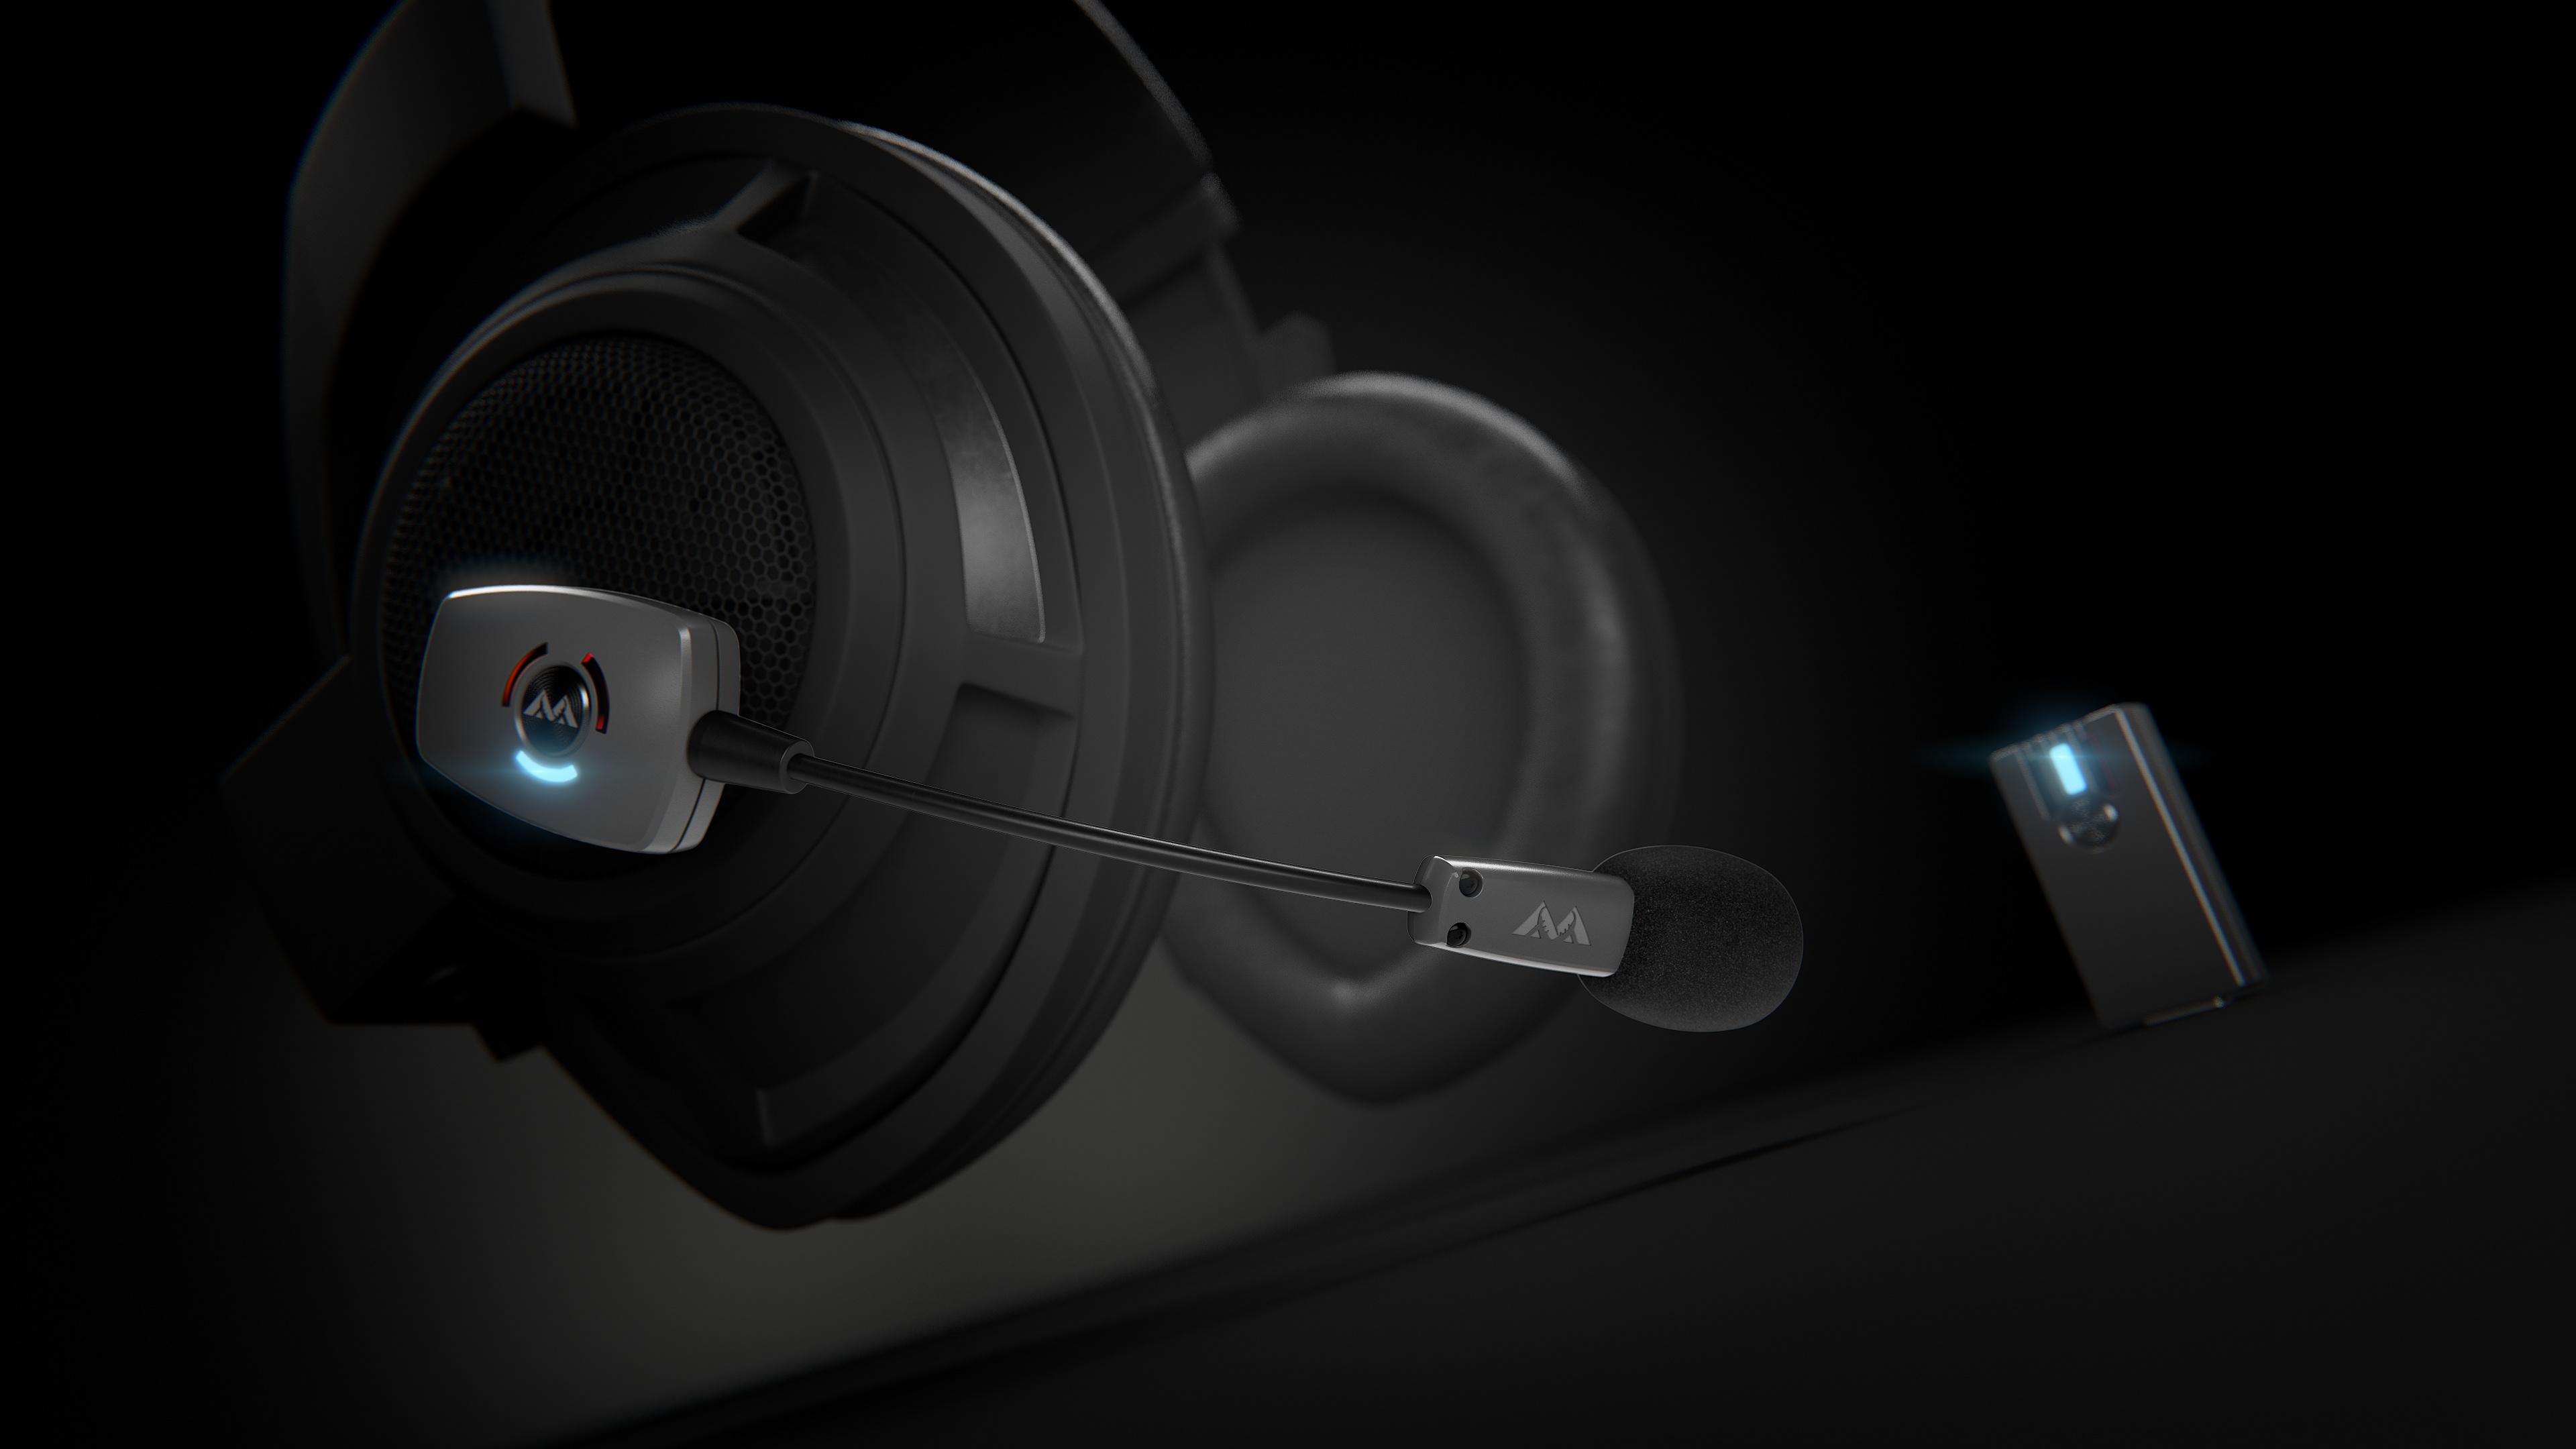
Image 2: Mic On Headphones (Black)
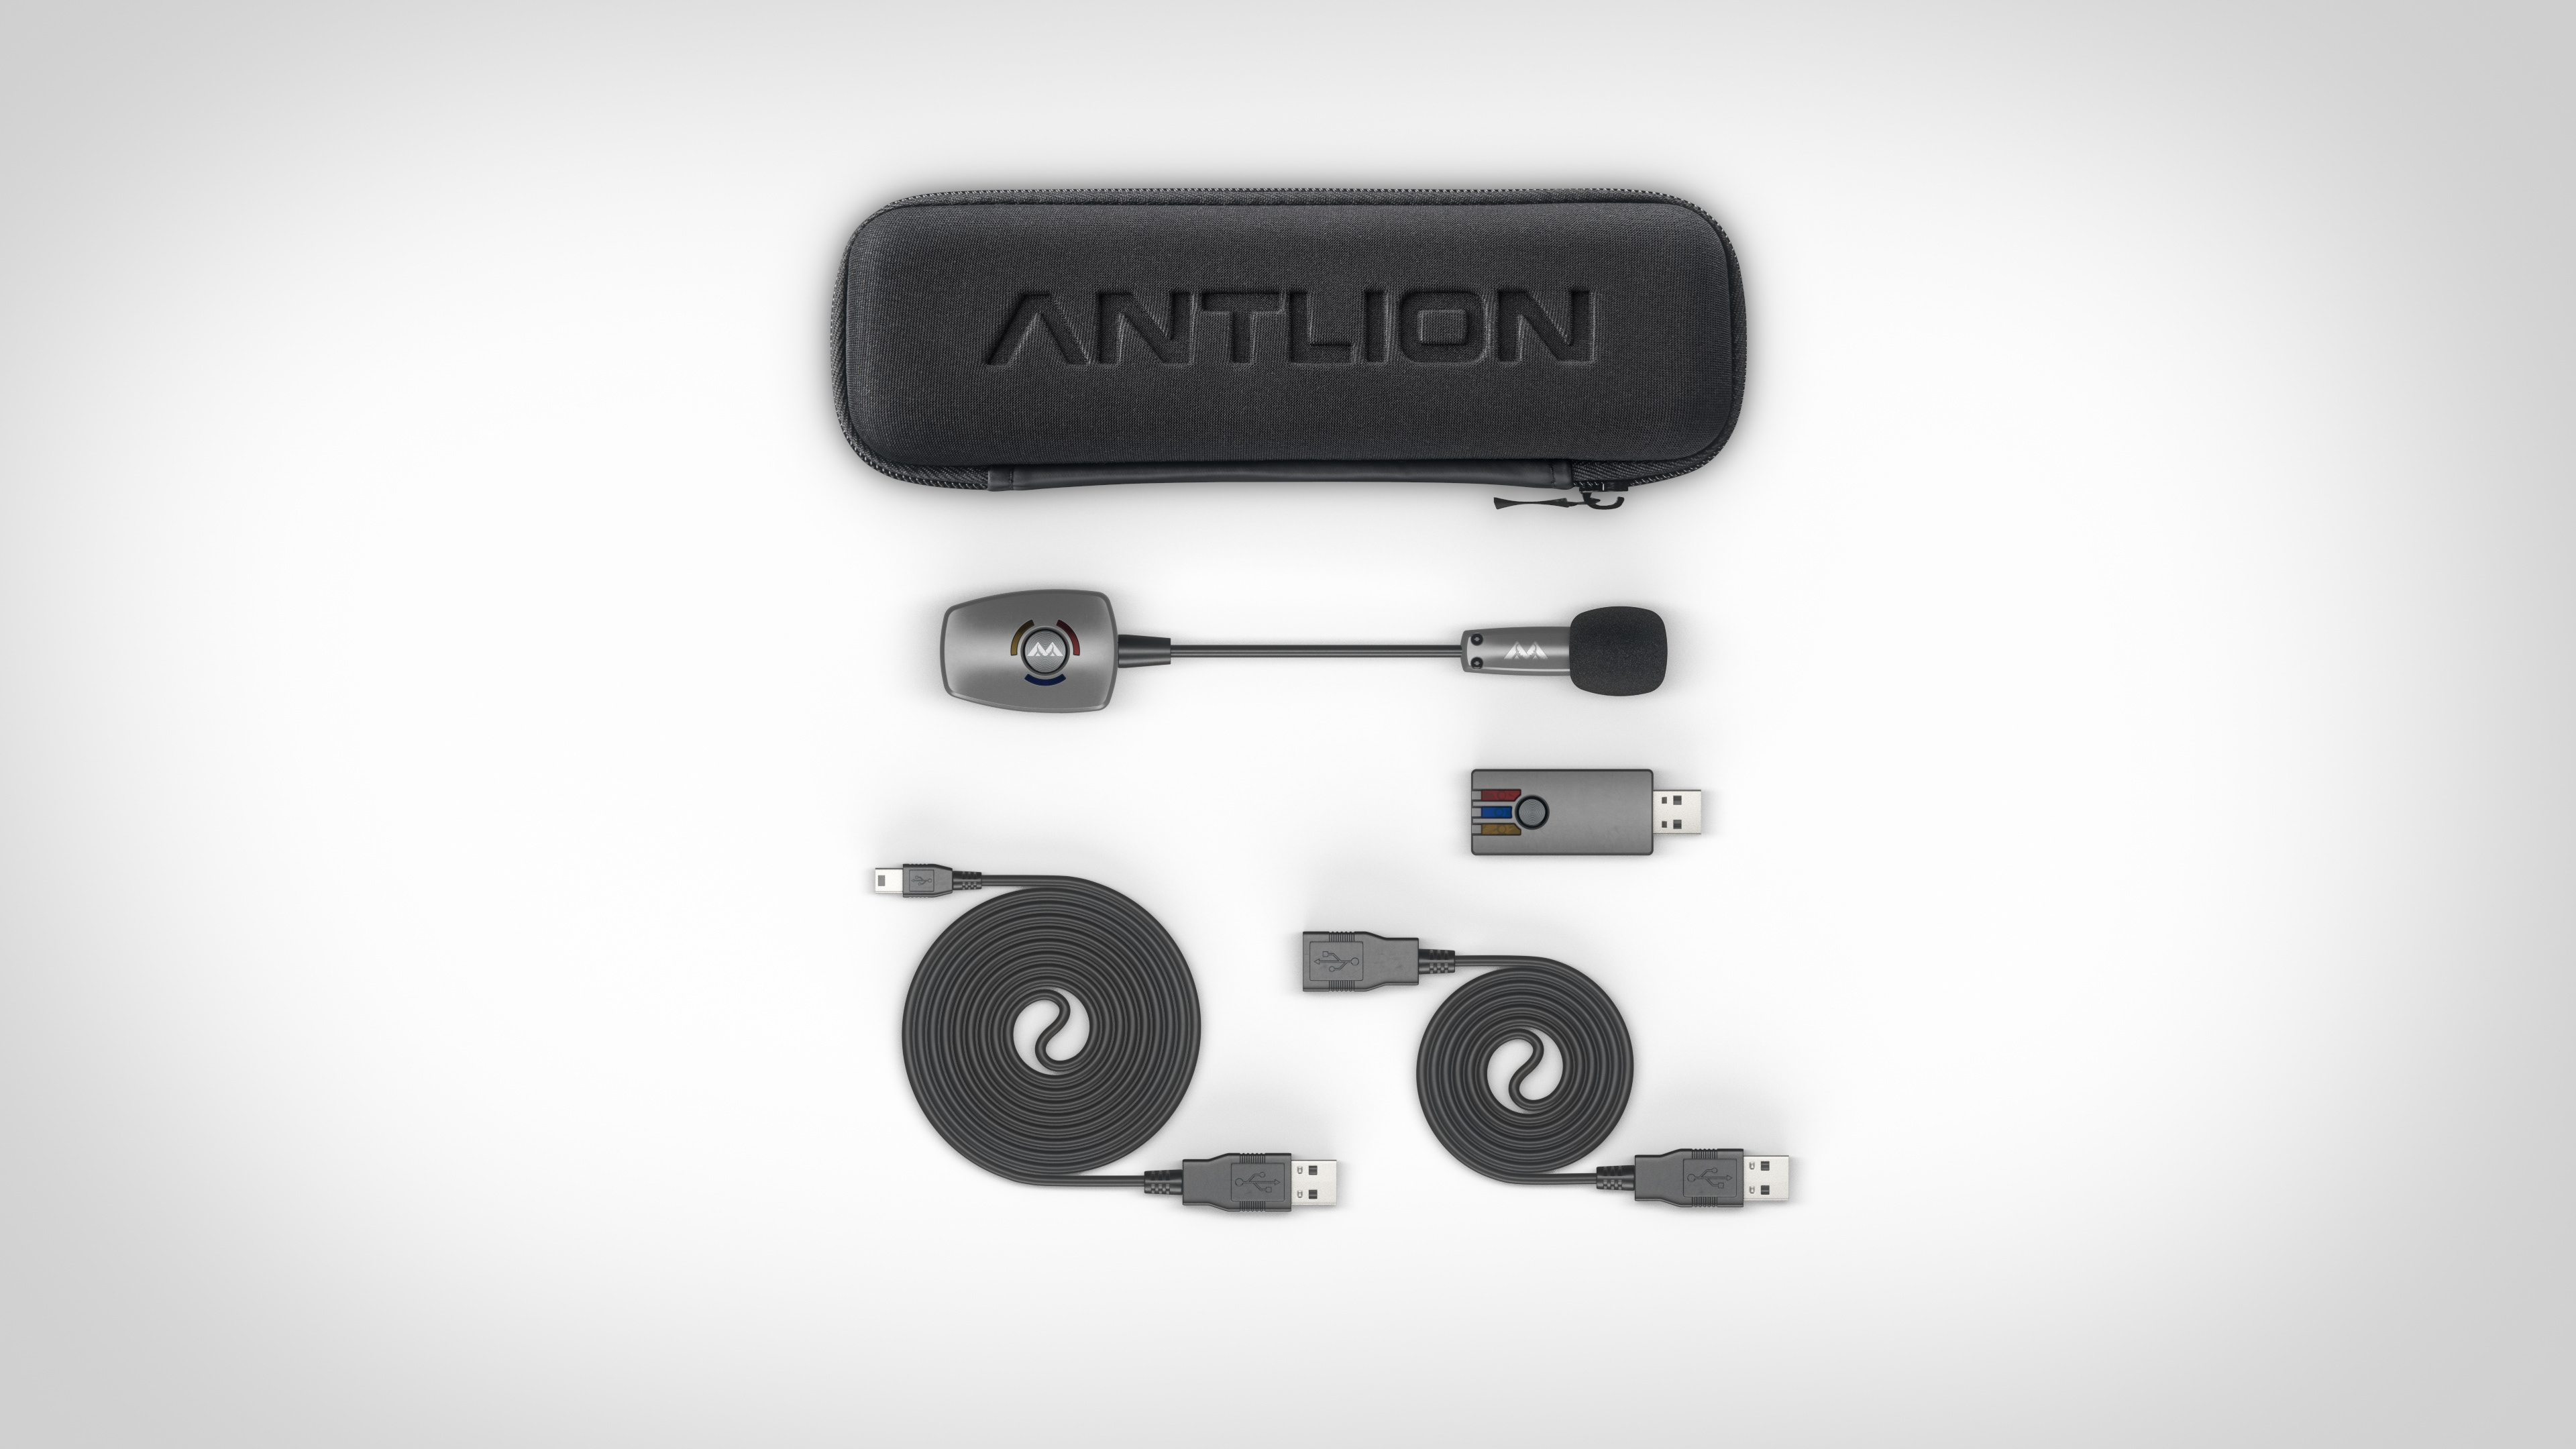
Image 3: Laydown (White)
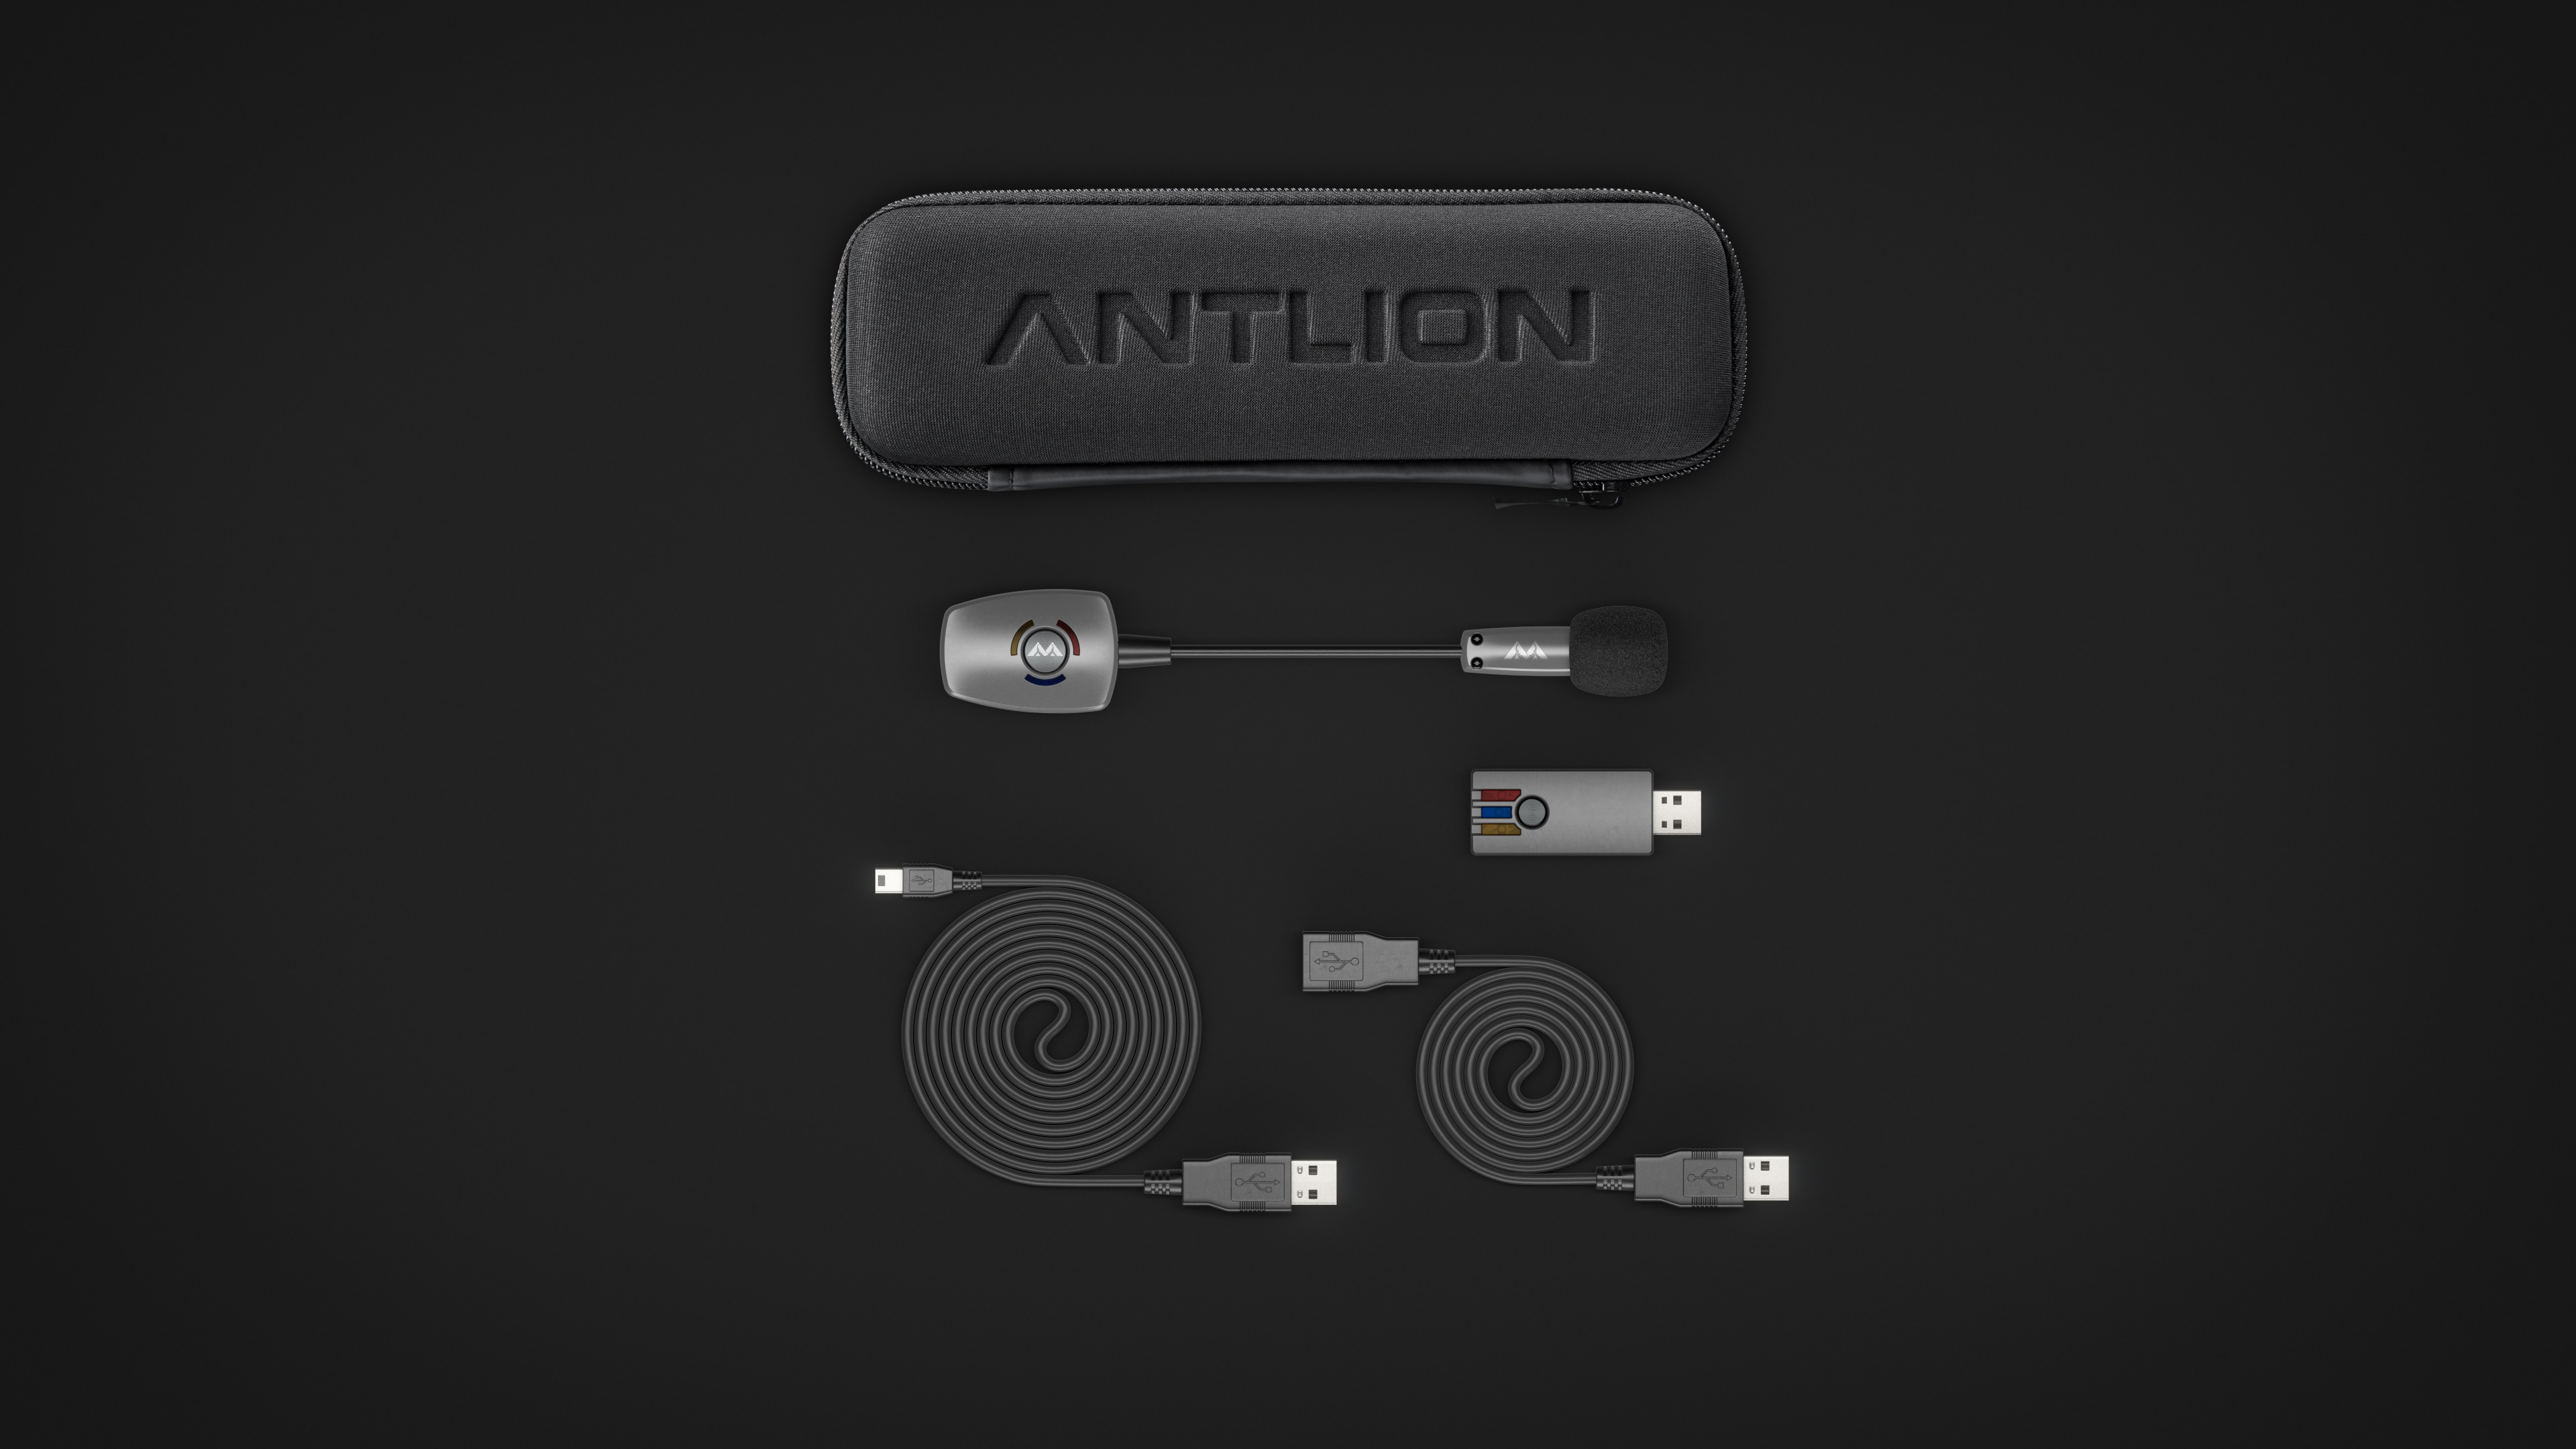
Image 3: Laydown (Black)
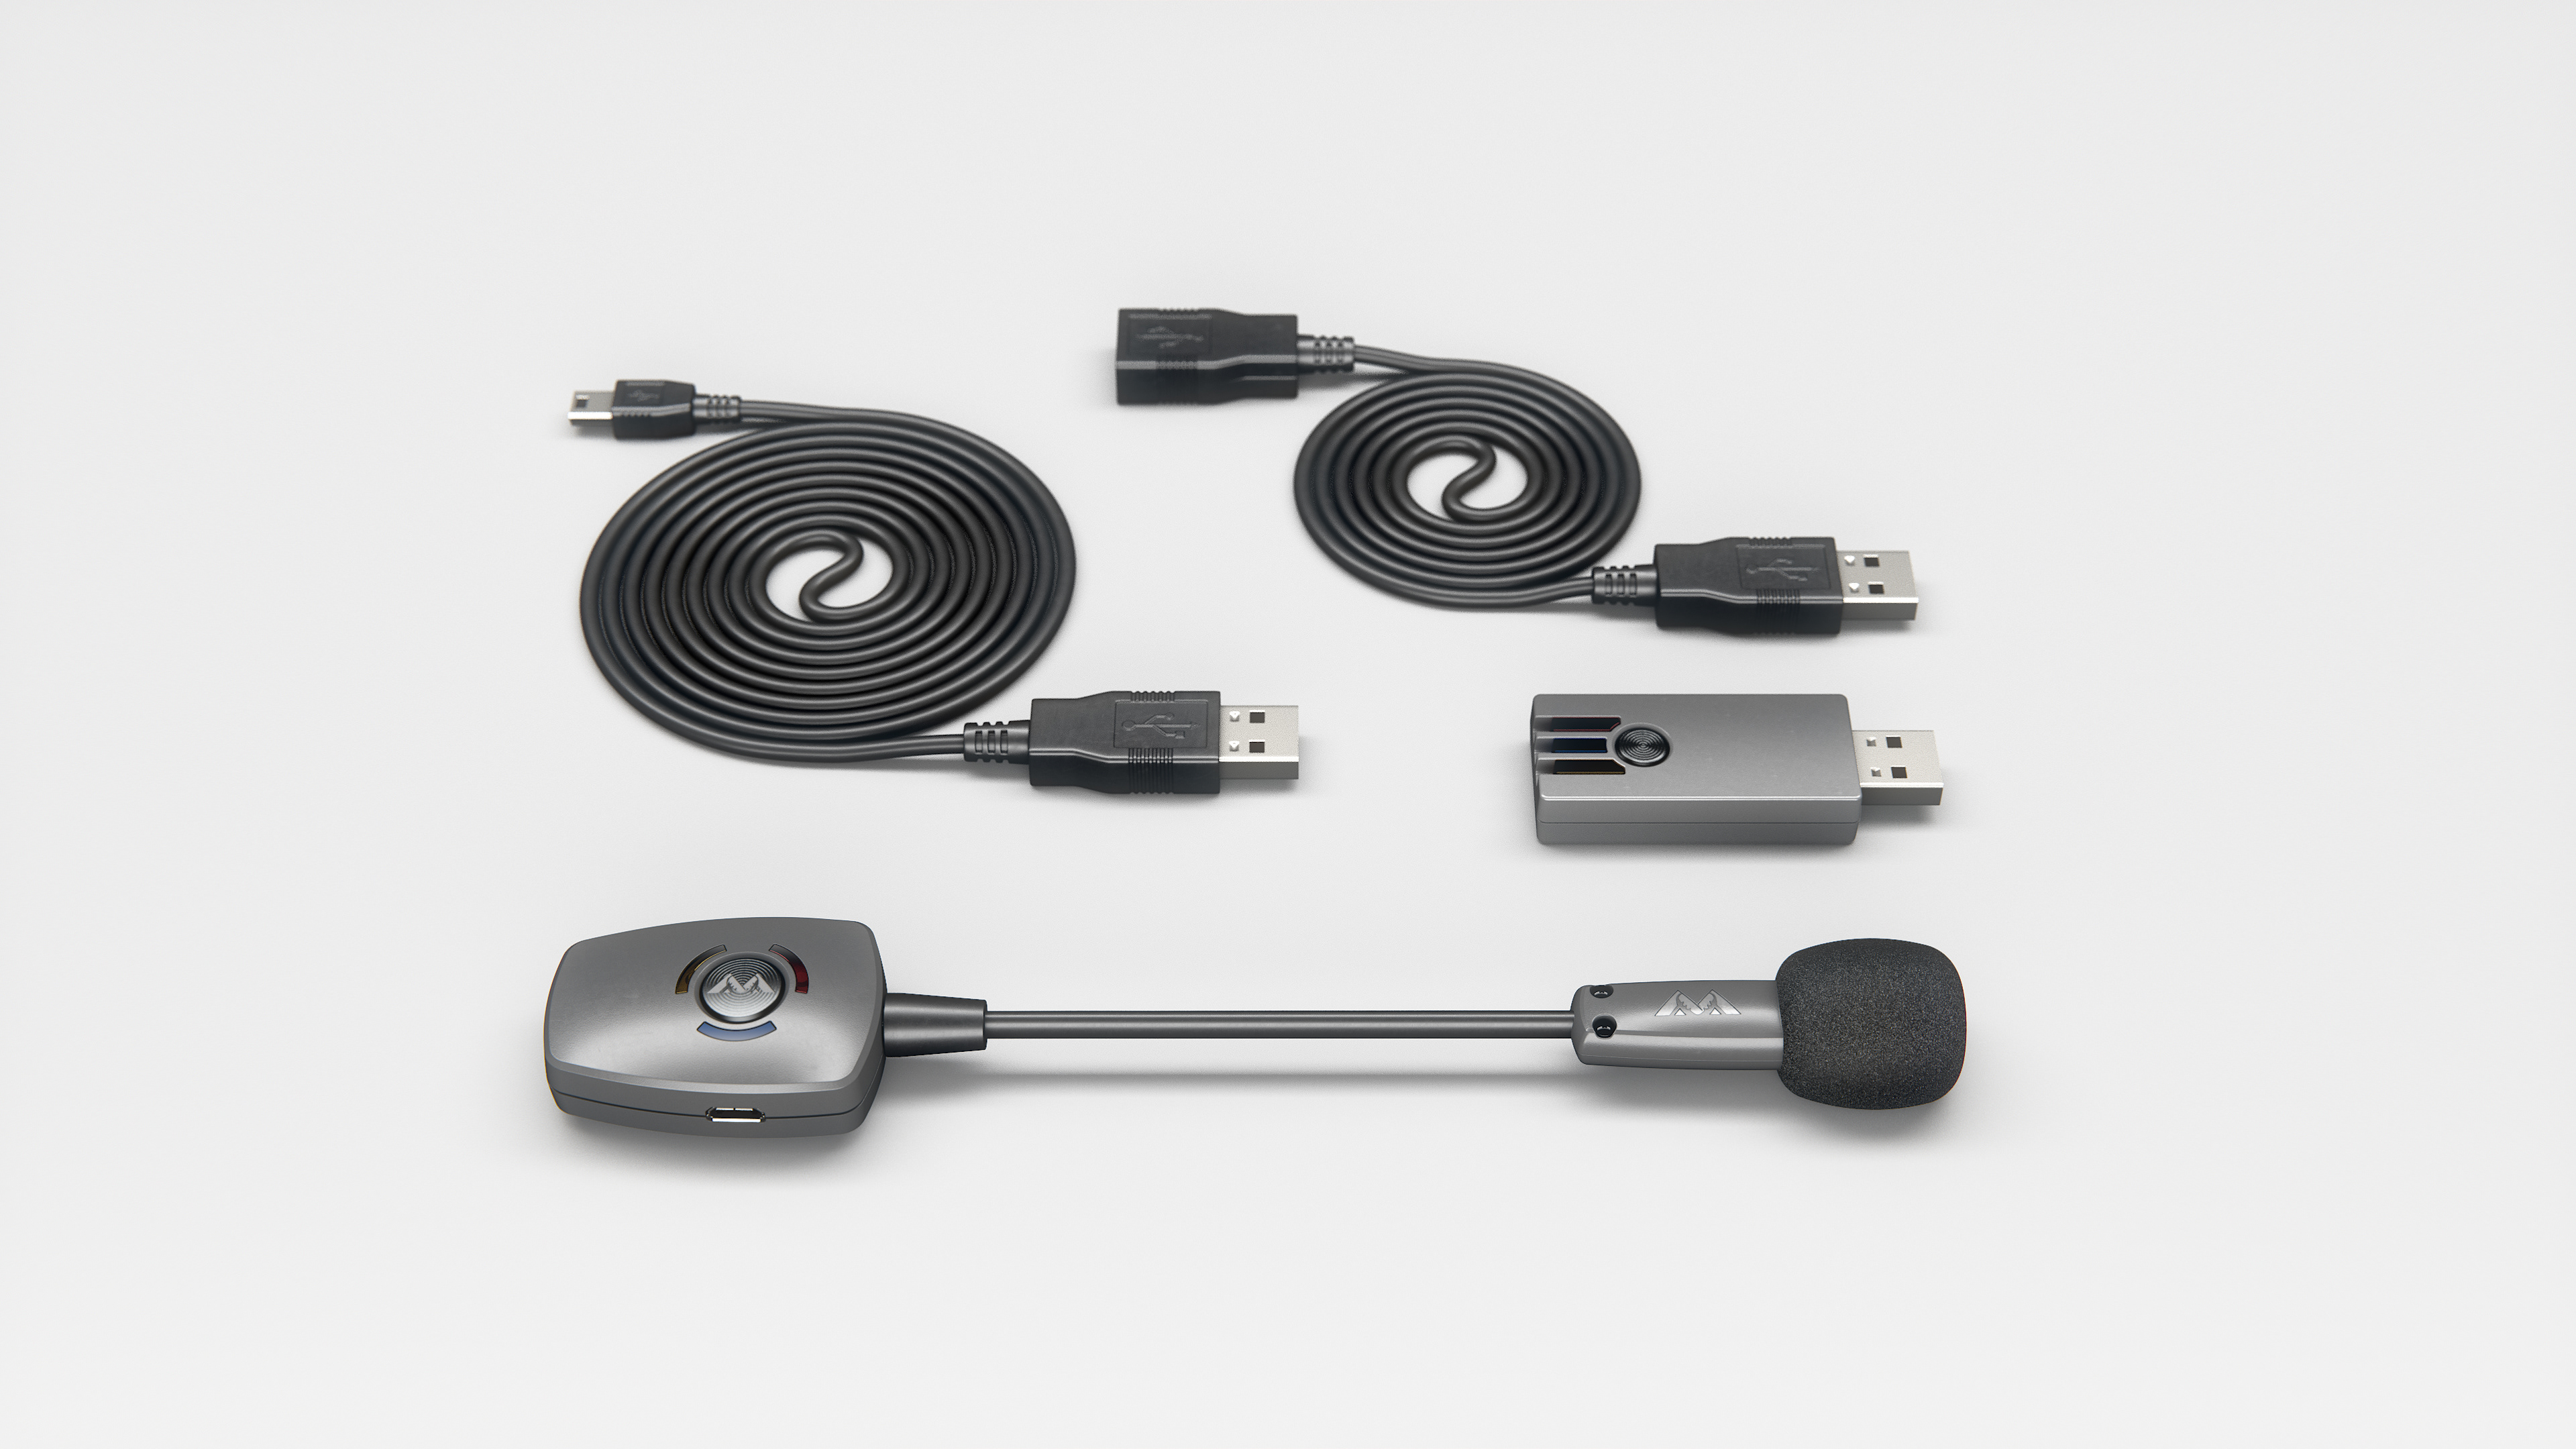
Image 3: Laydown 3Q (White - Bonus Image)
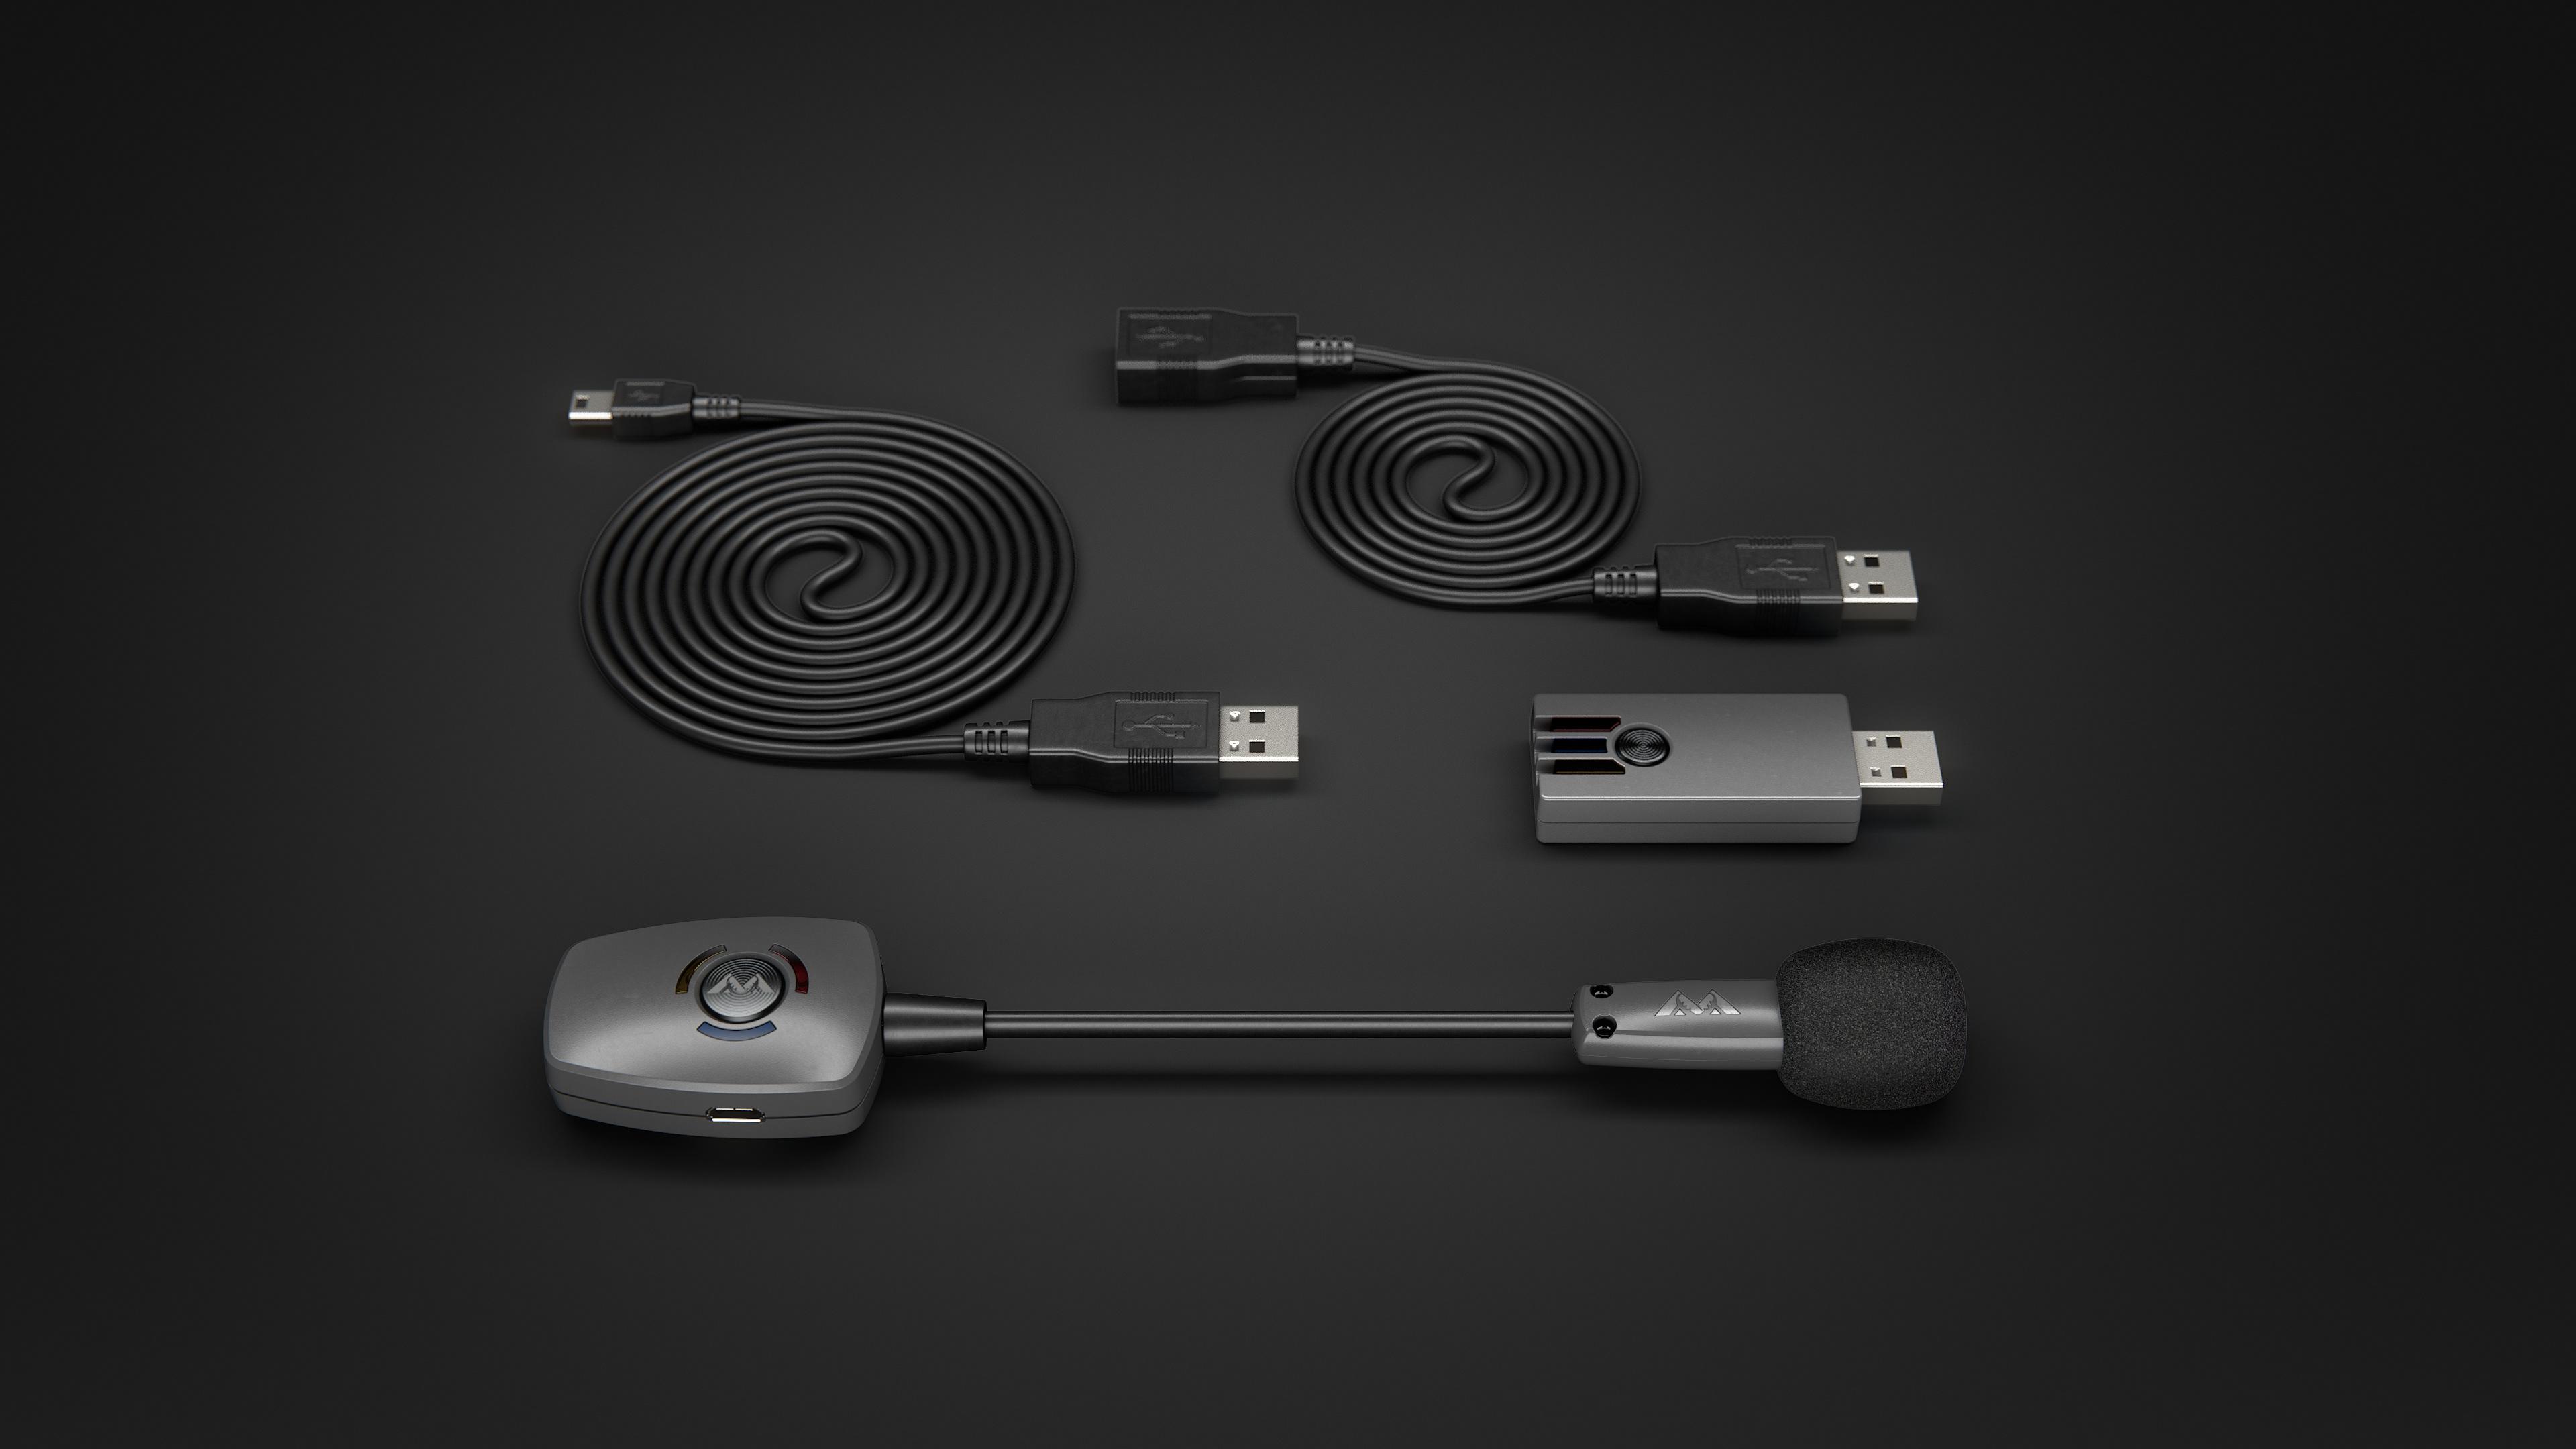
Image 3: Laydown 3Q (Black)
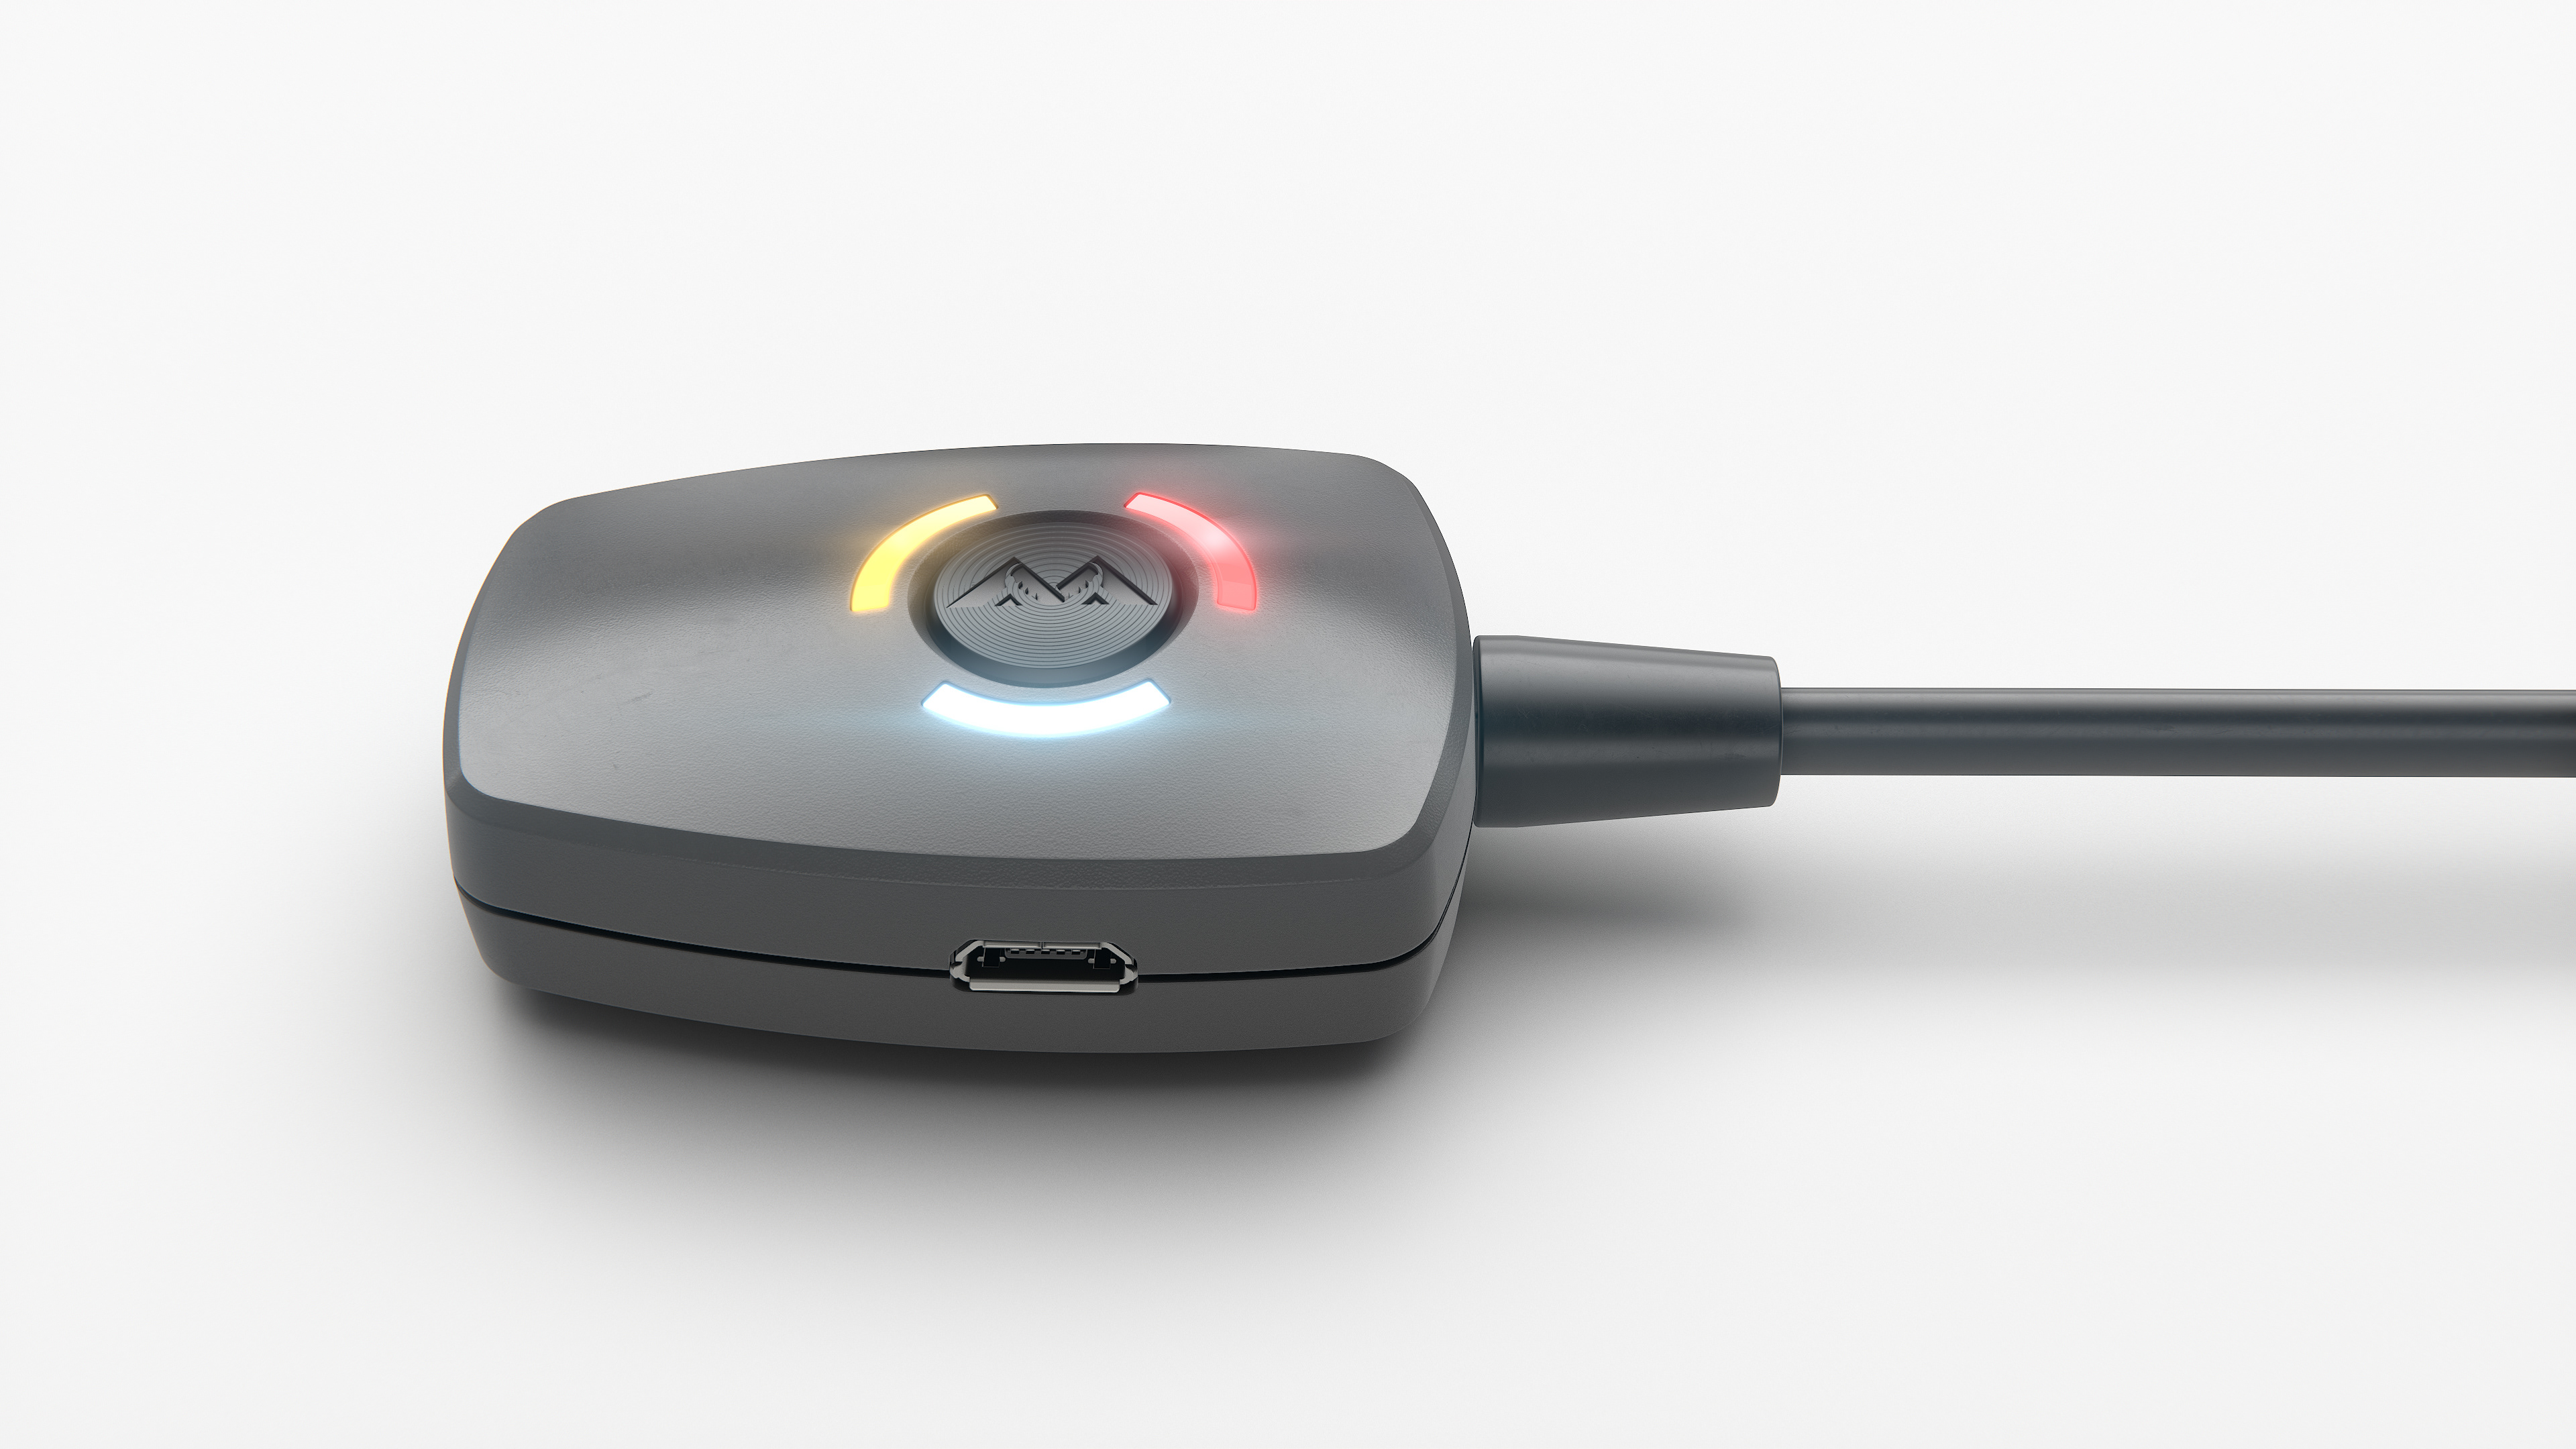
Image 4: Mod Mic Rear (White)
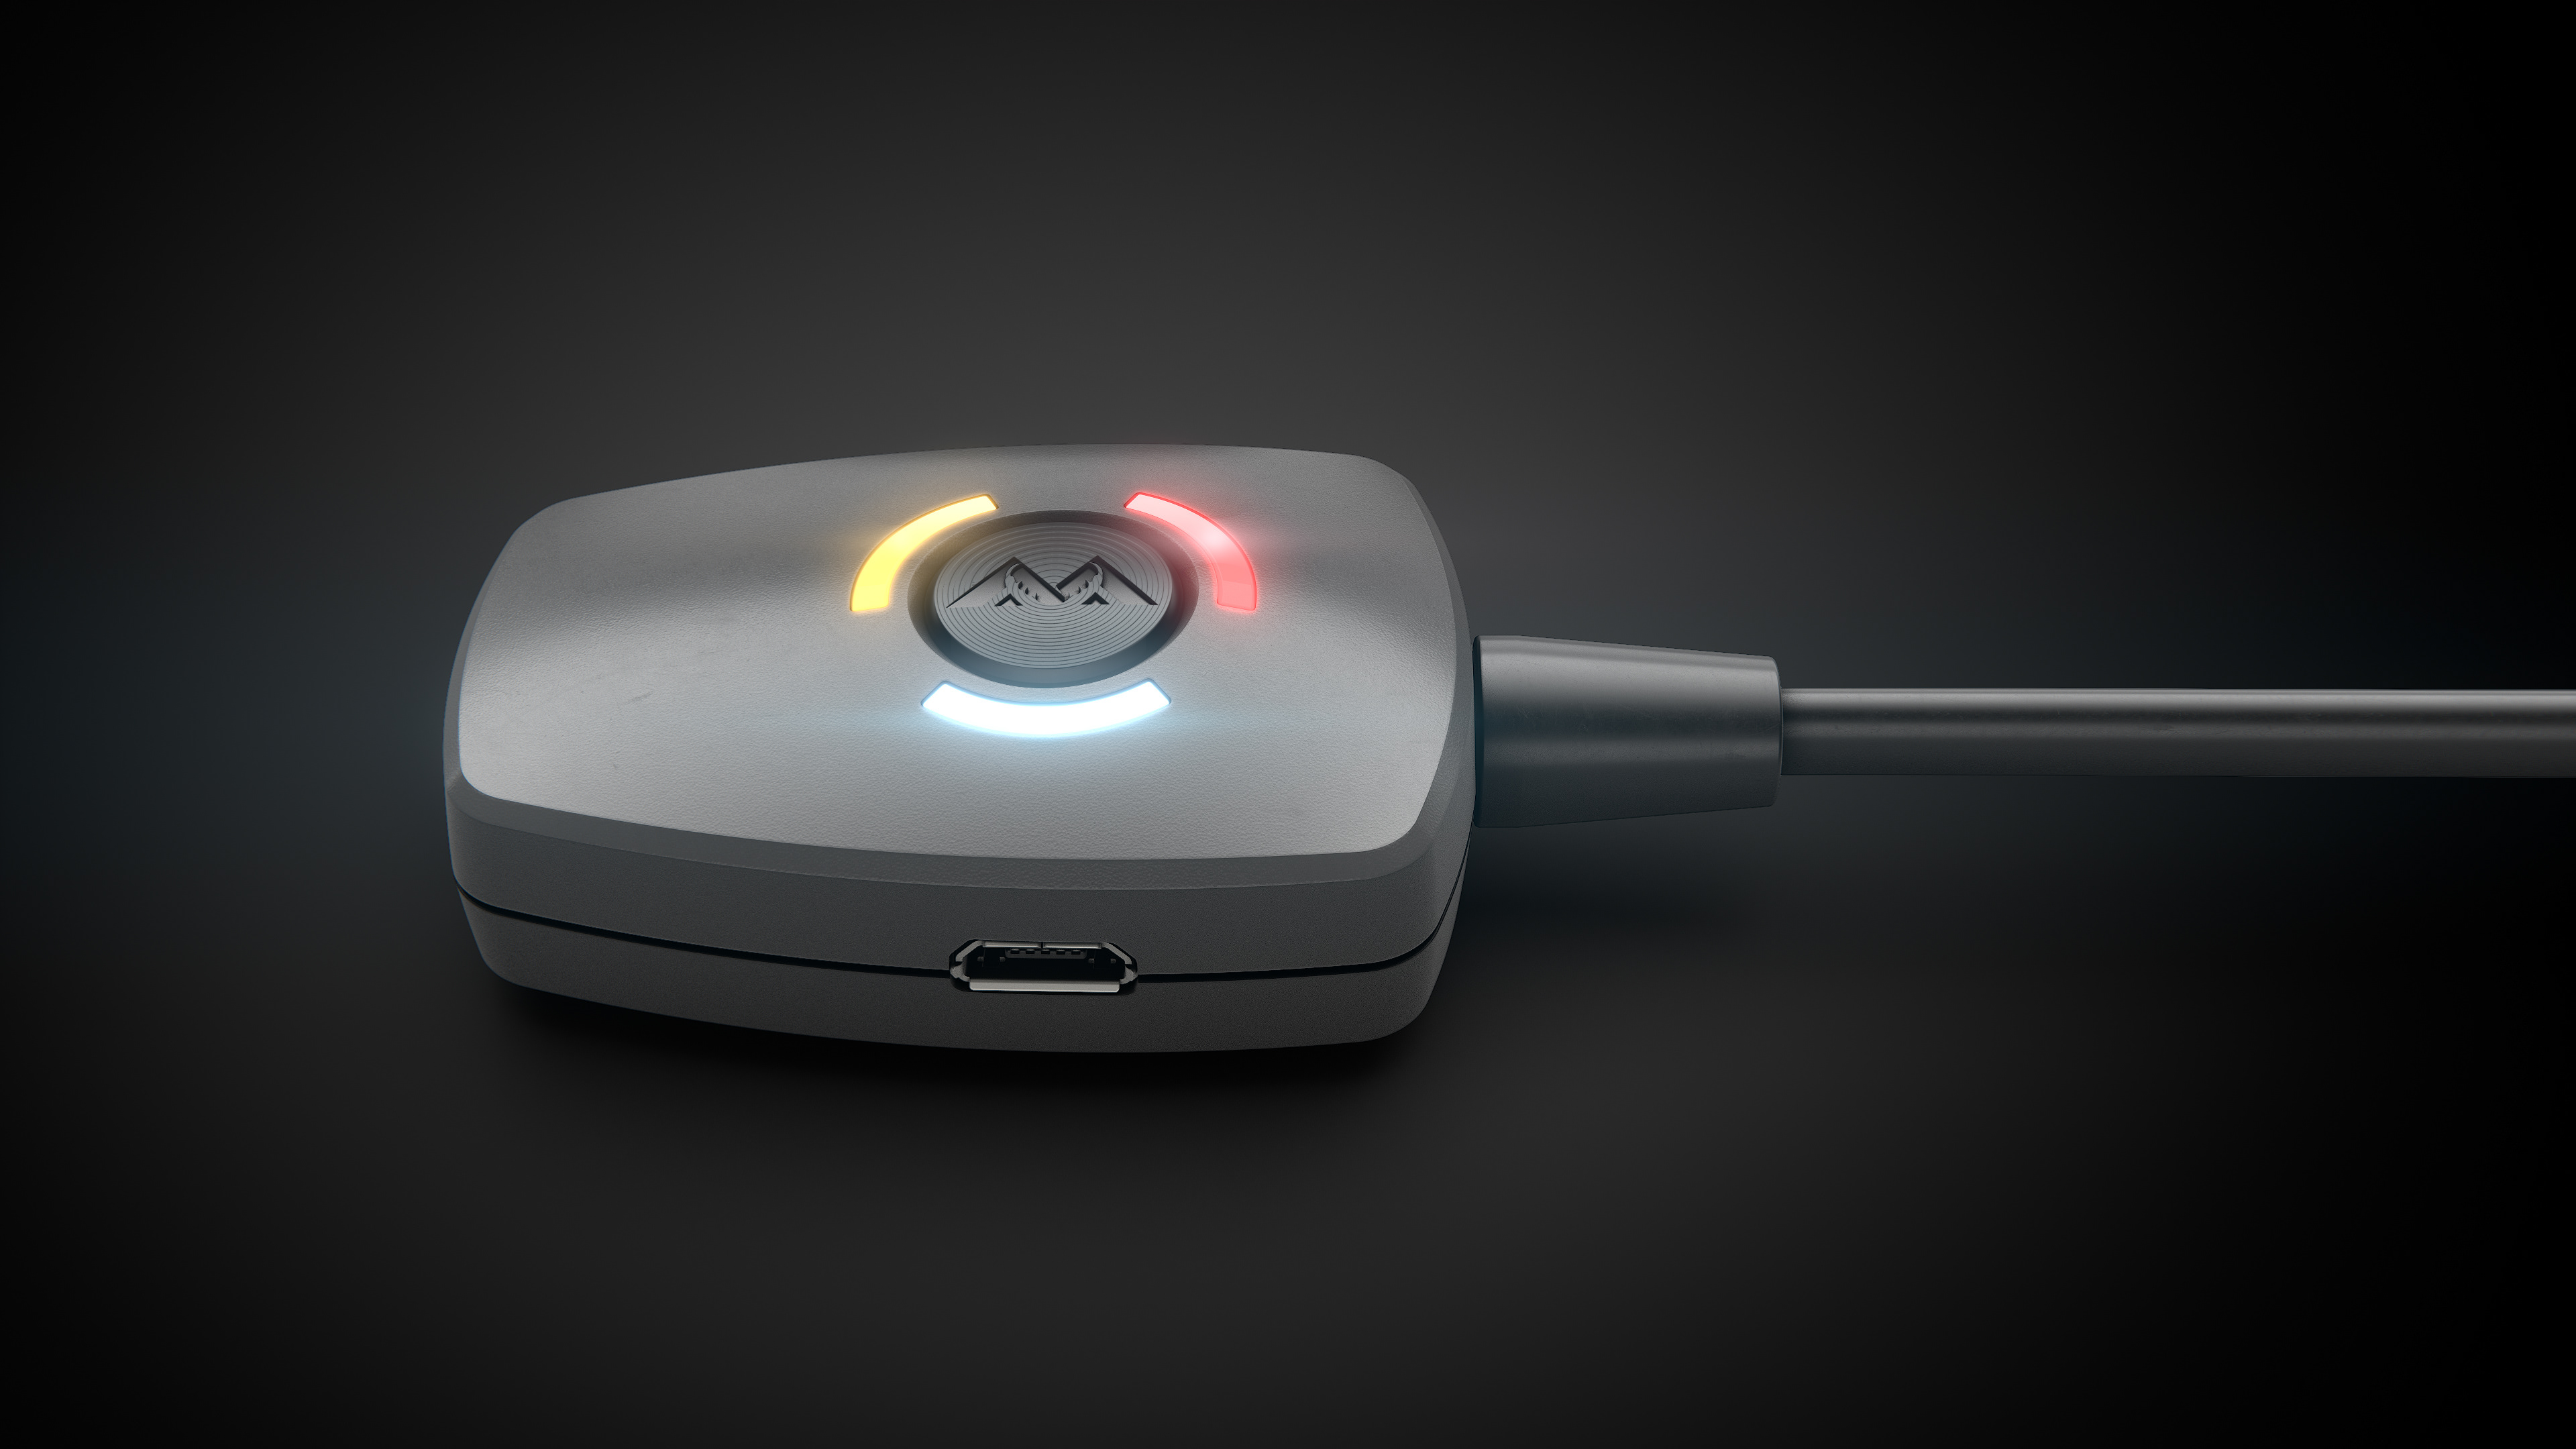
Image 4: Mod Mic Rear (Black)
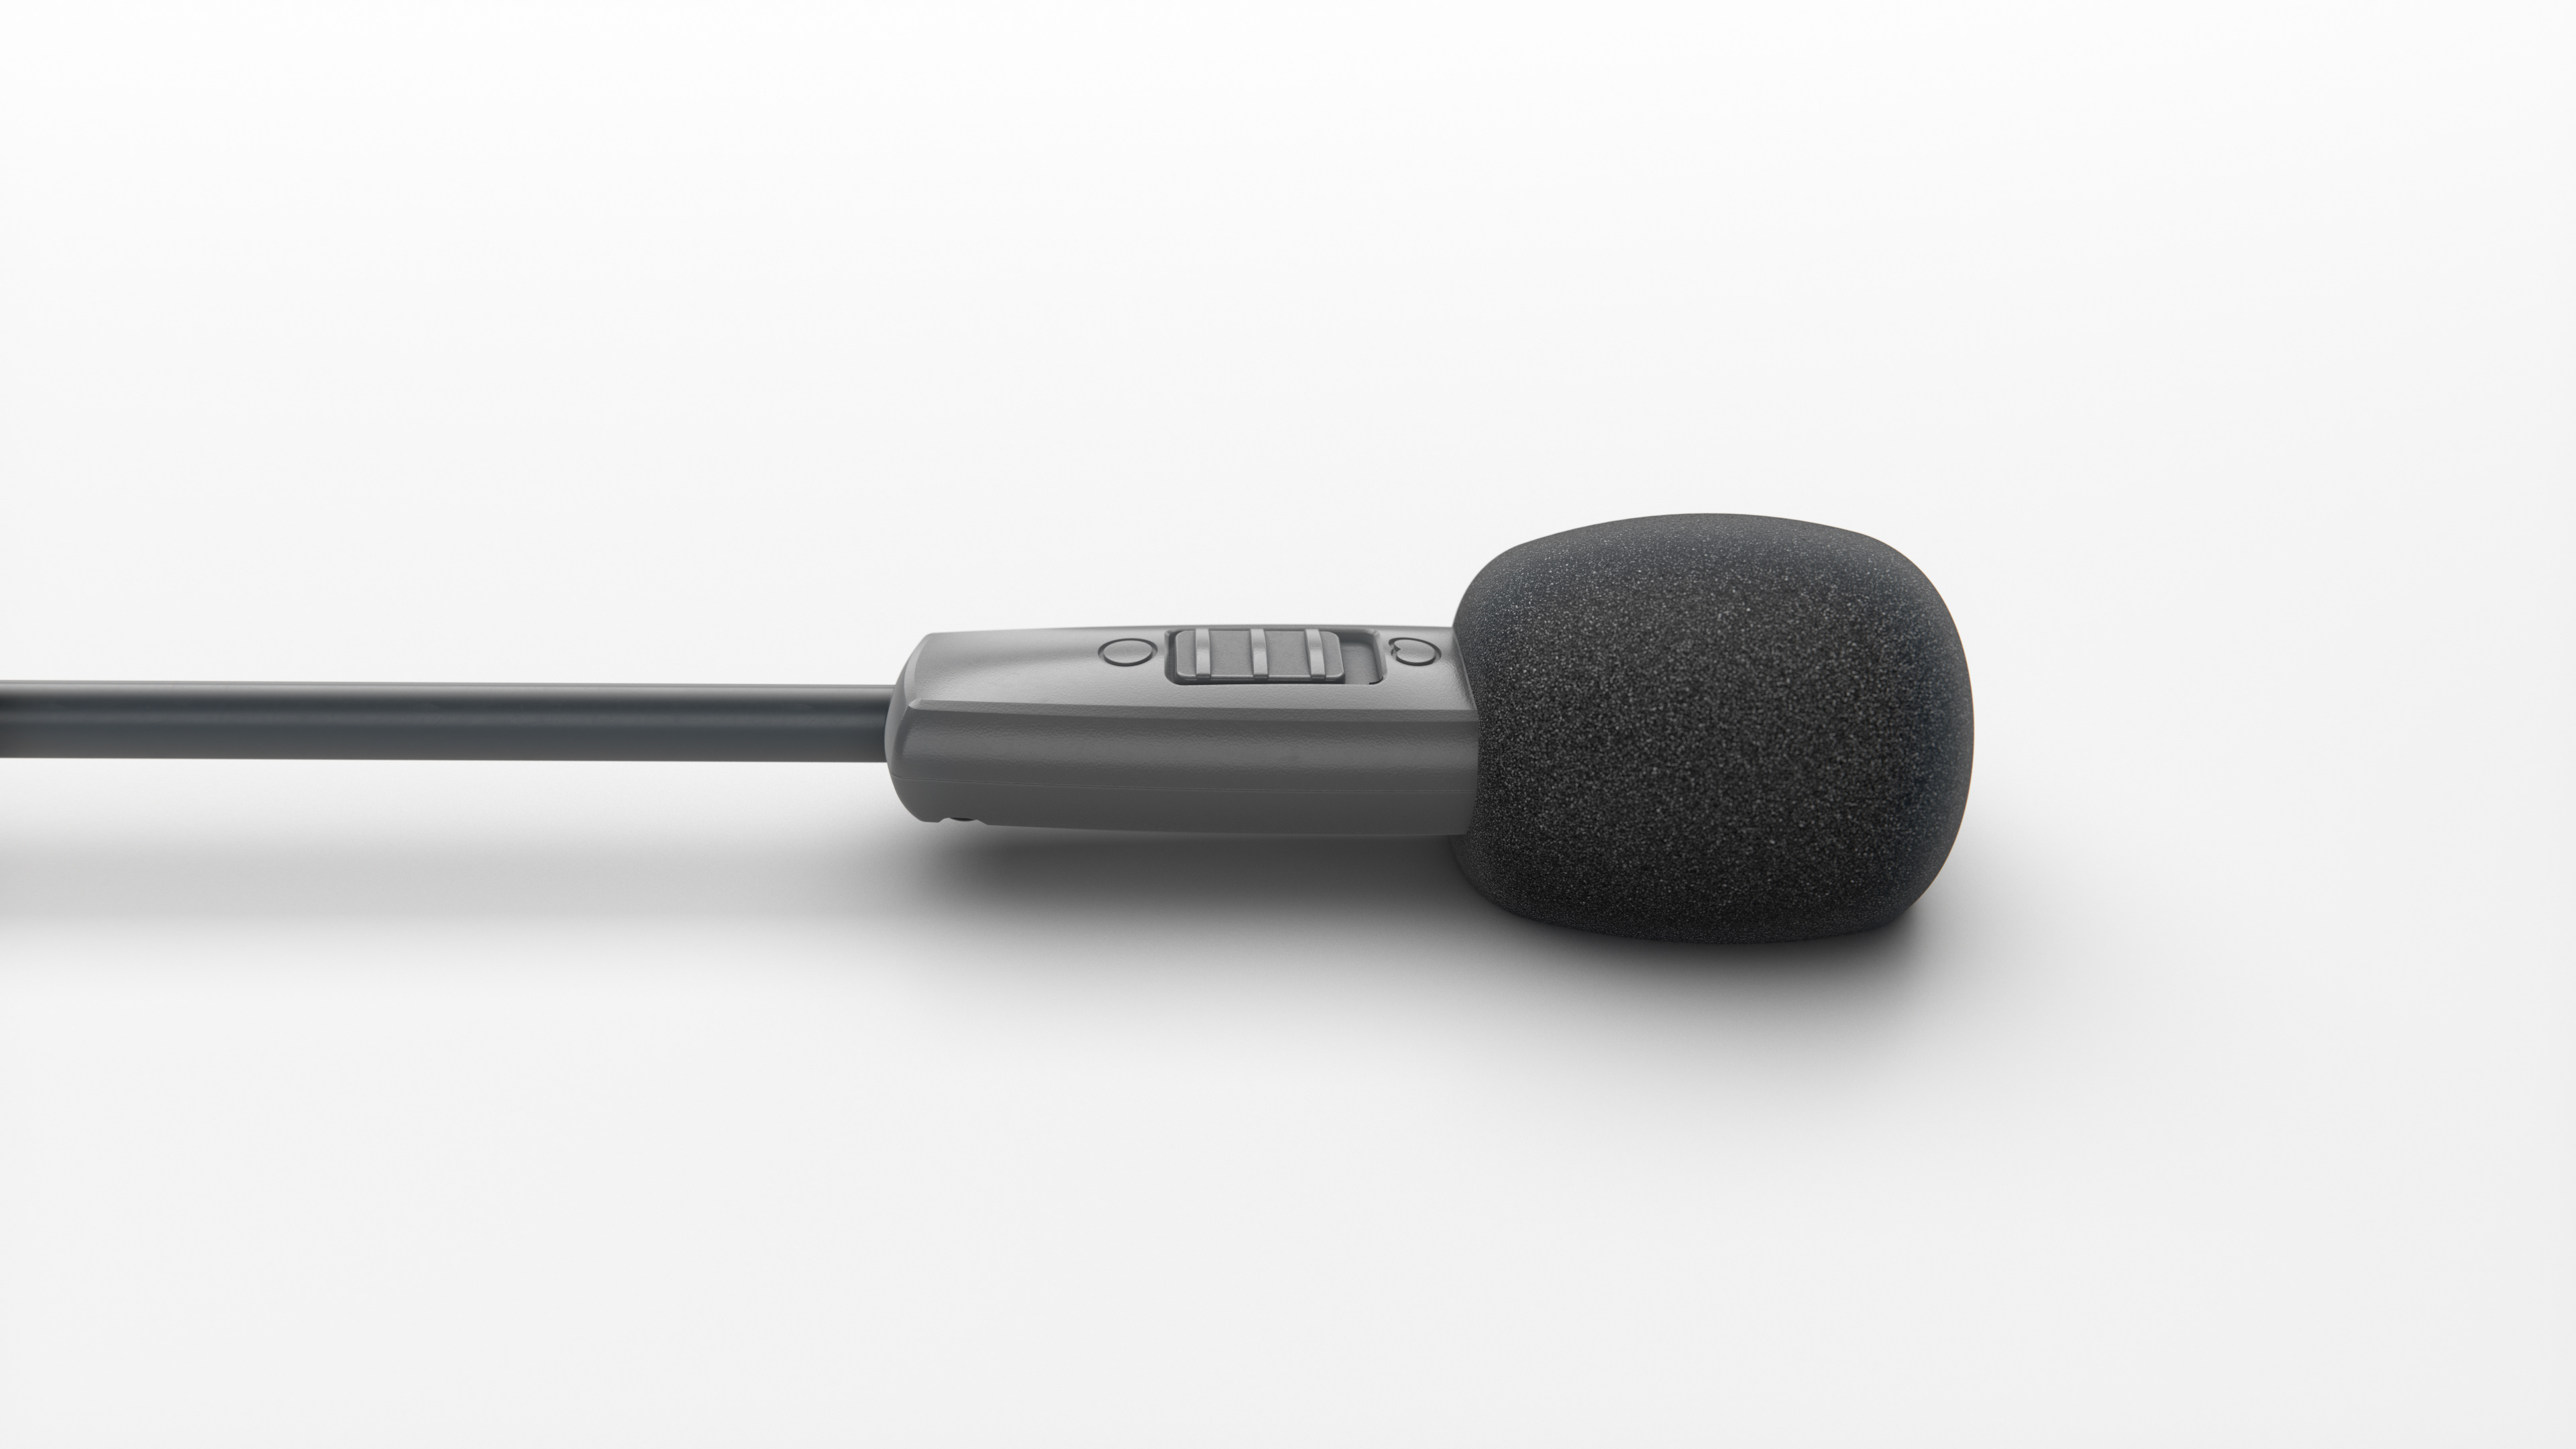
Image 5: Omni / Uni Highlight (White)
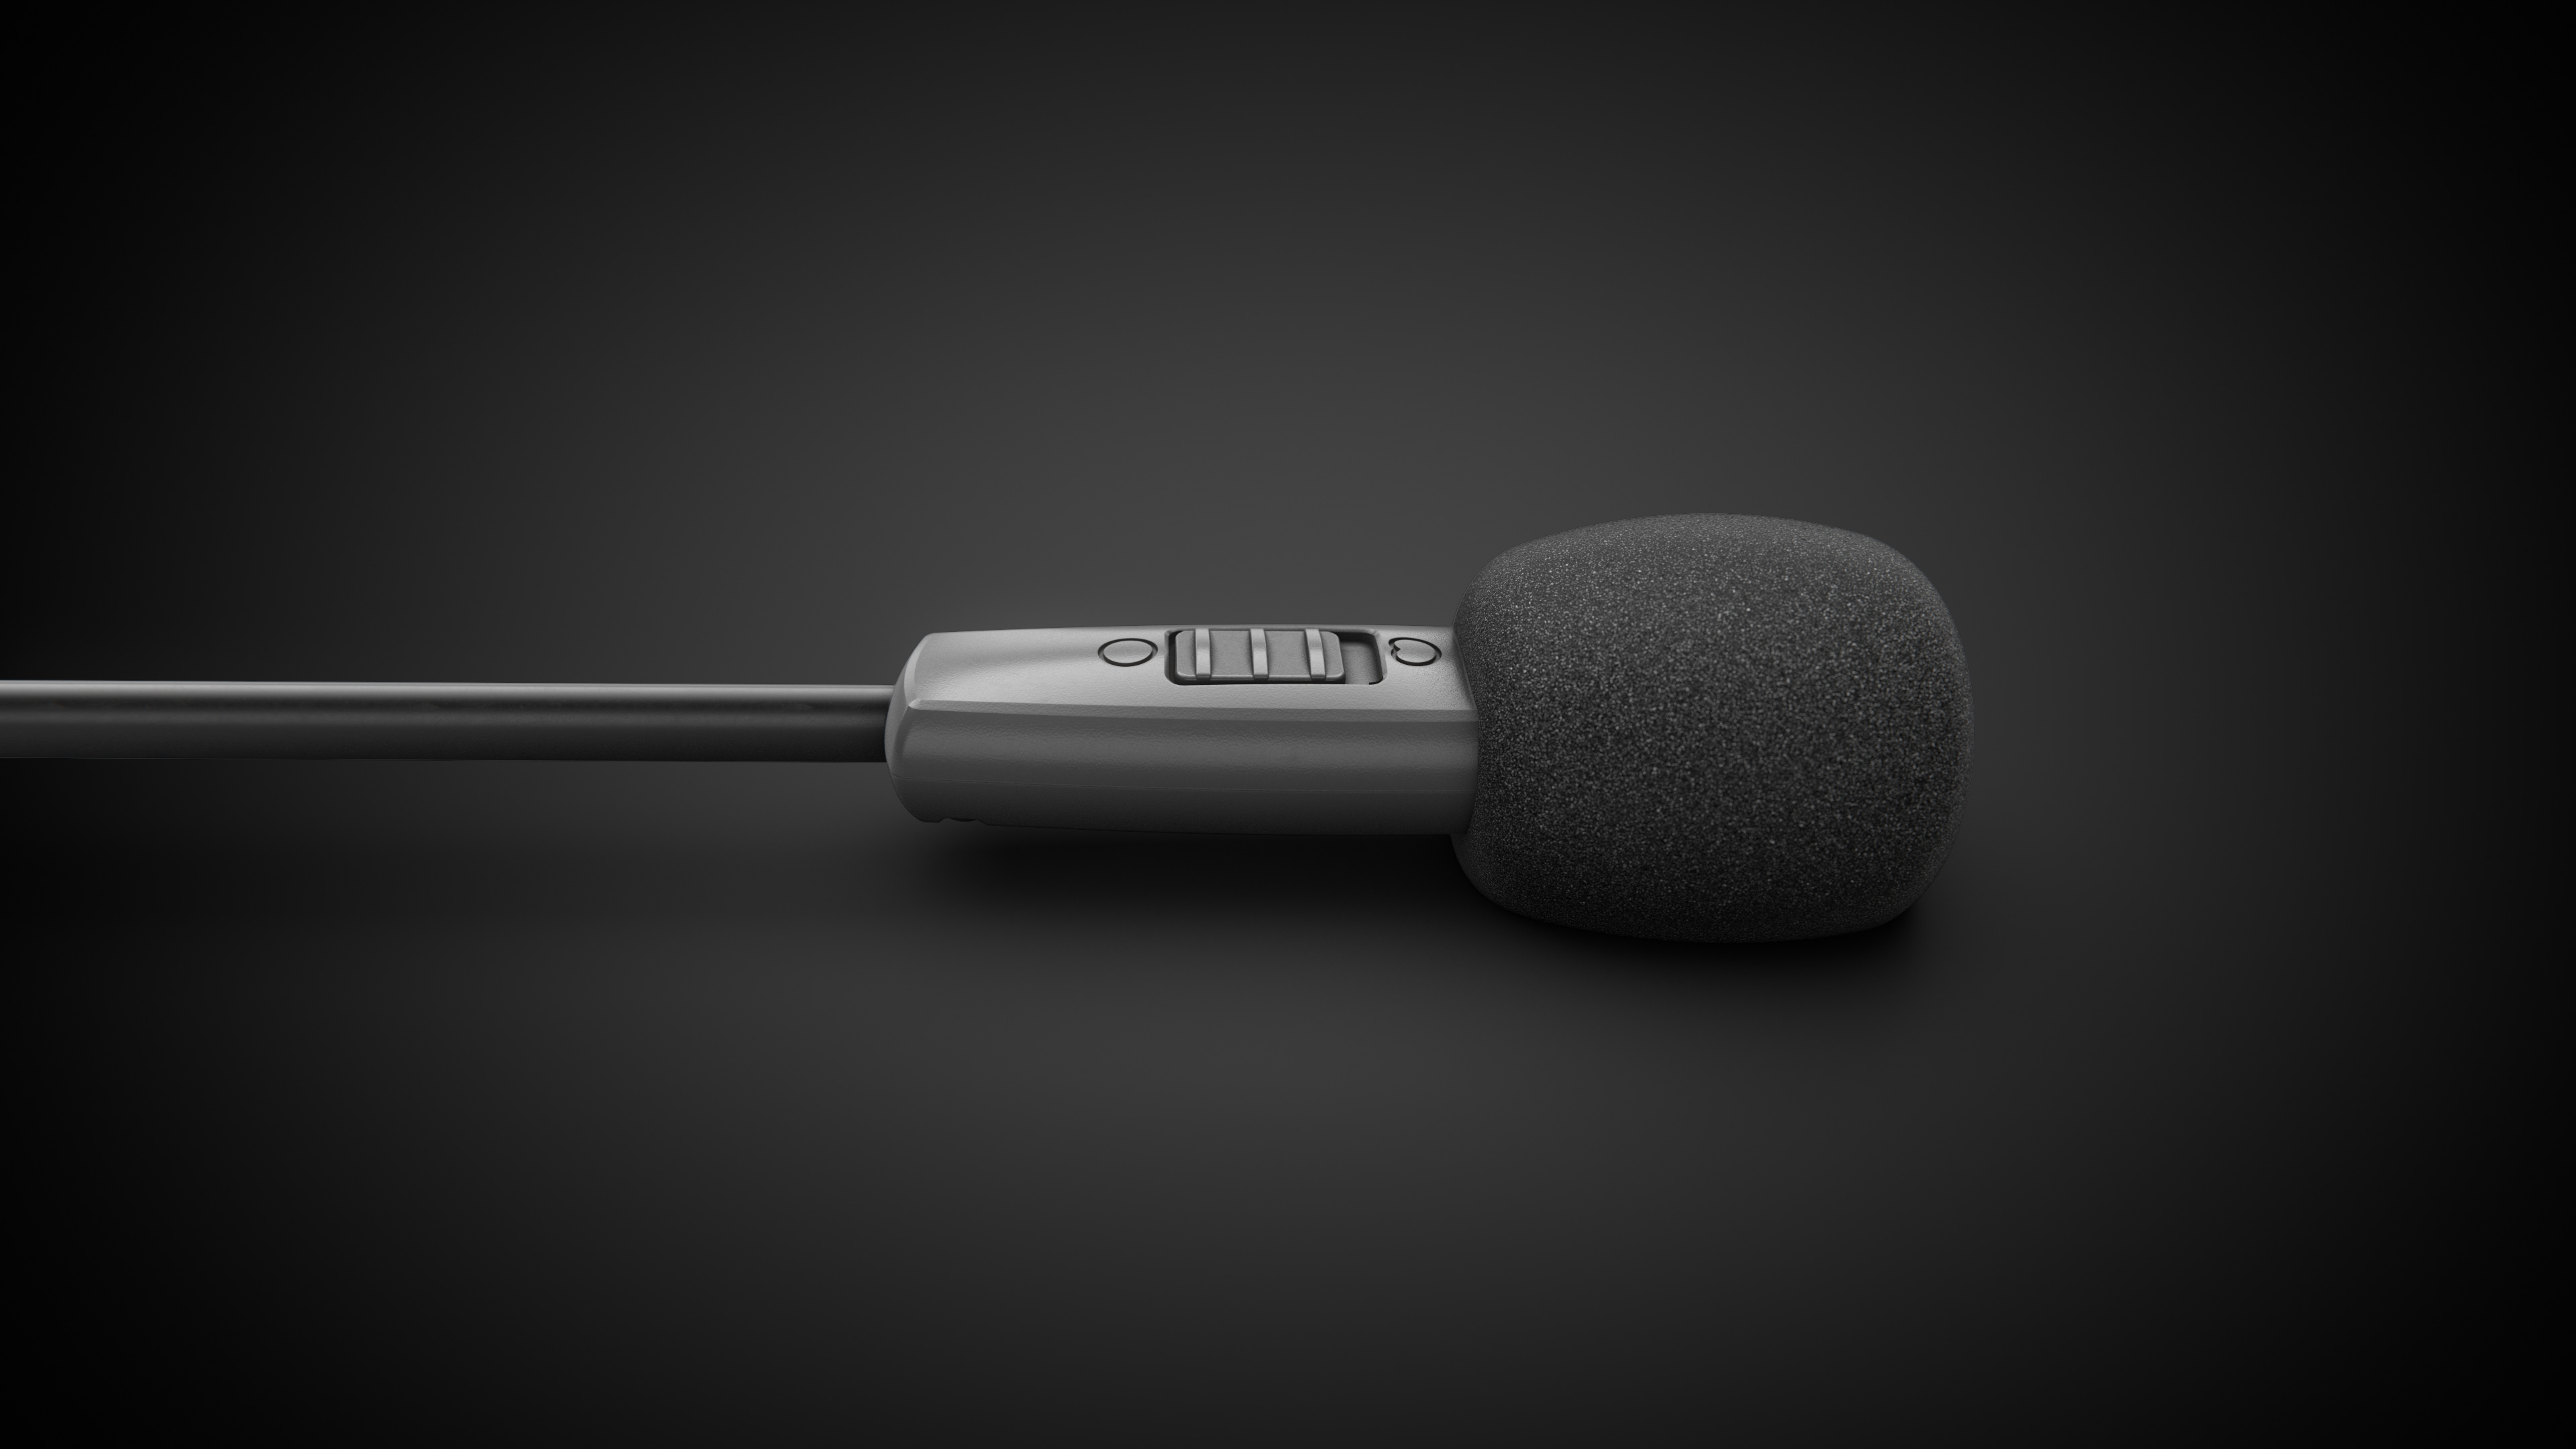
Image 5: Omni / Uni Highlight (Black)
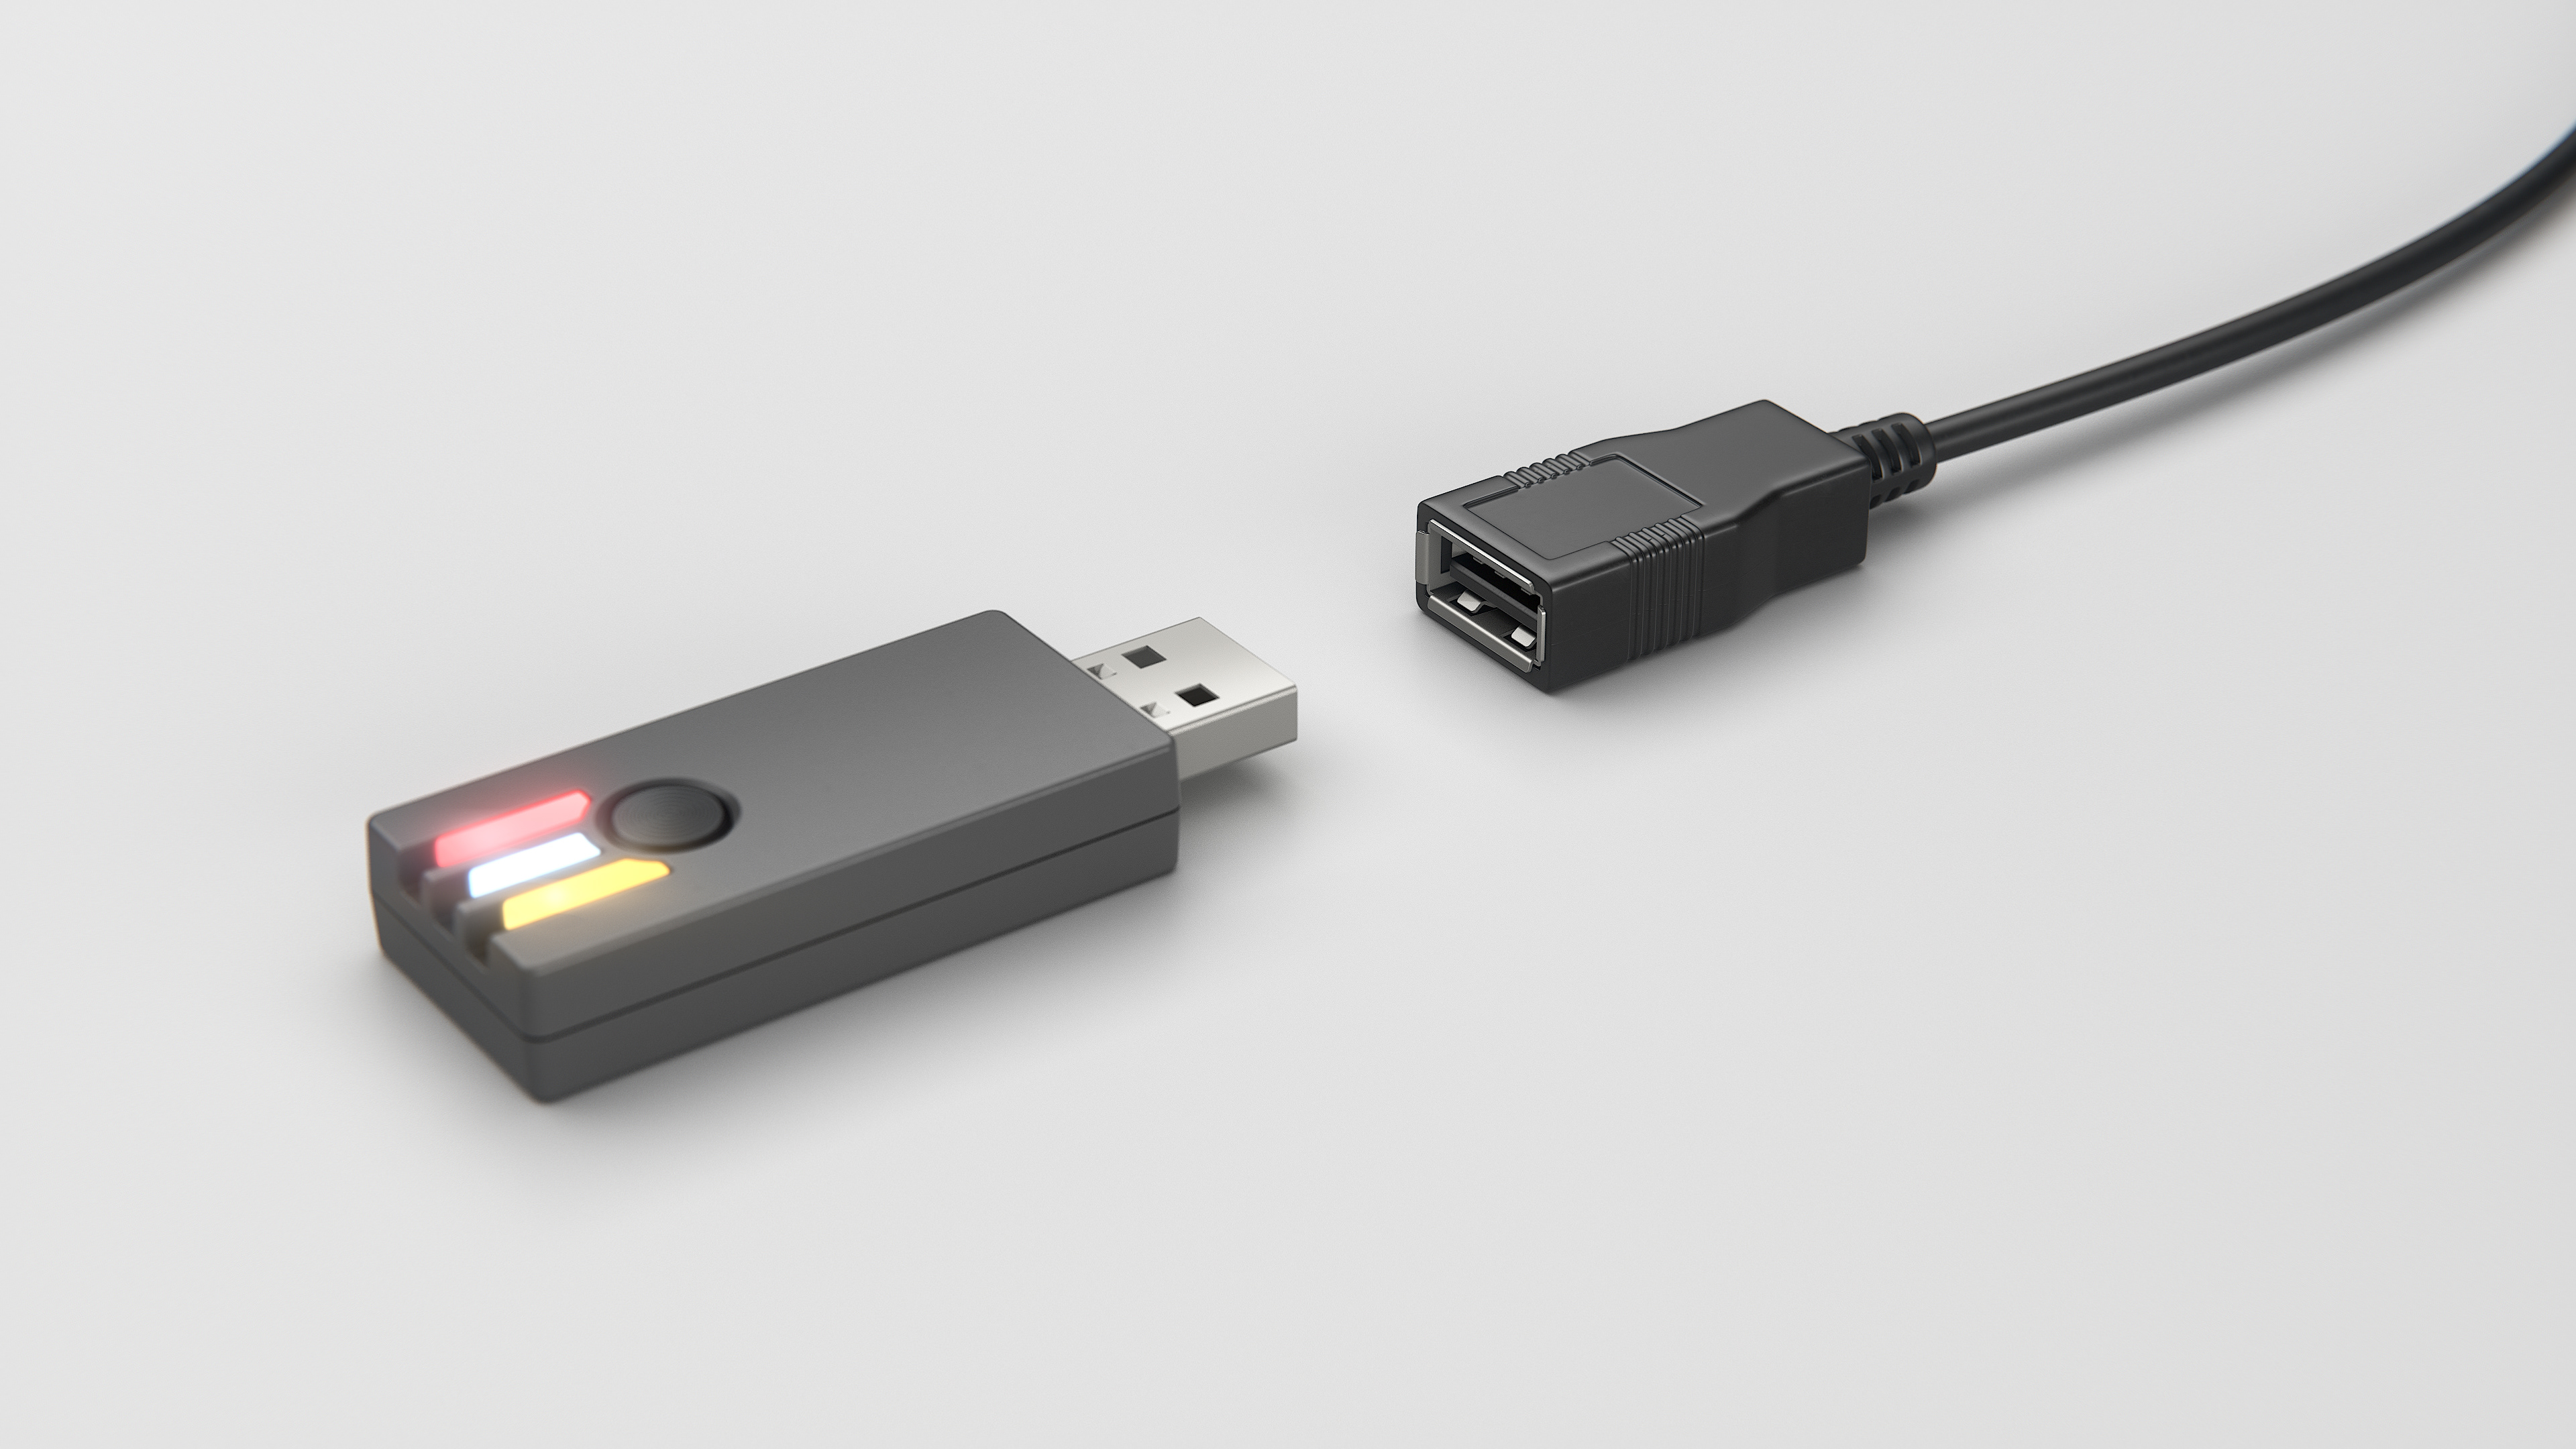
Image 6: Receiver Close Up With Extension Lead (White)
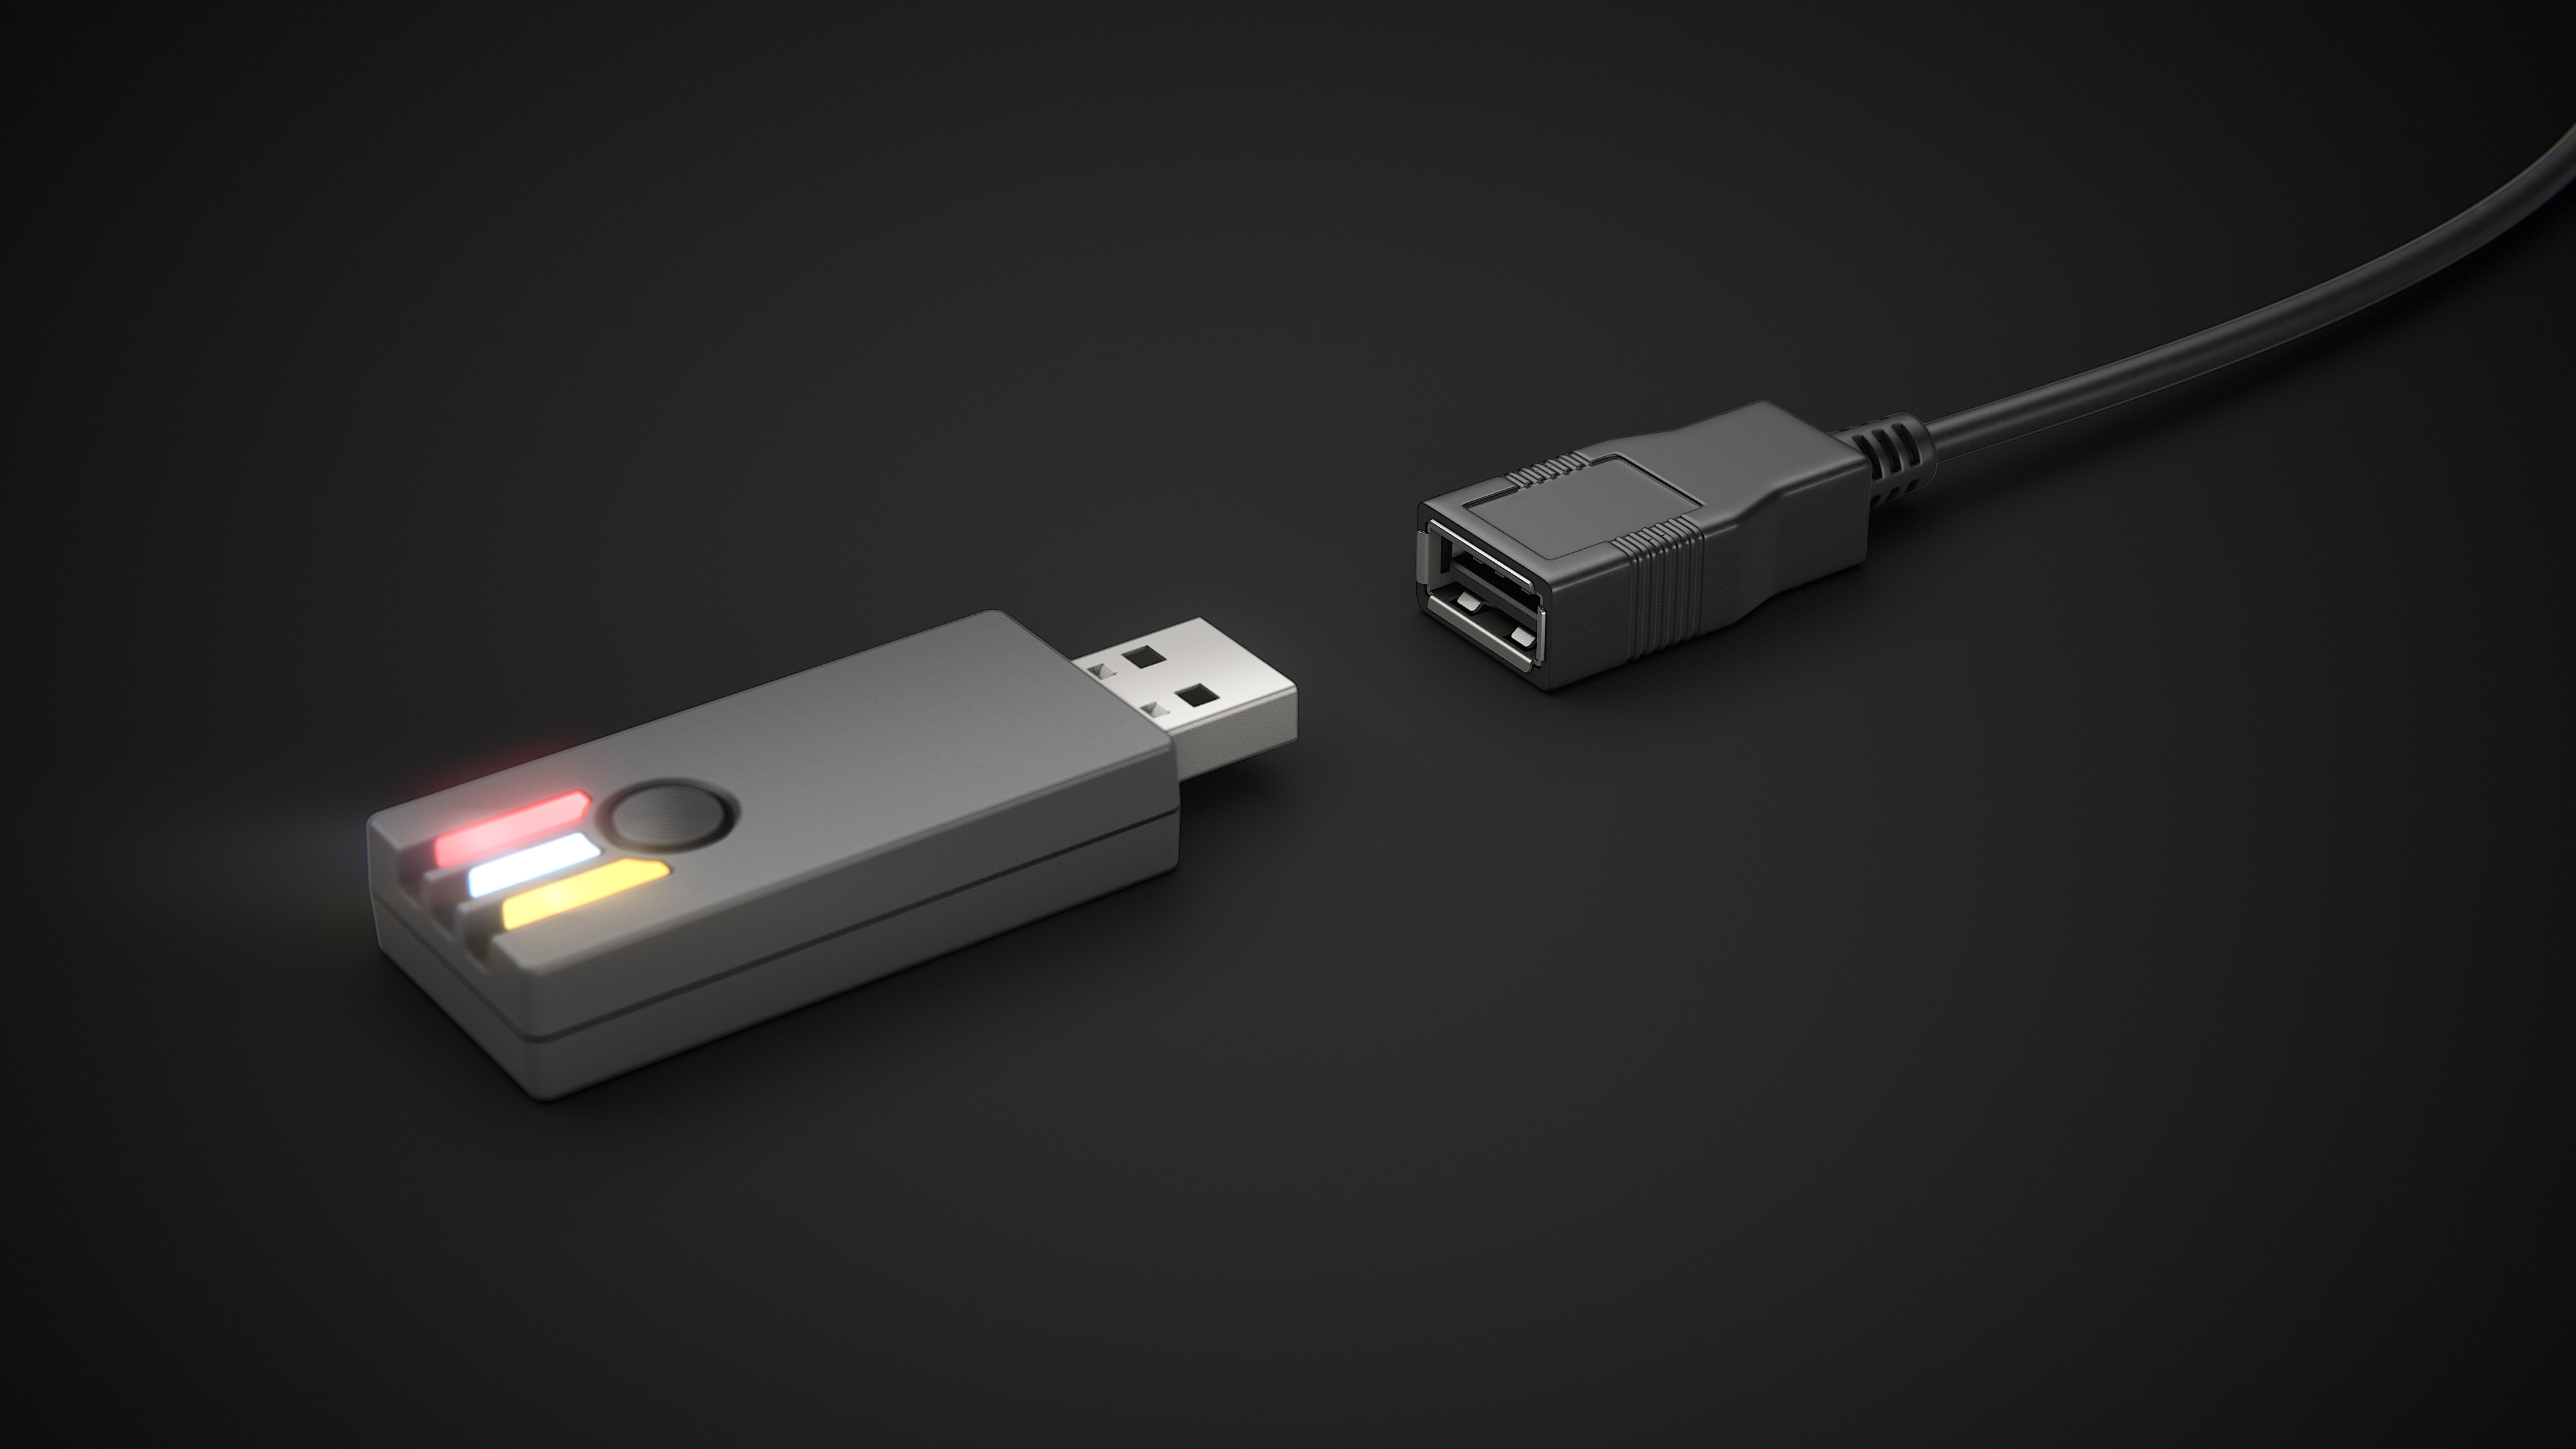
Image 6: Receiver Close Up With Extension Lead (Black)
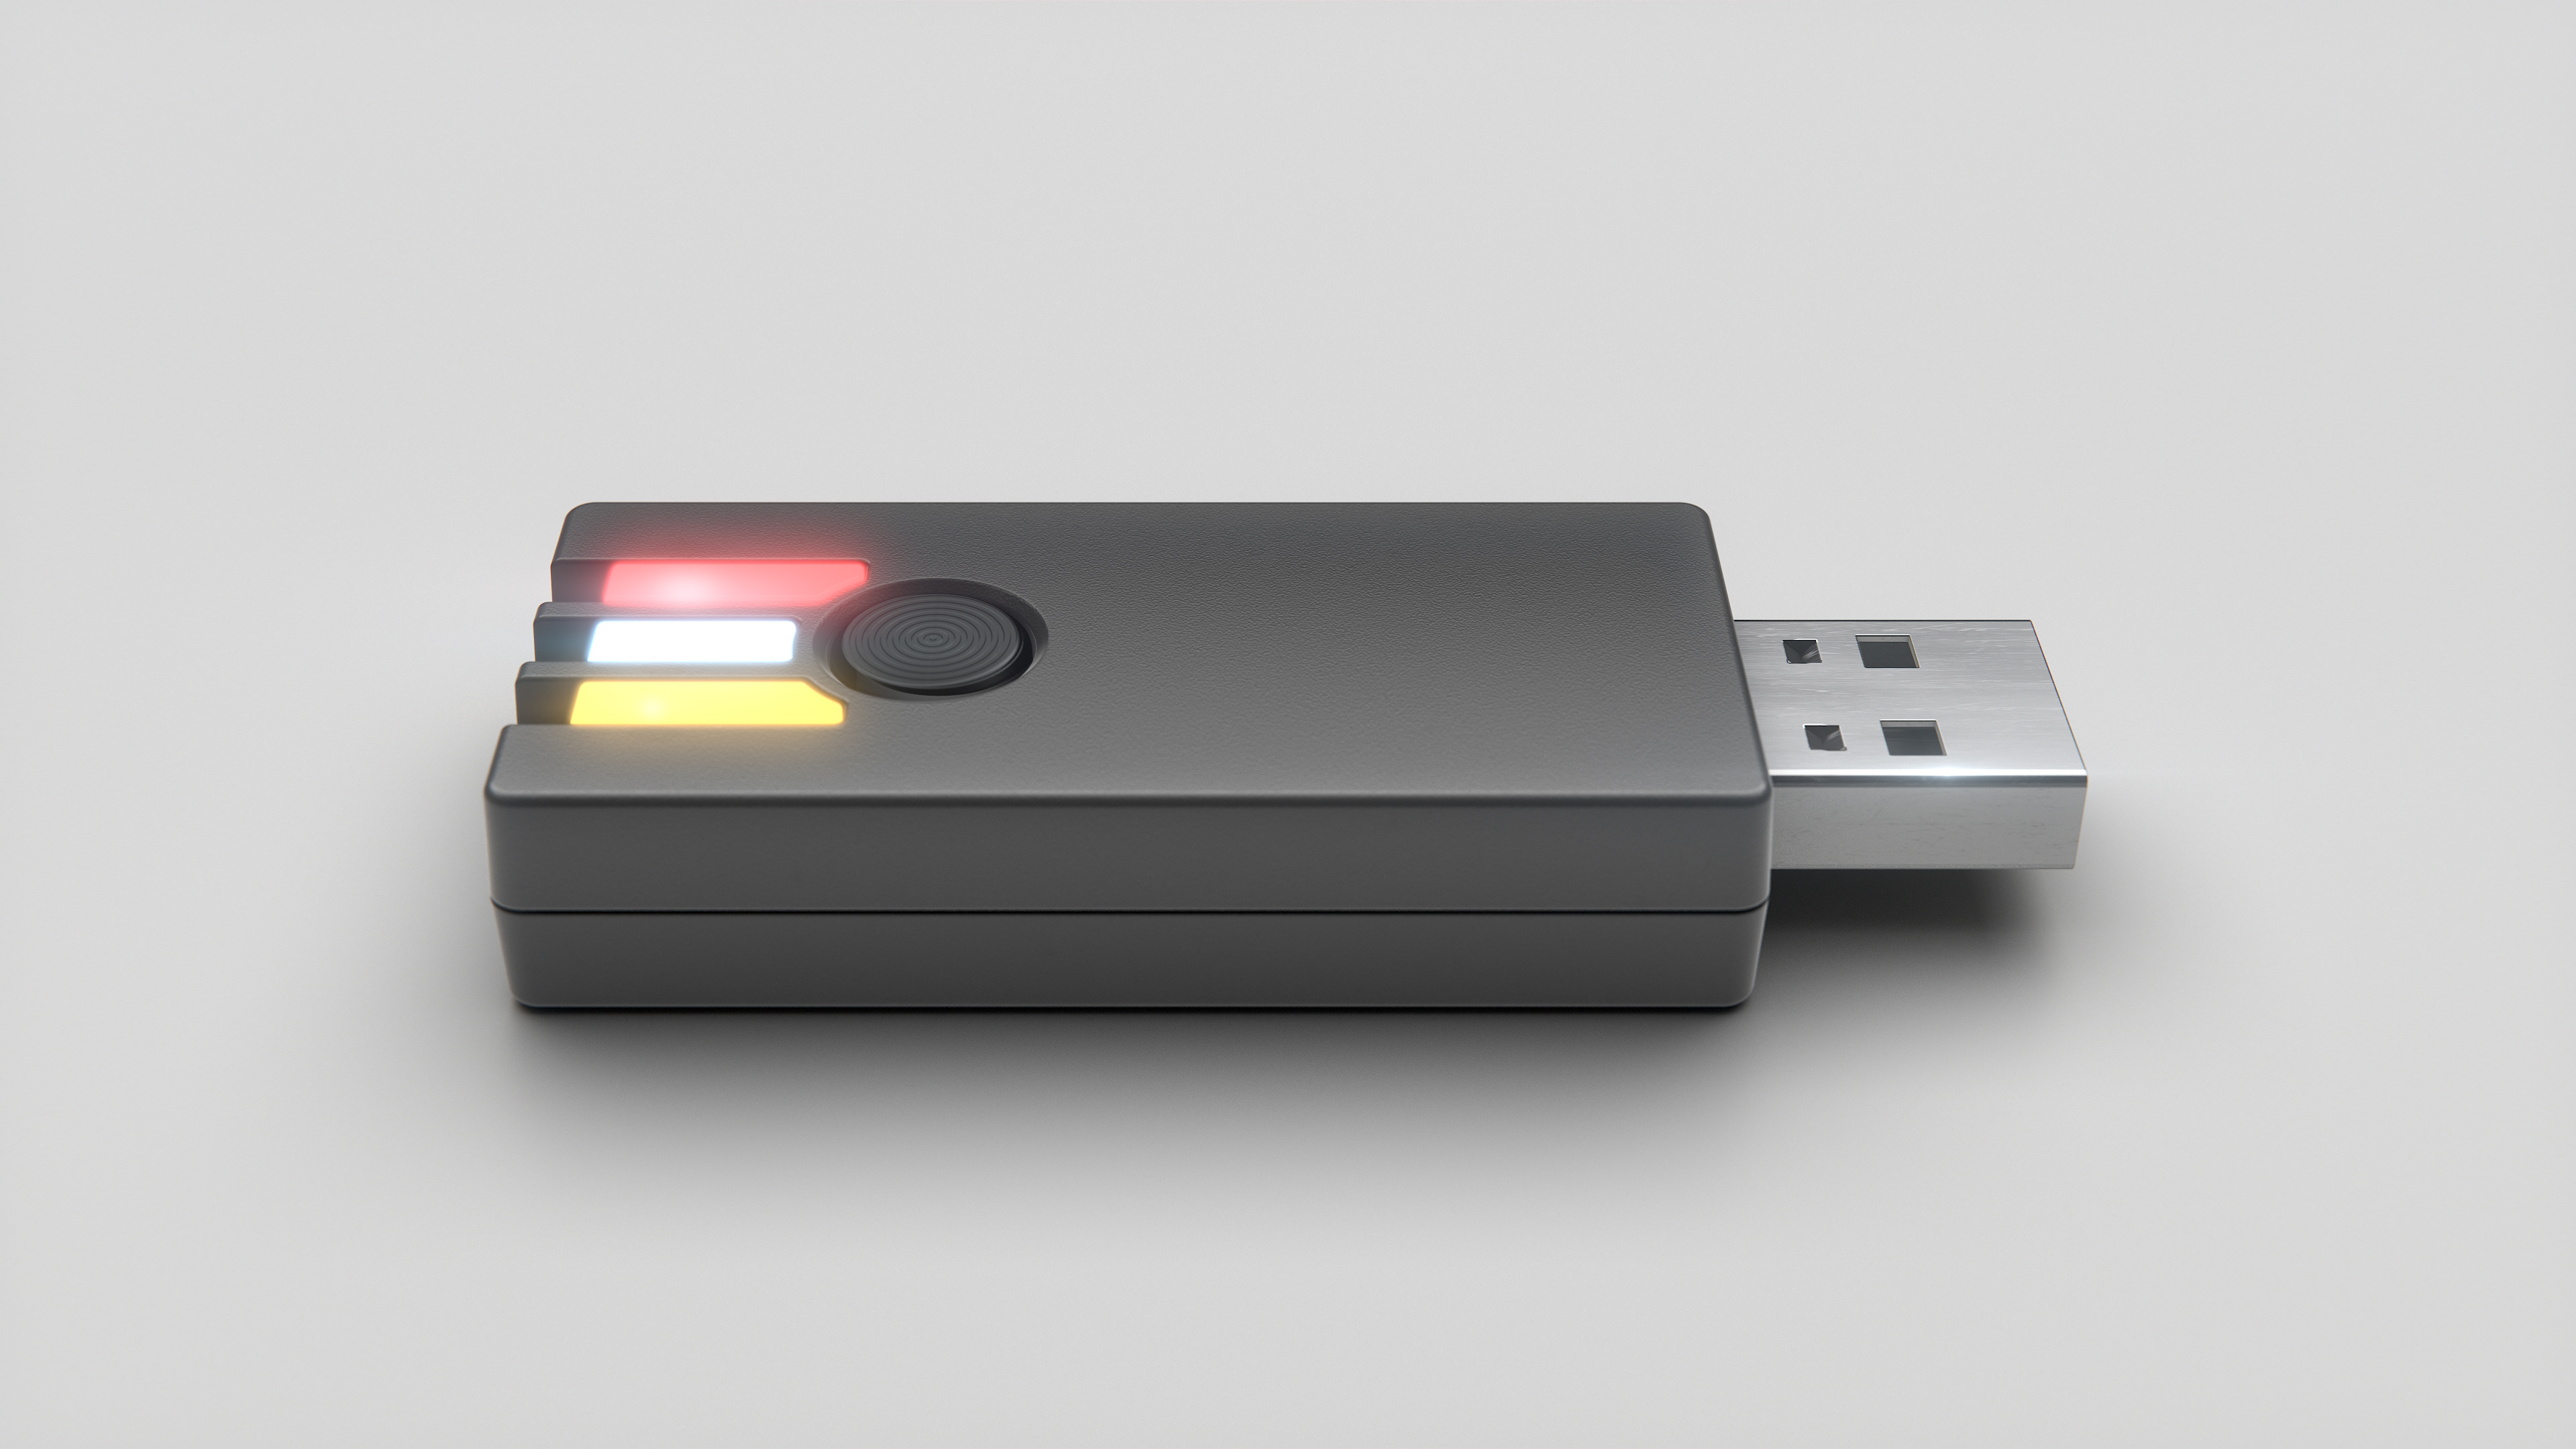
Image 6: Receiver Close Up (White - Bonus Image)
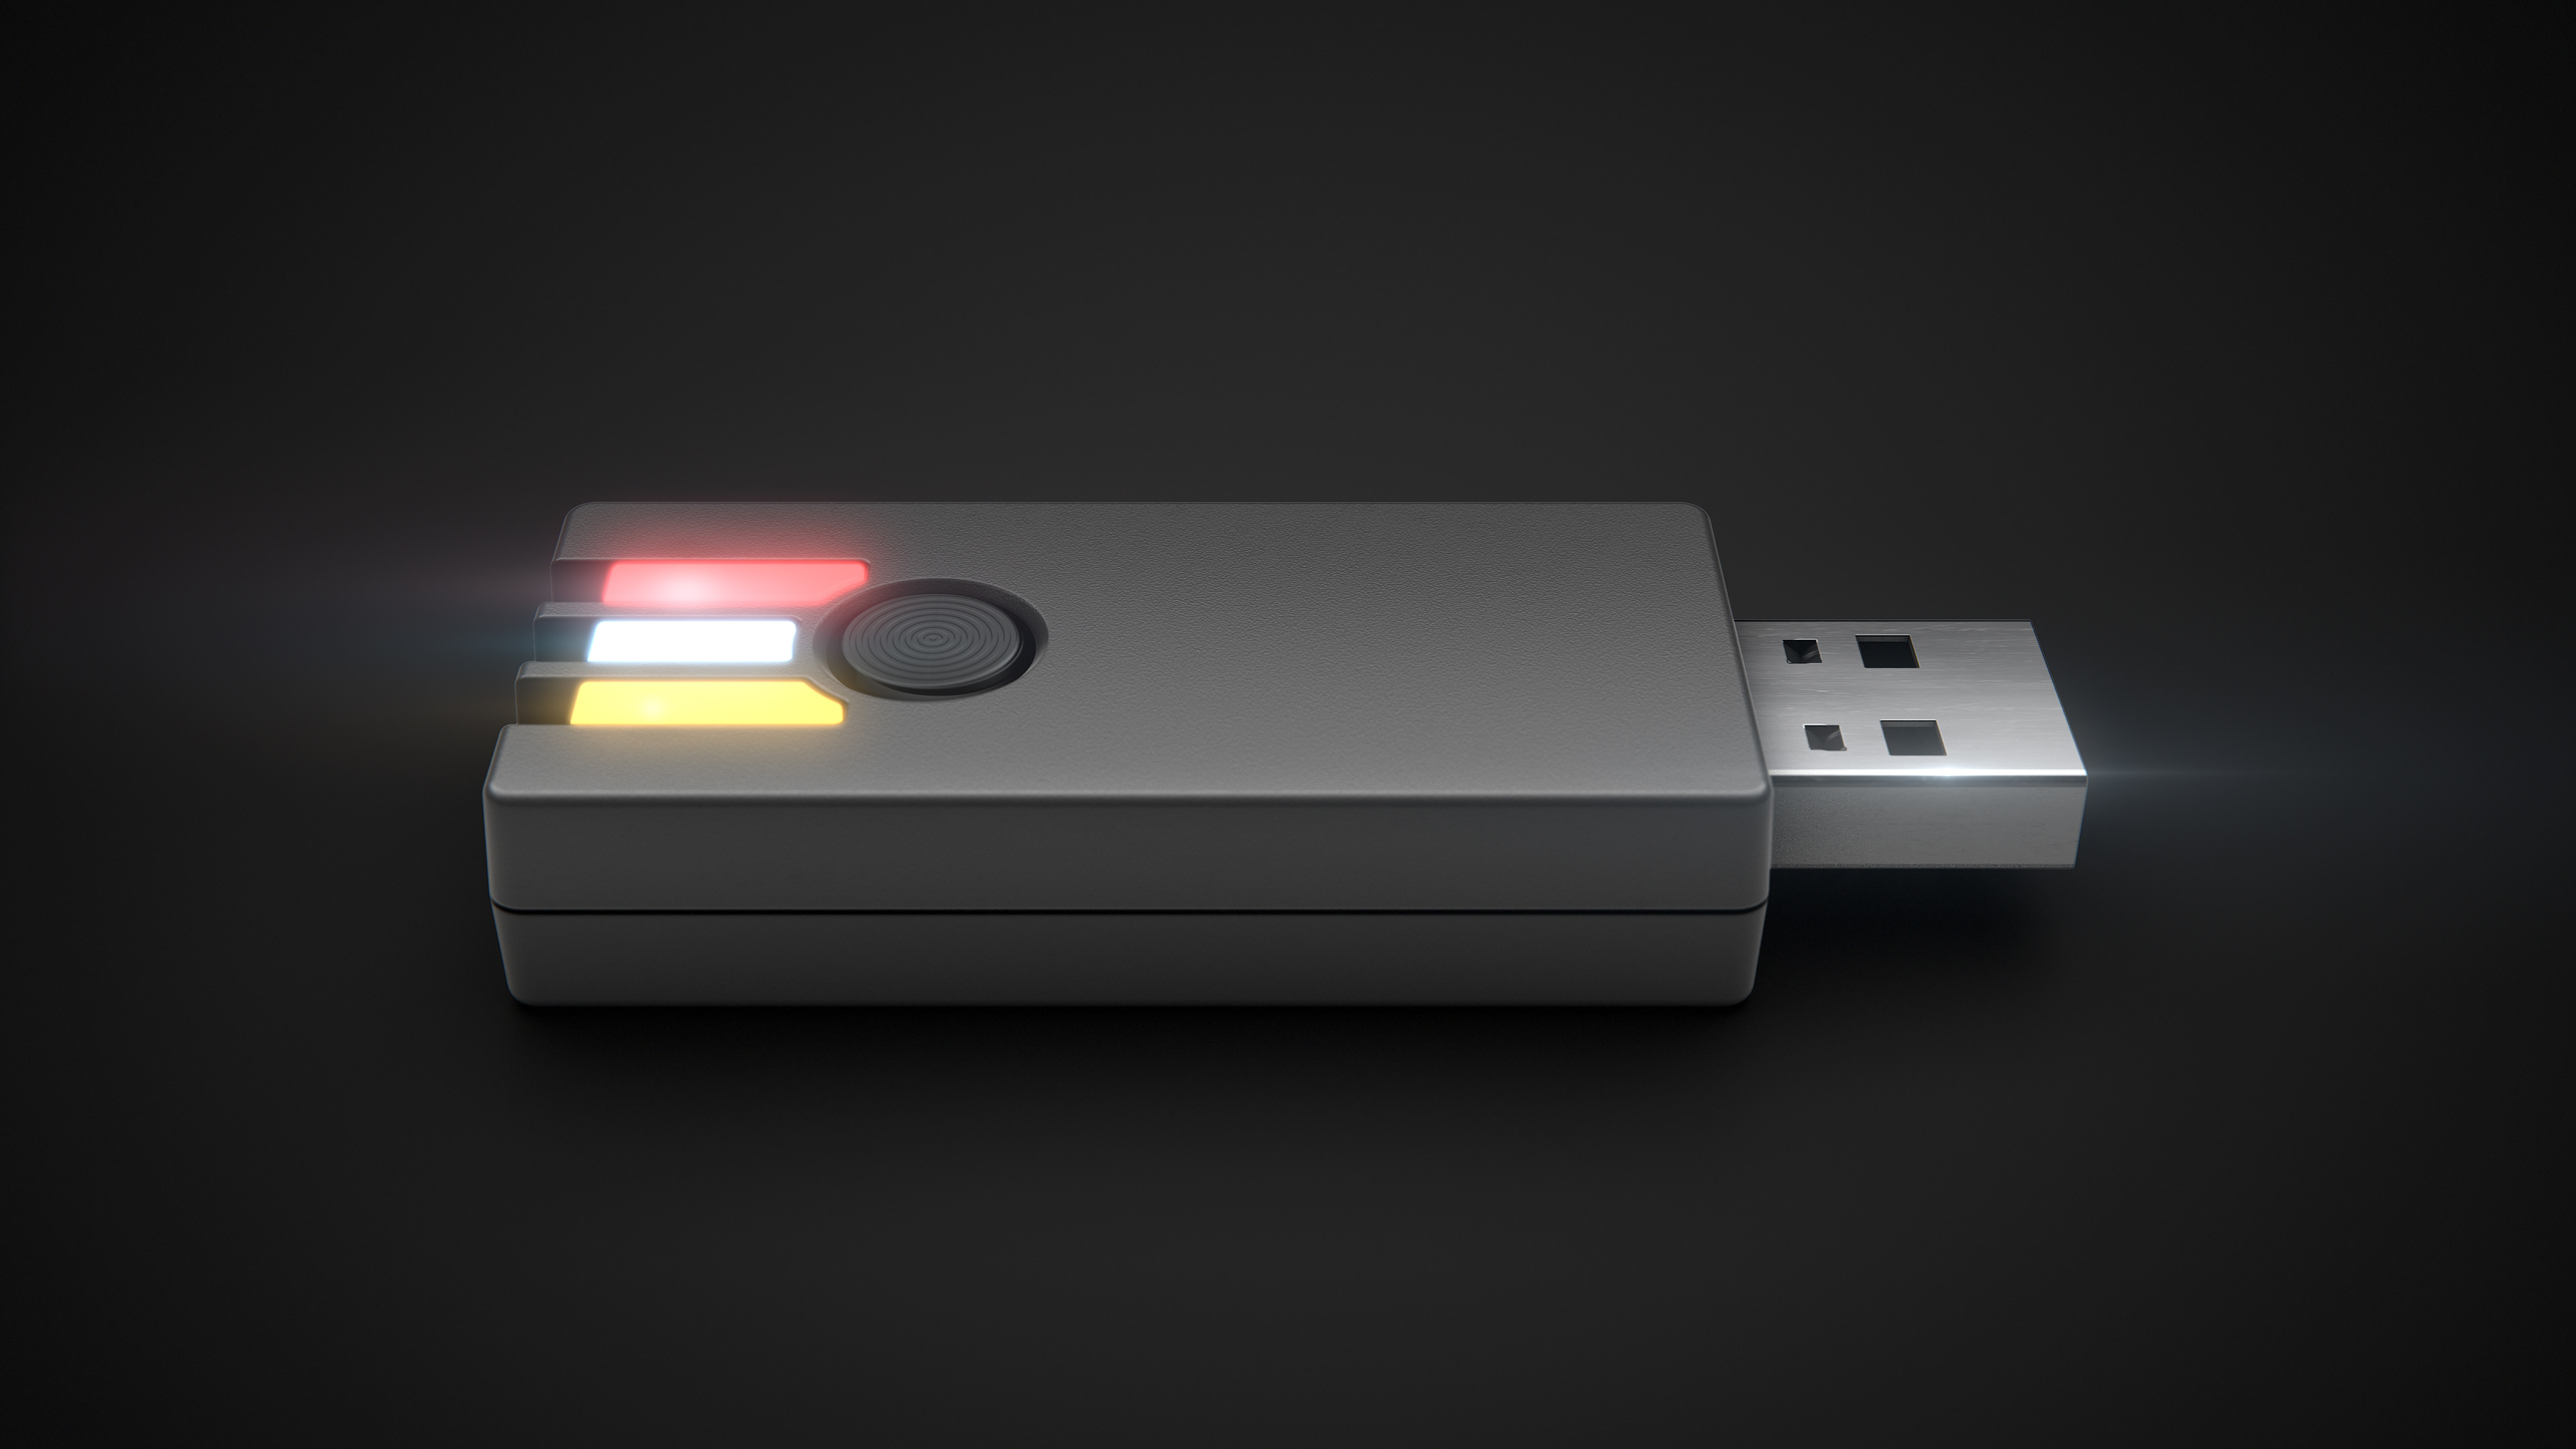
Image 6: Receiver Close Up (Black)

Image 7: Clasp Close Up (White)
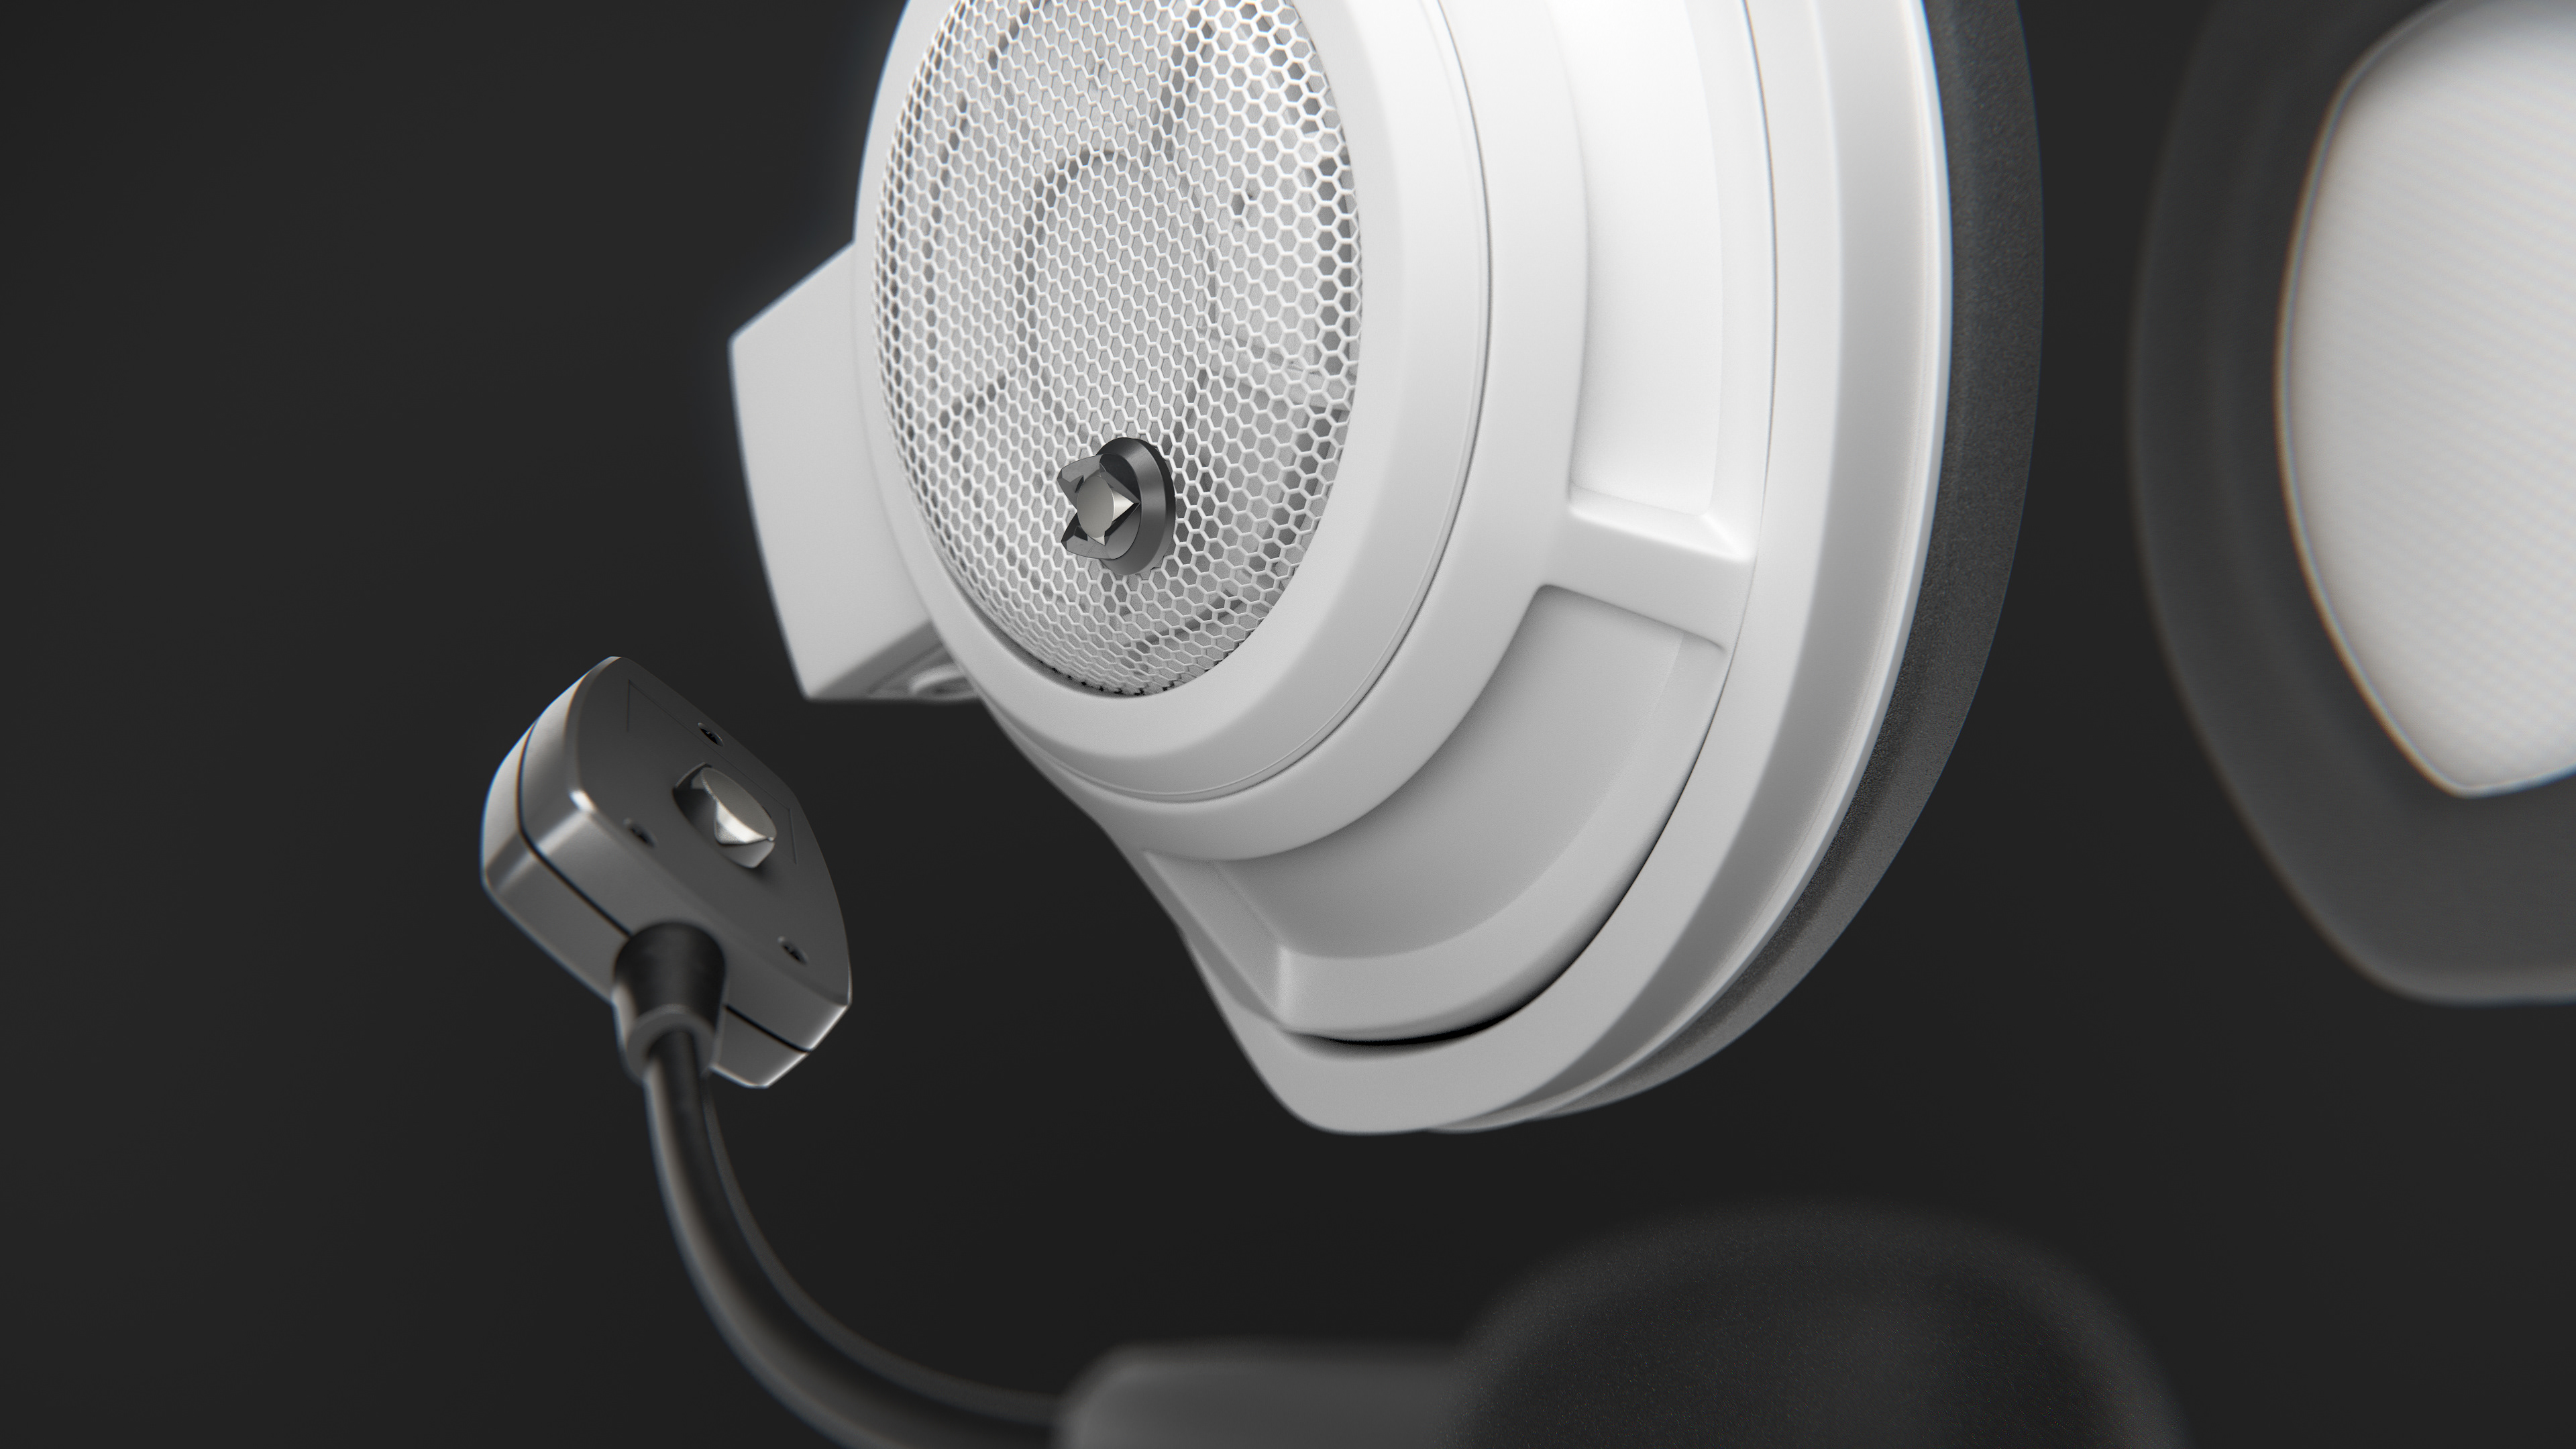
Image 7: Clasp Close Up (Black)
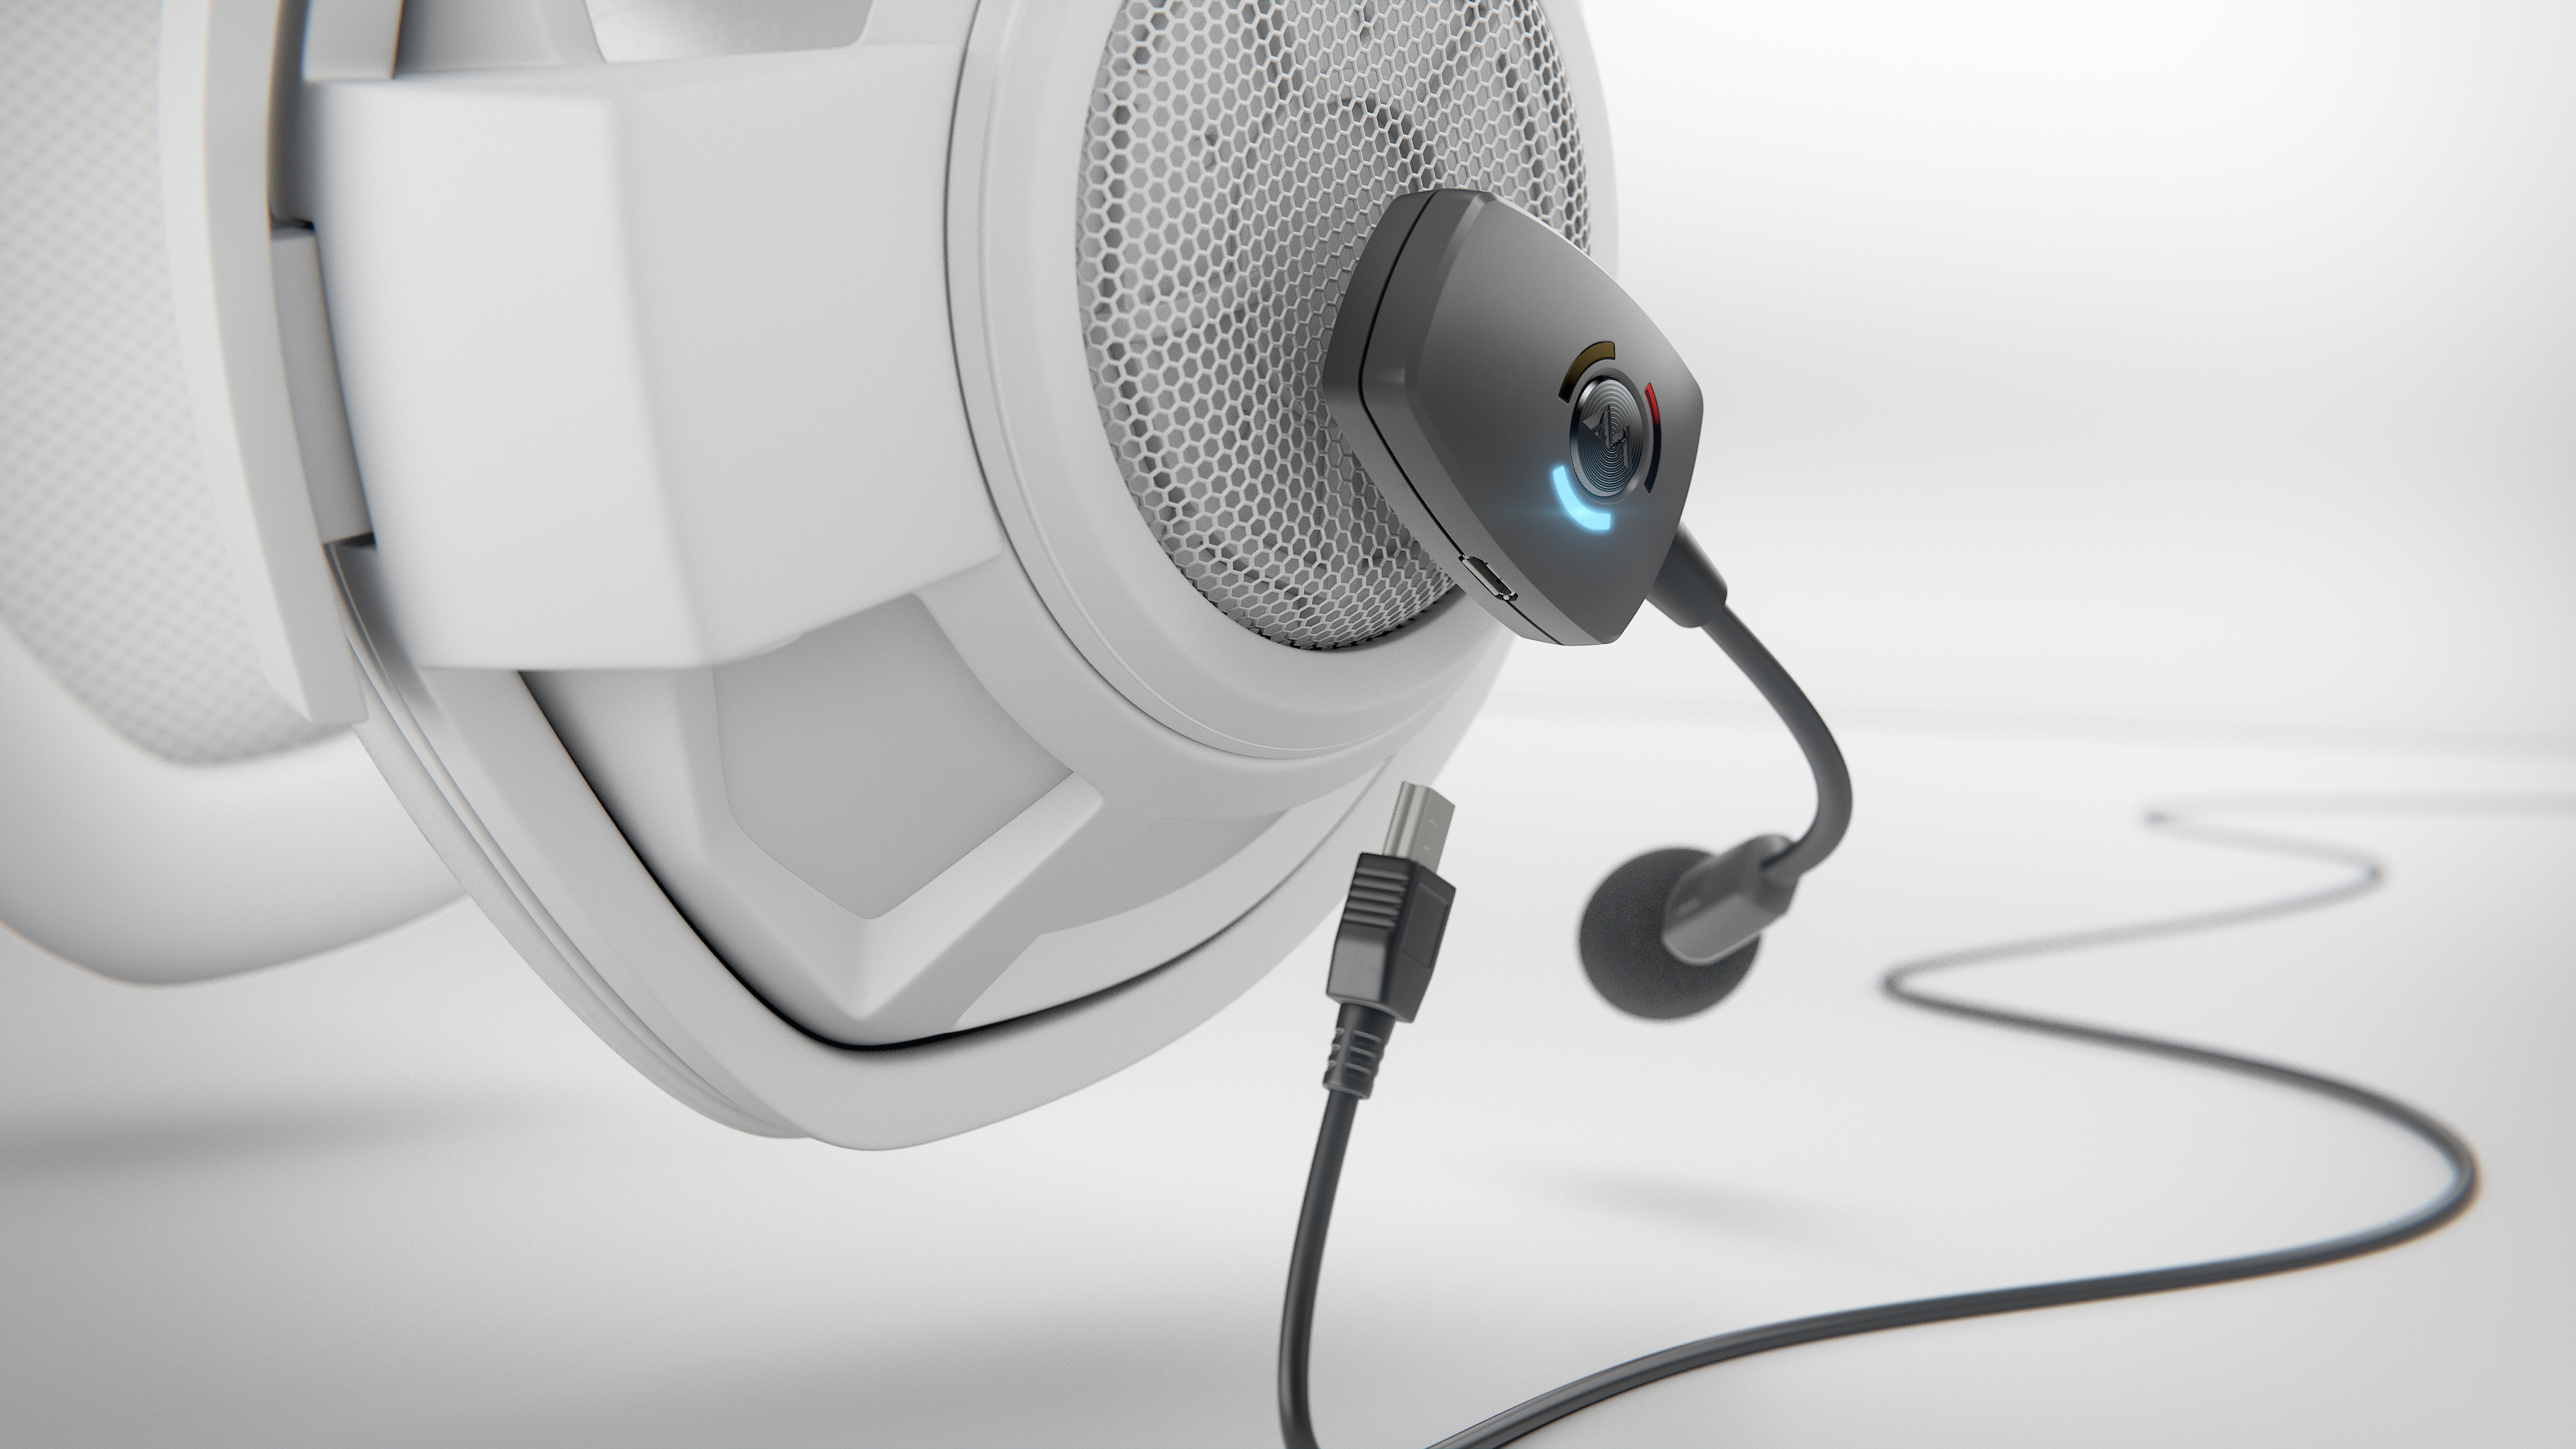
Image 8: Battery And Charging (White)
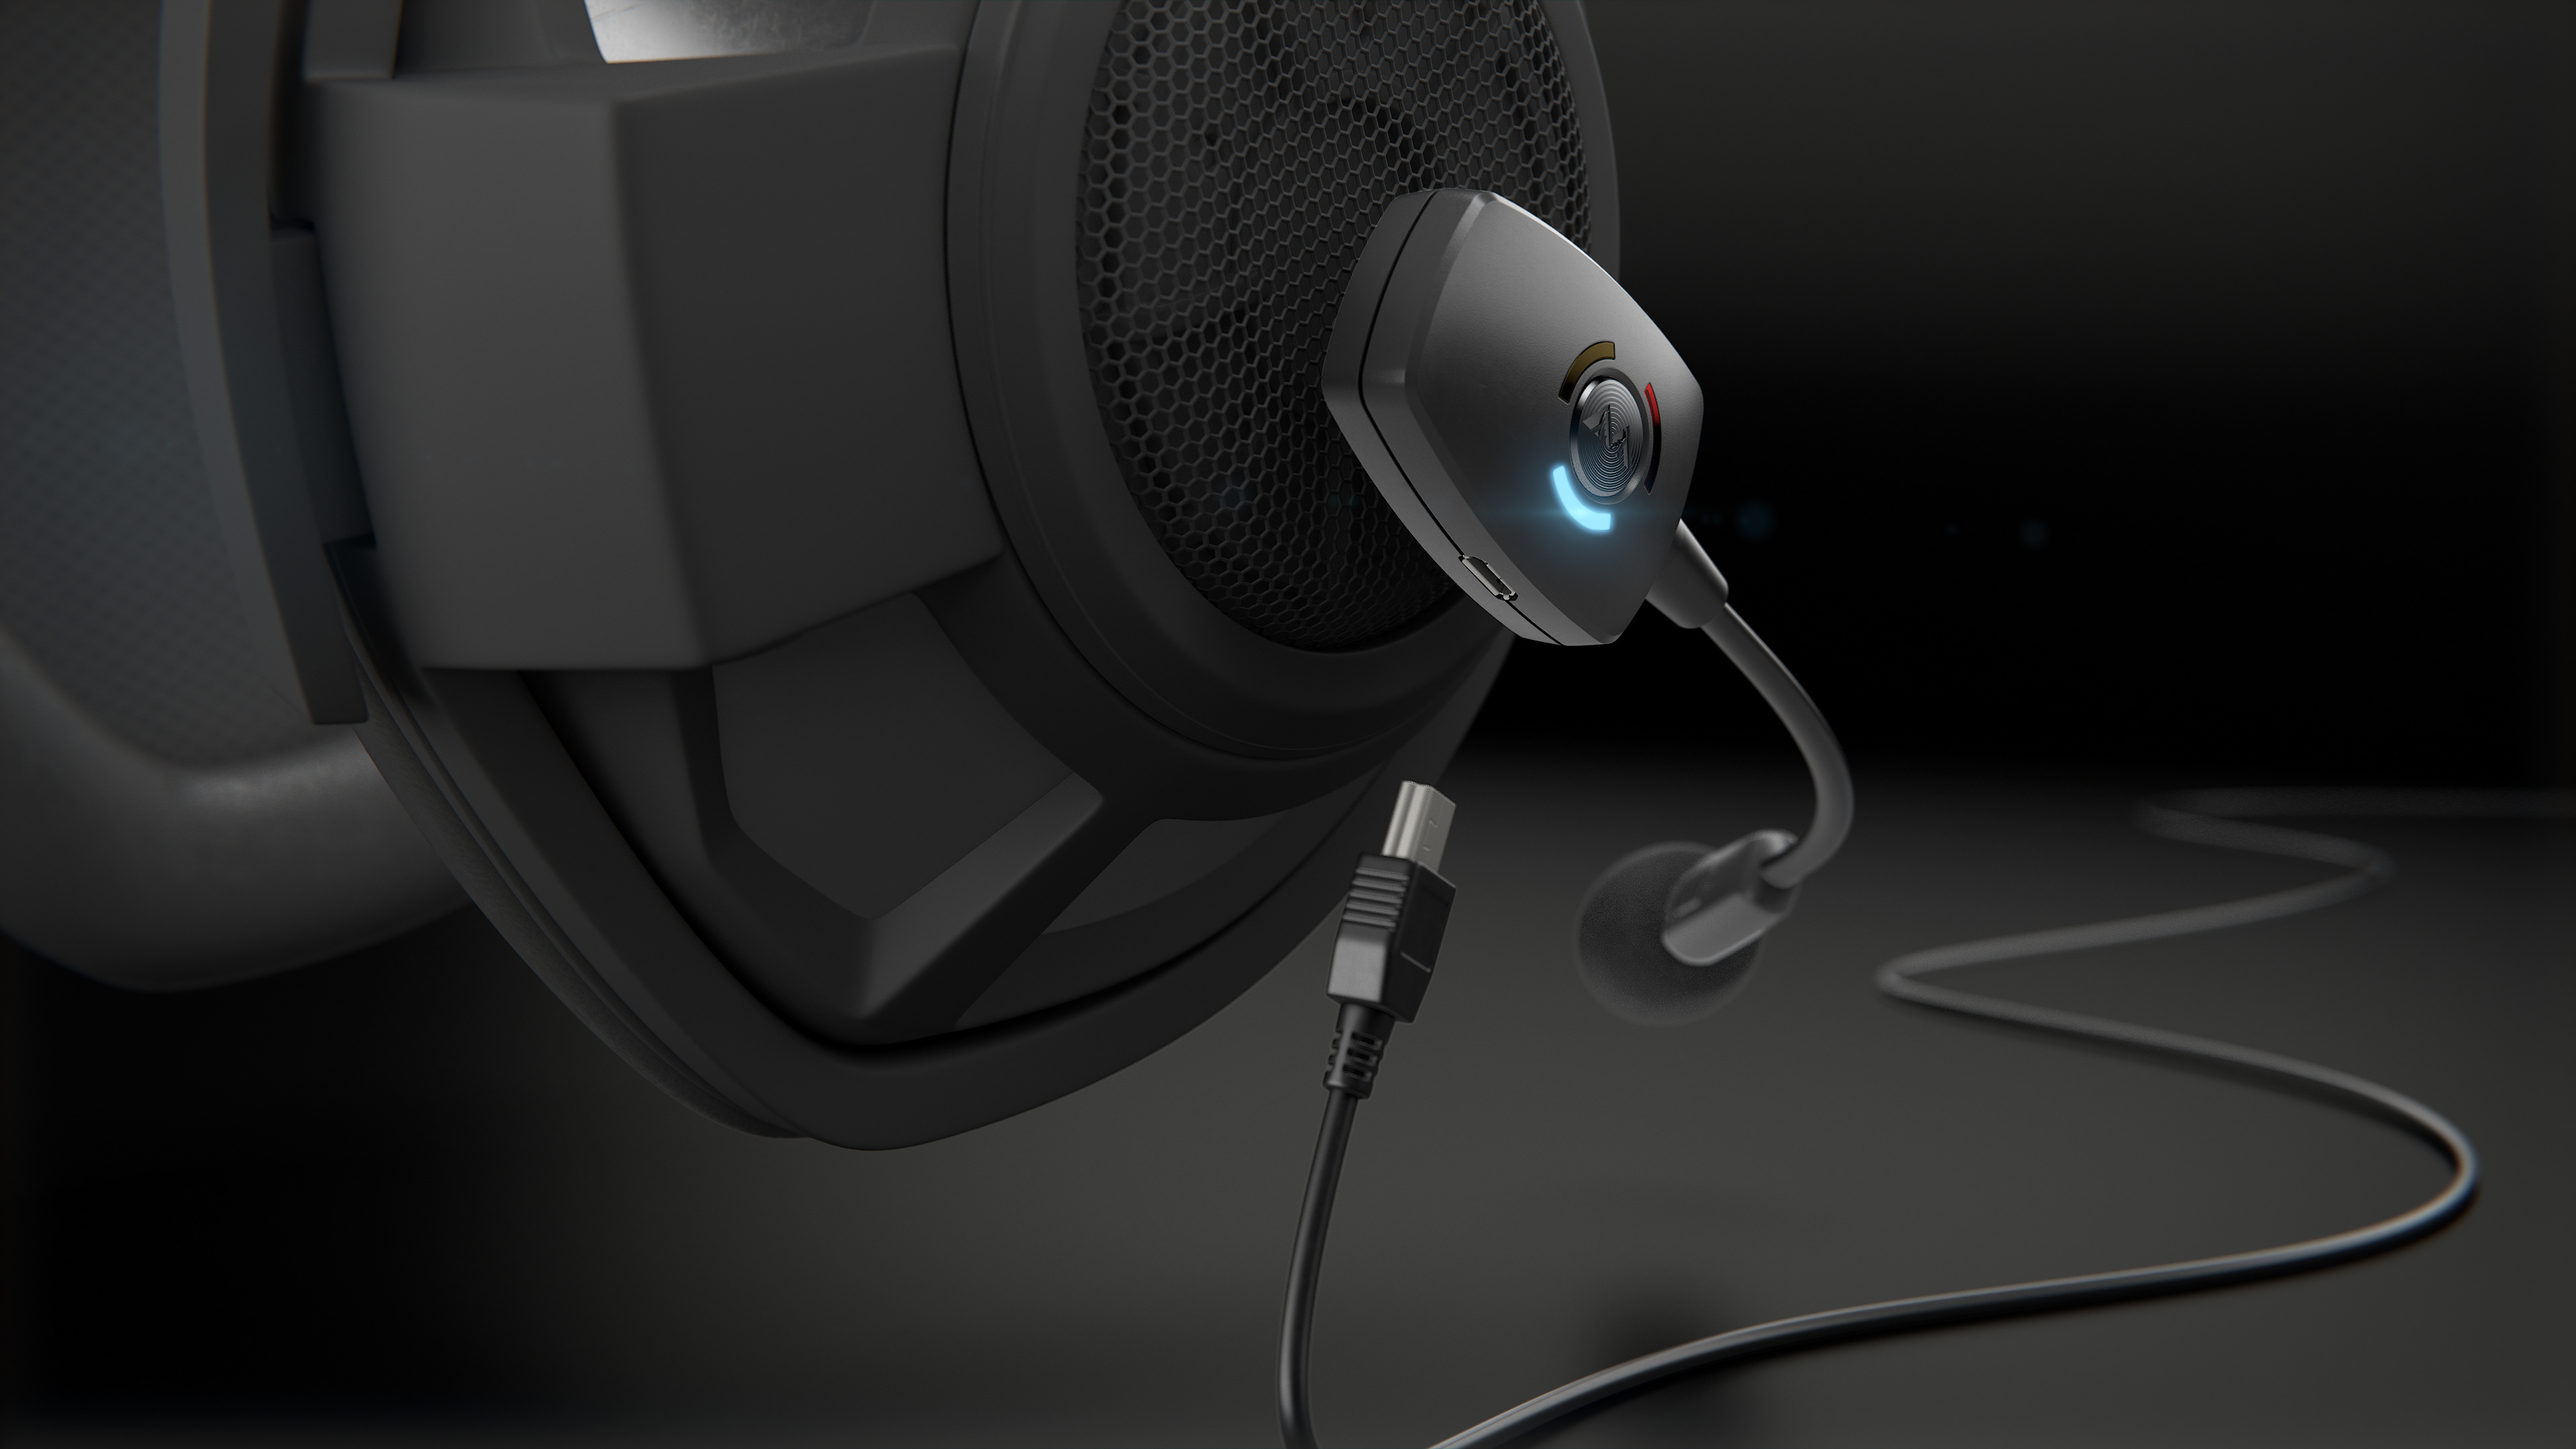
Image 8: Battery And Charging (Black)
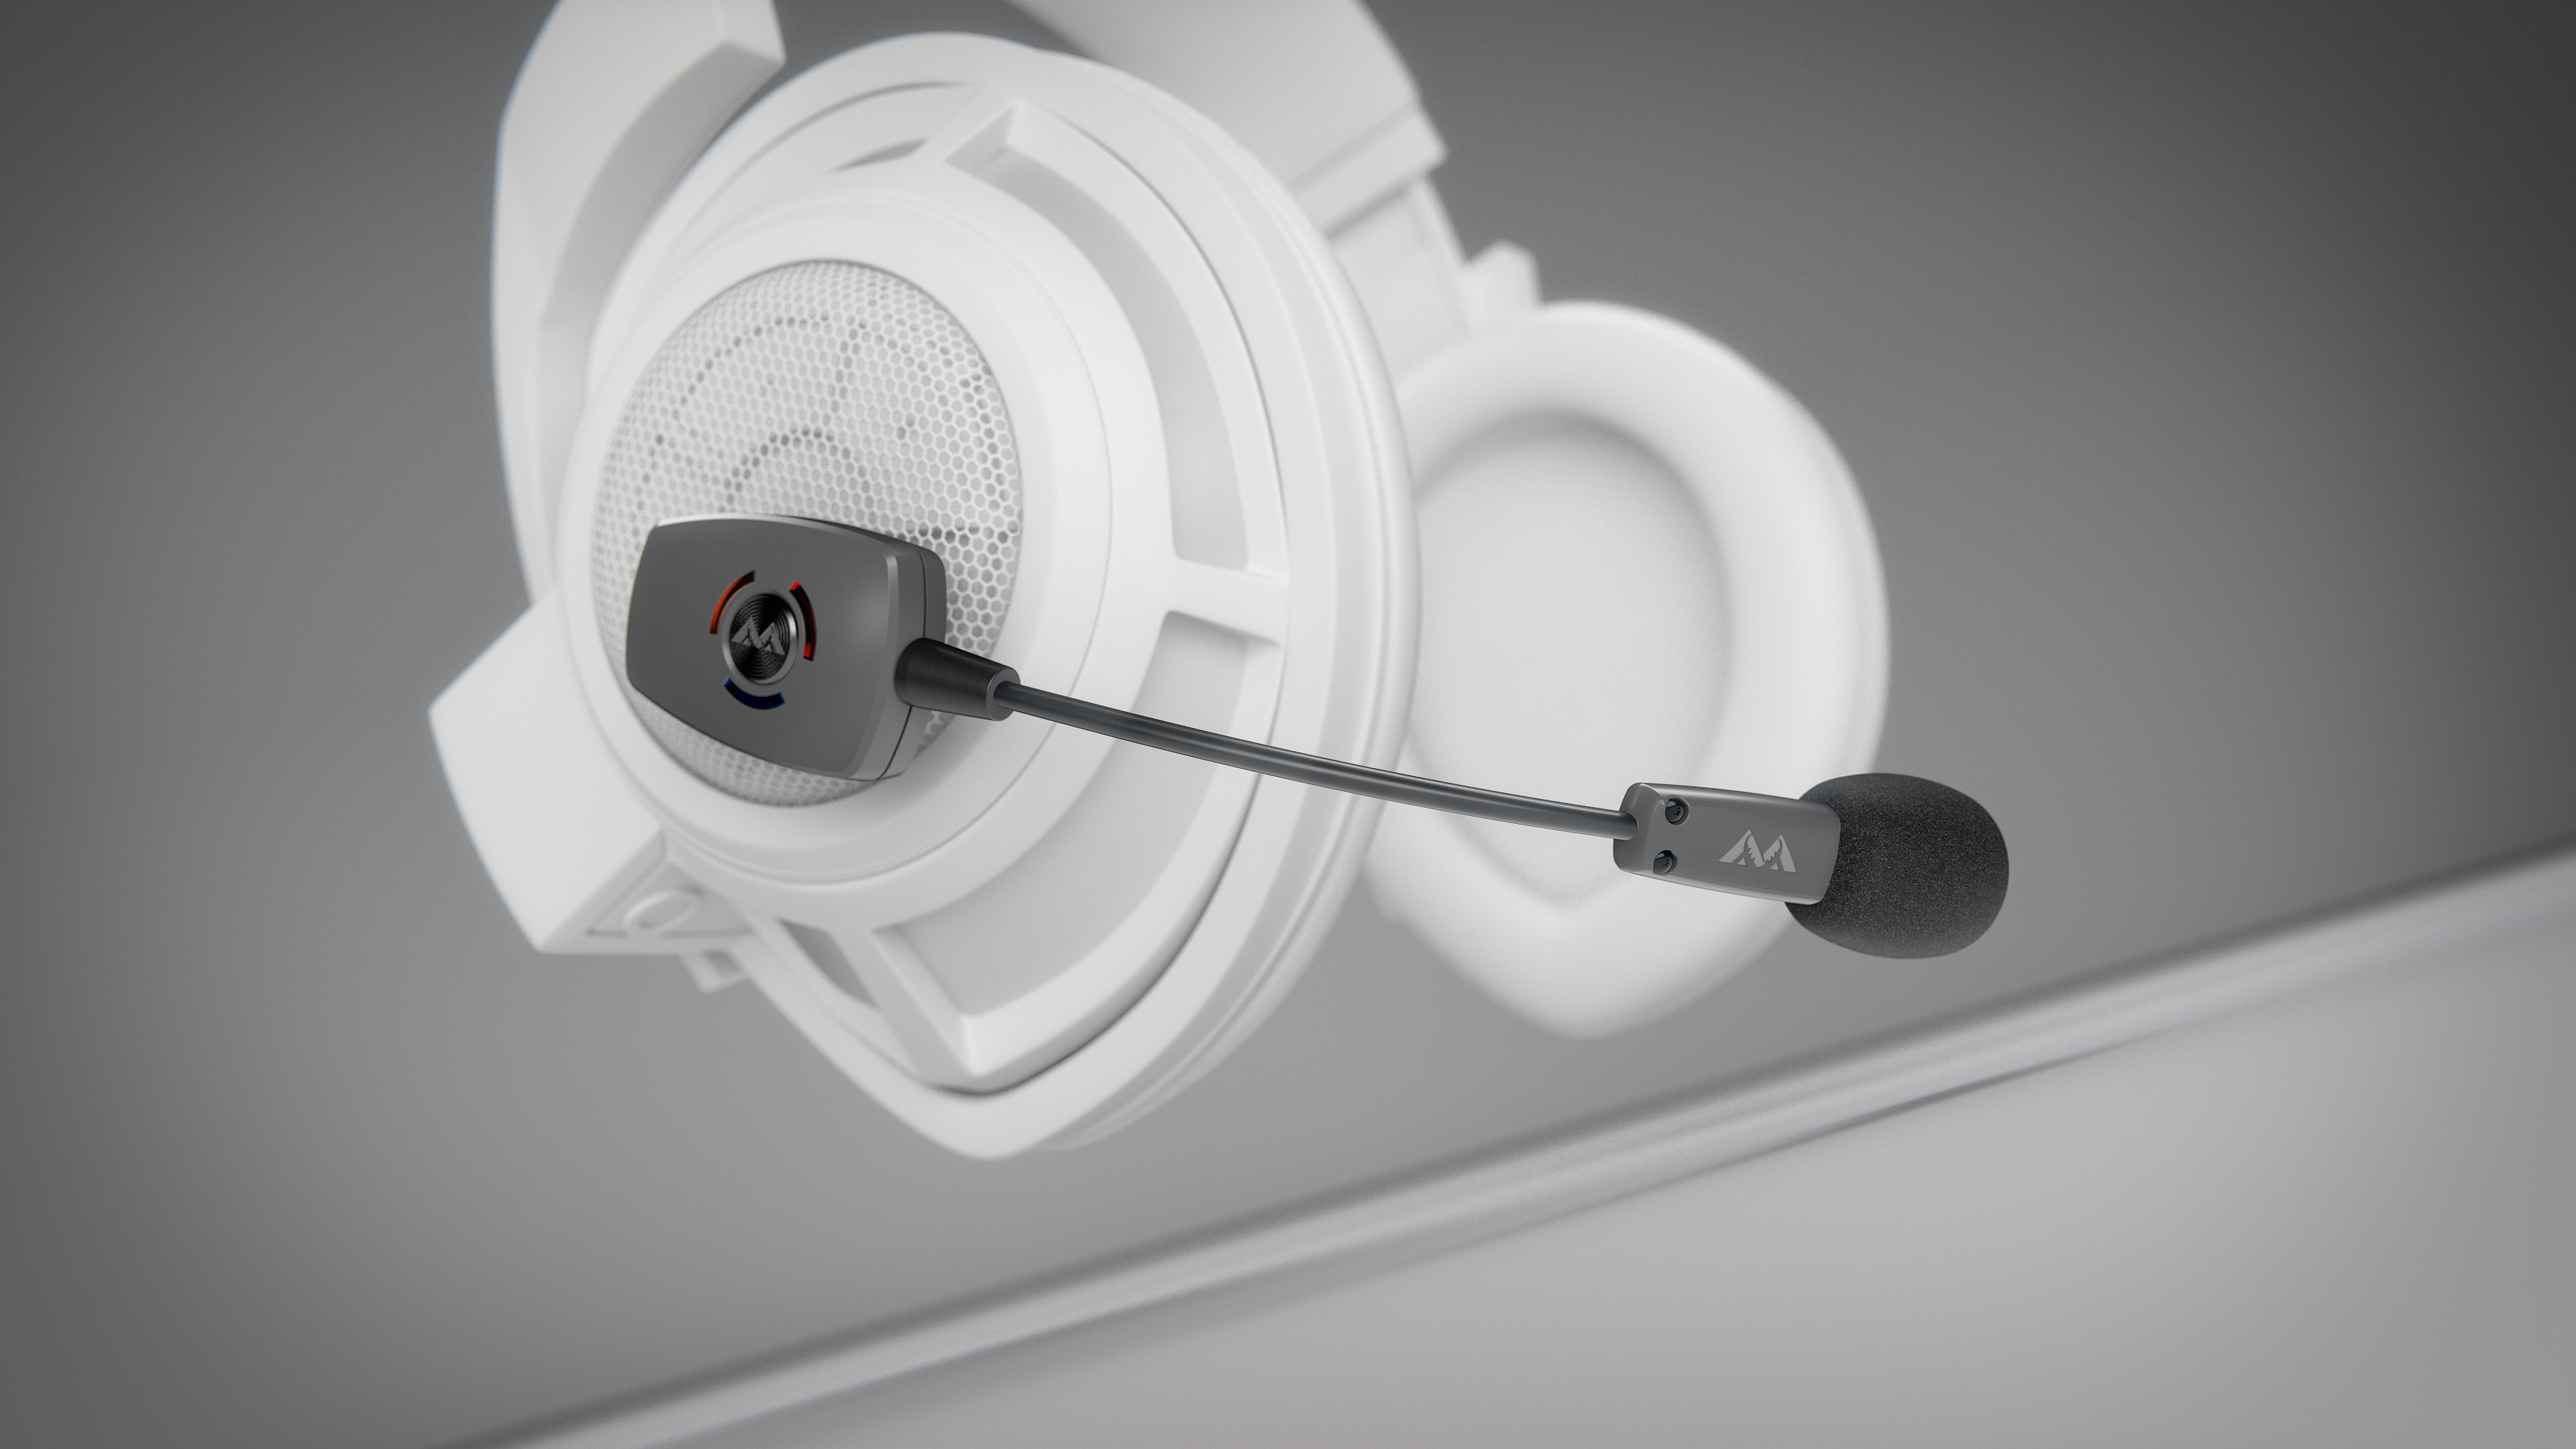
Image 10: Random Bonus image 1